The Eclectic Goodies of Detailed Dogwood
It's My Favorite
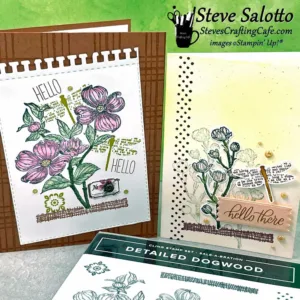
For certain, my favorite Sale-a-Bration item this year is the “Detailed Dogwood” stamp set with all its eclectic goodies. These cards that I made may look complicated, but they were actually very easy. In fact, I find them the easiest style to make because there are no rules to follow. When there are no rules to follow, you are free to do whatever you want!
First Card
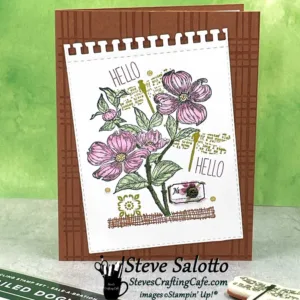
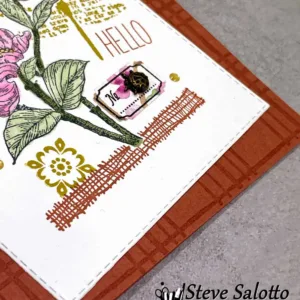
For this first card, I began by stamping the Copper Clay background with the Sketched Plaid stamp and VersaMark watermark ink.
Next I began to “build” the background. I stamped the dogwood flowers first and colored them with Flirty Flamingo and Bubble Bath Stampin’ Blends alcohol markers on the flowers and Shaded Spruce and Soft Sea Foam on the leaves.
Then I masked it and stamped the two dragonflies in Wild Wheat ink. I also stamped the crisscross bar at the bottom in Copper Clay ink overlapping the branch at the base.
The square design was stamped with Wild Wheat ink. “Hello” from an older Paper Pumpkin kit was stamped in black. I stamped the label on DSP (Designer Series Paper) and then punched it out using the Best Label Punch.
A few retired embellishments were added; the gold glitter enamel dots and the little ladybug. (I think I still have two left, so you’ll see them again. Ha, ha!) One of the Gorgeously Made dies was used to create the top spiral “ripped” edge.
Know When to Stop
That’s it. There was really no rhyme or reason to why I did what I did. I just kept adding until I like the way it looked and then… and here’s a little tip, I suppose… it’s important to know when to stop.
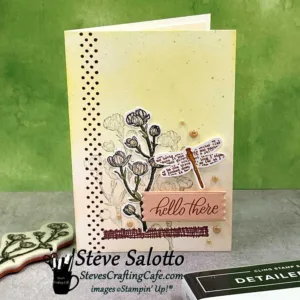
3.5 x 5" Notecard
I blended Petal Pink and Lemon Lolly Ink to create the background. I stamped off the dogwood branch twice in Cherry Cobbler directly over that to get the light shadow, and then stamped the crisscross bar in Cherry Cobbler at the bottom (without stamping off) An additional branch was stamped on white card stock and colored with the same Stampin’ Blend colors above. Then, I fussy cut it, and glued it over the shadows.
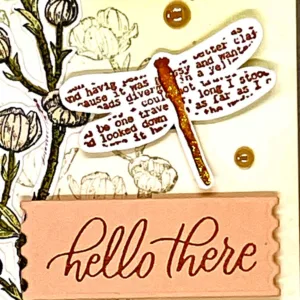
I stamped the row of dots in Cherry Cobbler ink, then sprinkled some clear embossing powder over it and heat embossed it. I stamped the dragonfly in Copper Clay ink and put a strip of gold glitter glue down it. I fussy cut it and attached it with Dimensionals.
I stamped the sentiment (from another sale-a-bration set called “Softly Sophisticated”) in Copper Clay onto a piece of Petal Pink card stock, then die cut it with one of the Perennial Postage dies, and attached it with Dimensionals. Seven Champagne Iridescent Dots were the perfect touch to finish it off. (Love those!!)
Try It Yourself
What do you think? Is this a style you think you’d like to try? Then just go for it. Get some interesting stamps, a few embellishments, and start. Remember, there are no rules so you can’t “do it wrong.” And just stop when it feels like there’s enough. Sometimes you’ll have results that will make you go, “Eh.” But more times than not, you’ll be saying, “Wow, did I do that?”
Leave me a comment below. I’d love to hear your thoughts. Until next time, keep on crafting, my friends. ~Steve
Supplies Used (Click to go to online store)
Share this:
- Click to share on Facebook (Opens in new window)
- Click to share on Pinterest (Opens in new window)
- Click to share on Twitter (Opens in new window)
- Click to share on Nextdoor (Opens in new window)
- Click to share on Reddit (Opens in new window)
- Click to share on LinkedIn (Opens in new window)
- Click to print (Opens in new window)
- Click to email a link to a friend (Opens in new window)
