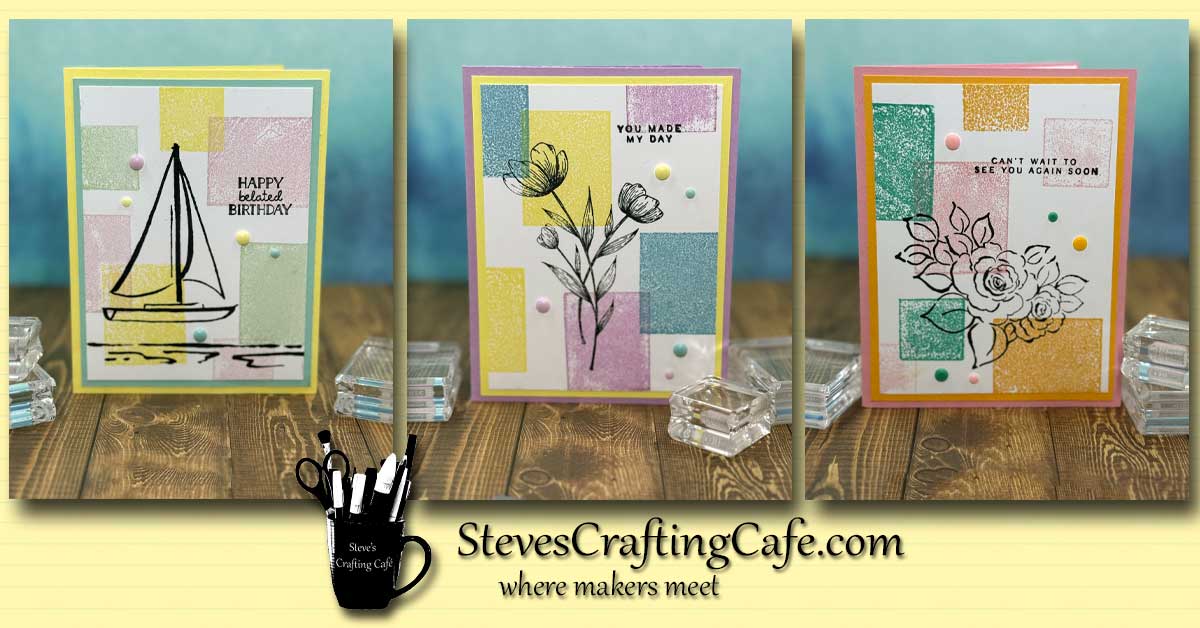
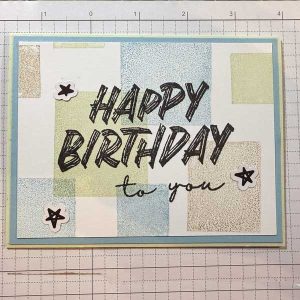
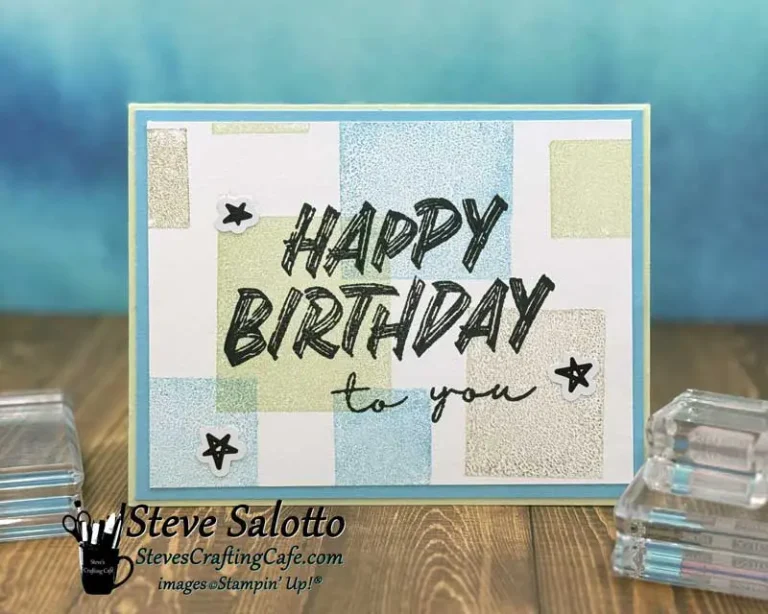
Here's a way you can use acrylic blocks to quickly create a cool background for your cards or scrapbook pages.
I love creating my own backgrounds. But honestly it can sometimes be a little time consuming, and I don’t always have the luxury of time. (Work annoyingly interferes with my crafting addiction… eh, I mean, hobby.) So anytime I can learn a quick background technique that’s also pretty cool, I’m in!
Simple and quick and versatile
How cool are these backgrounds? They’re so simple and quick to make. while also being interesting and highly versatile. You can choose any color combination. You can vary the number of blocks used, as well as the size, to achieve the look you want. And the top image can basically be whatever you want. Although it does tend to work best with black ink and stamps that have solid line drawings. It gives the illusion that the image is sitting on top of the color blocks. Cool, right?
Follow along below as I make one of these cards.
Choose your colors and gather your blocks
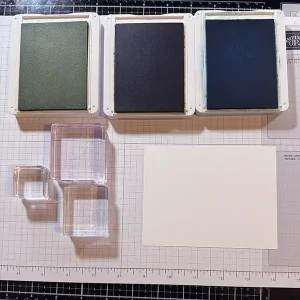
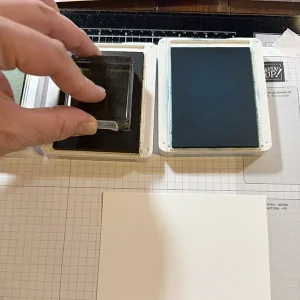
For the background, first start with choosing your colors. I used three for each of these cards, but you can alter that to your liking, using more or less. The other item you’re going to need is… yep, you guess it… acrylic blocks. Anyone who is a stamper is going to have these, so just get a few in different sizes. I kept mine small so that I could do multiple stamps on each card. In reality, you only need one block to do this, but I like it better using two or three.
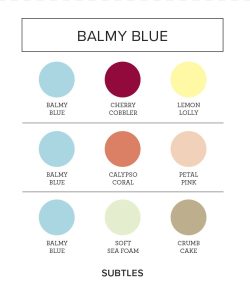
Selecting Your Colors
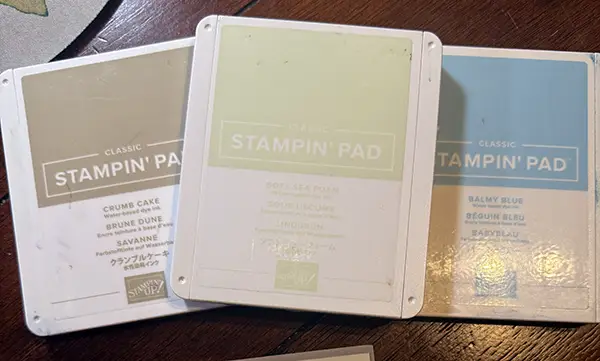
A great tool for selecting colors is the Color Coach Chart that Stampin’ Up! releases each year with their annual catalog. It provides three color combination suggestions for every color that Stampin’ Up! sells. For example, this one pictured is for Balmy Blue and I used the third combination for one of my cards. You can download the Color Coach Chart for free here on my website. Just click here.
To Mute or Not To Mute
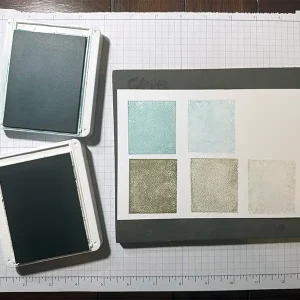
The last thing you need to decide is if you want the ink stamped in full color or muted a bit. Personally, I muted almost all my colors so they didn’t overpower my stamped image. The way you mute the colors is simply by “stamping off.” Press your acrylic block into the ink pad, then press the block onto white scrap paper first to remove some of the ink before pressing it onto your card stock. It’s that easy! Always test it out first for any color you’re considering. For some darker colors, you may even stamp off a second time to achieve the shade you want, like I did for Crumb Cake in the next picture.
Create the Background
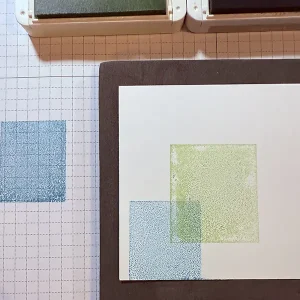
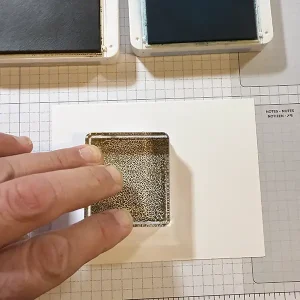
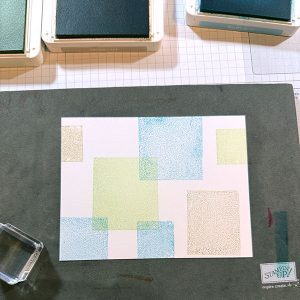
Time for the fun part… you get to create your background! Just press the blocks into the ink pad, saturating the entire square or rectangle. Then press it onto the card stock. (Press it onto scrap paper first if you want to stamp off.) Here are a few tips to keep in mind:
- Using a foam mat under your card stock when you’re pressing the block into it will provide more even coverage.
- Start in the center and move out from there, allowing some to “go off the page.”
- For variety, alter the way you hold your blocks if they’re rectangles so they’re not all going in the same direction.
- Overlap a few, but not all of them.
- Don’t stress if your stamping isn’t completely opaque. There will be a “patchiness” to them, sometimes just a little and sometimes a lot. A portion of that will go away when the ink dries. Regardless, it’s part of the charm of this style. Embrace it!
And Then the Rest
Once you’ve got the background made, the rest is easy. Stamp your image in black ink onto the card stock. It looks best when the lines are fully filled in, so I recommend using a stamping platform. (e.g. Misti) That way you can stamp it twice or even three times to get those perfect solid black lines. I tried several images and was happy with the results of all of them. So, I thought I’d try a “sentiment-only” stamp with big thick lines and I have to say, I’m just as happy with this one.
The sentiment is from the “Layered Thoughts” stamp set from Stampin’ Up! and the stars are from the “Good Times” ephemera pack. Last step is to glue your piece onto a mat, and then onto a card base. I chose two of the colors I stamped with for those, and voila! Here’s my finished card.
I hope you enjoyed this post and I really hope you try it out for yourself. It’s so easy and versatile and the perfect design to use when you’re pressed for time. You can download a complete supplies list below, as well as an instruction sheet with measurements.
If you don’t have a Stampin’ Up! Demonstrator I’d be happy to take care of anything you need. You can browse my online store by clicking “Shop Stampin’ Up!” in the menu above. Or you can reach out to me directly via email or text. Both are in the footer below. I love to answer questions, or help inspire a new idea, so don’t be shy, say hi.
So, until next time my friends, I hope you have wonderful days and always find time to keep on crafting! -Steve
Items below are linked to my online Stampin’ Up! store. Just click and you will be taken there. Print the list of items by clicking on “Supply List” at the bottom.
Share this:
- Share on Facebook (Opens in new window) Facebook
- Share on X (Opens in new window) X
- Share on Pinterest (Opens in new window) Pinterest
- Share on Nextdoor (Opens in new window) Nextdoor
- Share on Pocket (Opens in new window) Pocket
- Share on Reddit (Opens in new window) Reddit
- Share on LinkedIn (Opens in new window) LinkedIn
- Print (Opens in new window) Print
- Email a link to a friend (Opens in new window) Email
Related
Discover more from Steve's Crafting Café
Subscribe to get the latest posts sent to your email.

