Decisions, Decisions
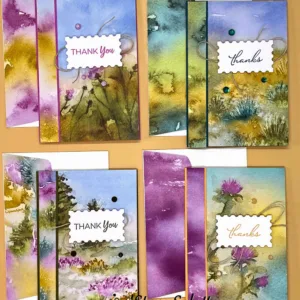
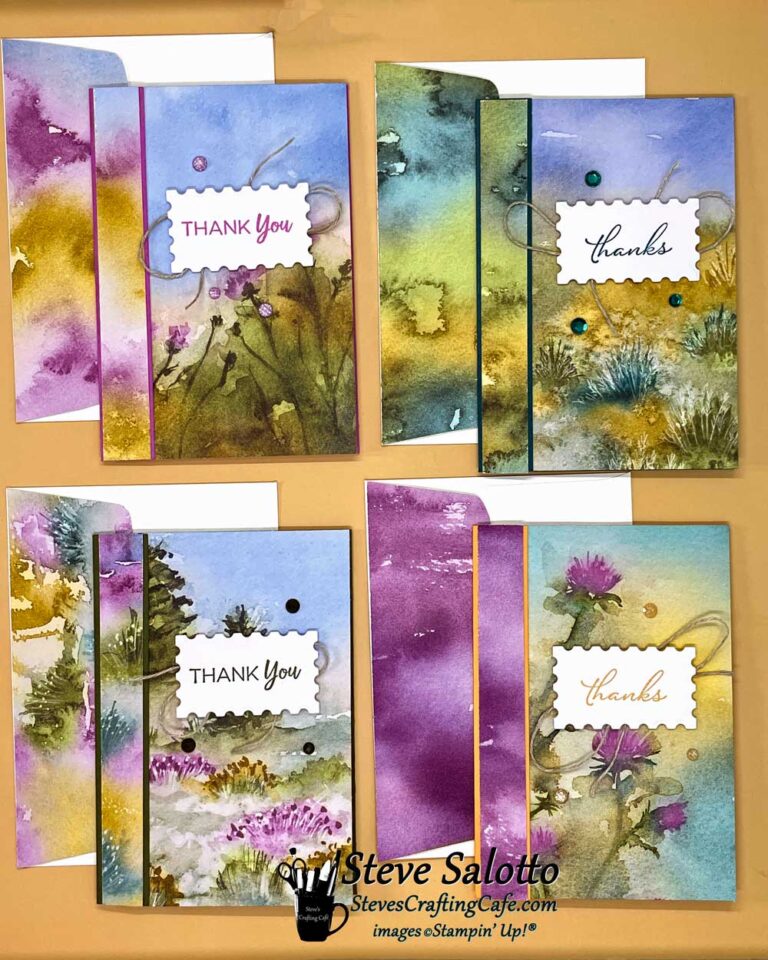
You’ve been there. You’re sitting in your craft room with double-sided patterned paper flipping back and forth, not sure which side to use since you love them both. And finally, you choose… another paper. Ugh! Well, fret not, my friends, because this card design will enable you to see both sides of the paper on the same card!
Double, Double Toil and Trouble
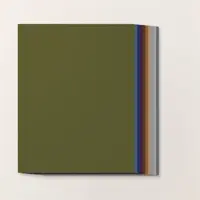
Sure, I’m a tad biased being a Stampin’ Up! Demonstrator, but their DSP (Designer Series Paper, aka patterned paper) is absolutely the best on the market. Their artists create patterns that are beautifully detailed and coordinate perfectly with each other. The bold papers are fun, and the pretty papers are gorgeous. And since they’re double-sided, that’s twice the oohs and ahs.
It also means twice as many choices to make. Too often I truly can’t decide and end up saving it to use later when I don’t love it as much anymore. How senseless is that?
Well, you can imagine then how thrilled I am by this little technique that enables you to utilize both sides of the paper on the same card. It’s really very simple, so the instructions are below, as well as a button to download them as a .pdf along with the supplies used. It works with almost any double-sided paper, so give it a try and let me know what you think.
Thank You Note Cards (Set of 4)
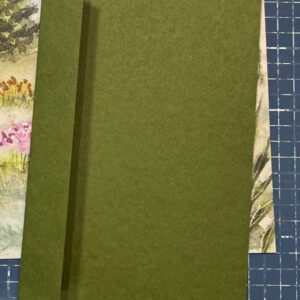
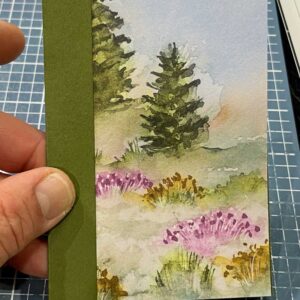
- Cut your base to 5 x 4¼, then score at ¾ on the shorter (4¼) side. Fold on the score line with a bone folder. (The ¾ “flap” will be the front of the card.)
- Cut your DSP to 3⅜ x 5.
- Glue to base behind the flap, butting the edge up almost to the inside crease. Before gluing, check to ensure that when closed, the right edge of the DSP is even with the right edge of the card base.
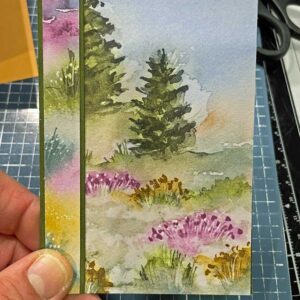
- Cut a 5 x ⅝ strip from the other side of the DSP.
- Glue to the front of the flap, leaving a slight edge from the base showing between the two DSPs.
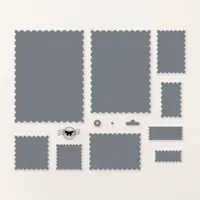
- Stamp sentiment onto white card stock and die cut into label using Perennial Postage die, then attach to card with foam Dimensionals.
- Add rhinestones to card front.
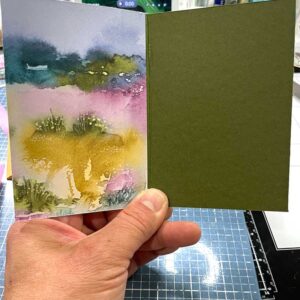
- Add a 3¼ x 4¾ piece of solid card stock to the inside of the card (where you usually write your message) in a color that complements the DSP.
Try It Yourself
Items below are linked to my online Stampin’ Up! store. Just click and you will be taken there. Print the instructions and supplies by clicking on “Supply List” at the bottom.
If you don’t have a Stampin’ Up! Demonstrator, I’d be happy to take care of anything you need. You can browse my online store by clicking “Shop Stampin’ Up!” in the menu above. Or you can reach out to me directly via email or text. Both are in the footer below. I love to answer questions, or help inspire a new idea, so don’t be shy, say hi.
Until next time, my friends. Enjoy the summer and remember to keep on crafting. -Steve
Share this:
- Click to share on Facebook (Opens in new window) Facebook
- Click to share on X (Opens in new window) X
- Click to share on Pinterest (Opens in new window) Pinterest
- Click to share on Nextdoor (Opens in new window) Nextdoor
- Click to share on Pocket (Opens in new window) Pocket
- Click to share on Reddit (Opens in new window) Reddit
- Click to share on LinkedIn (Opens in new window) LinkedIn
- Click to print (Opens in new window) Print
- Click to email a link to a friend (Opens in new window) Email
Related
Discover more from Steve's Crafting Café
Subscribe to get the latest posts sent to your email.

