They say the classics never go out of style, and that couldn’t be truer when it comes to the baby wipe technique in stamping. With just a few simple supplies, you can create beautiful and colorful cards that are perfect for any occasion.
Doing the Wipe...
To get started, you’ll need some white cardstock, baby wipes, and stamp pad re-inkers in your favorite rainbow colors. It’s best if you stick with 3-4 maximum since more colors can make the stamp look muddied.
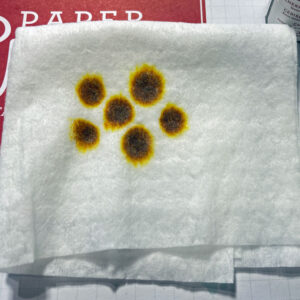
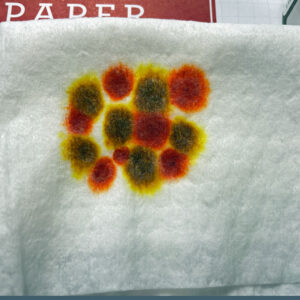
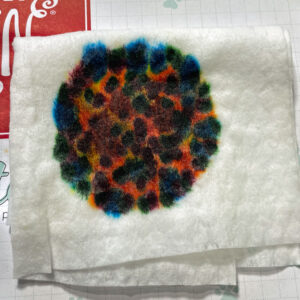
First, add several drops of each re-inker onto the center of a folded baby wipe creating a solid patch of ink bigger than the stamp you plan to use. It’s okay to overlap the colors a little since they will retain their own hue on the wipe. You just want to make sure you don’t have any white spots, or you could end up with a blank space on your stamped image.
Once you’ve added all your colors and have your solid patch of ink, it’s time to stamp. Usually, when inking a stamp, you tap it several times on the ink pad for optimum coverage. Here, you’re going to use the ink on the baby wipe as your “ink pad” and you’re going to push the stamp into it only once. (This is why you want to make sure the patch is bigger than the stamp and there’s no white spots.) You should notice the ink is wetter than normal on your stamp due to the liquid in the baby wipe. Stamp it directly onto your white card stock and marvel at the results.
Variations...
Try stamping the image you want several times. Each time you re-ink, place it in a different spot of the ink patch to pick up different colors in different areas. Then choose your favorite. You can also spritz the stamp with water after inking it to get a more water colored look when you stamp it. Since you never know exactly what the image will look like until it’s on your paper, this technique can be used over and over again without feeling like it’s the same old thing. Different color combinations produce dramatically different results. Try reds and greens for Christmas cards. Or various shades of purple or blue for a monochromatic card. The possibilities are truly endless. Who knows? You may even serendipitously create rainbow daisies just as Pride month is beginning. 😊
Serendipitous samples...
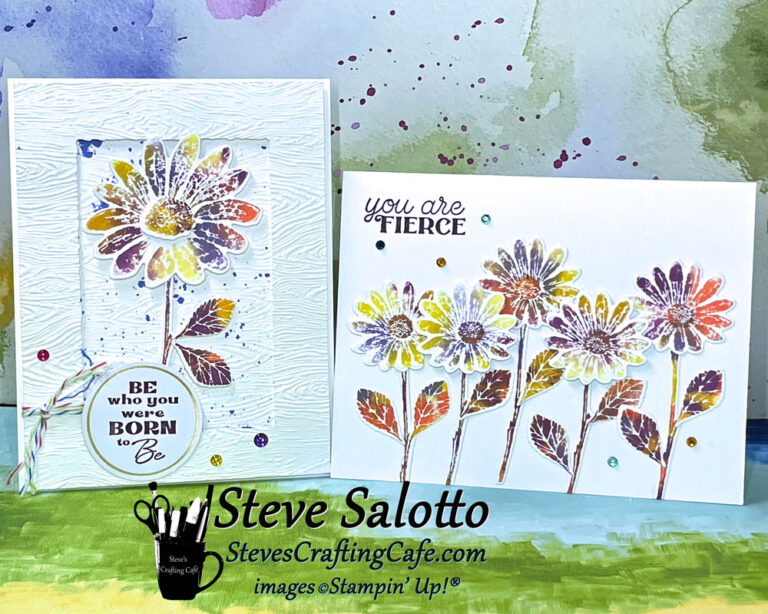
For these cards I used the Cheerful Daisies stamp set and matching Dasies dies from Stampin’ Up! I thought the colors would blend a little more, so when they came out so distinct and clear, I was blown away. The colors are crisp and clean and look like they were professionally printed. I just loved the resulting rainbow look. When I realized June was starting soon, it occurred to me these would make great “coming out” cards. Or maybe a birthday card for a friend who loves rainbows. Or maybe you give it to Kacey Musgraves because she sings that song “Rainbow.” Yet again, the possibilities are endless. 😊 Anyhoo… I chose a few key sentiments and voila! My pride-themed rainbow cards were complete.
Bonus technique...
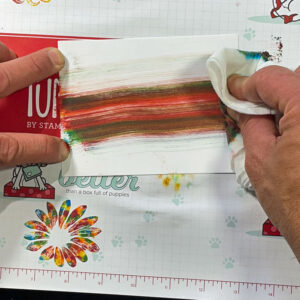
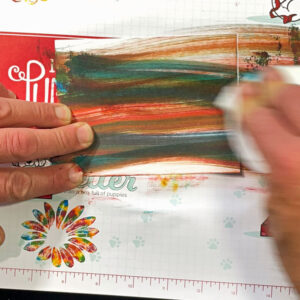
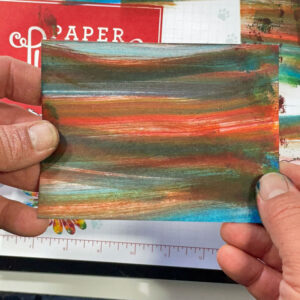
But wait! There’s more. One you’re finished, take that baby wipe and lightly swipe it across a blank piece of card stock a few times. You’ll end up with an amazing background that can be used as-is, or die cut into shapes, or punched out for sentiment labels, or… Well, you get the point.
Try it out and let me know what you think. If you love playing with colors, and a good mystery tickles your fancy, you’ll be thrilled with this technique. Have fun, my friends. Take care of yourselves, and remember to keep on crafting! -Steve
Share this:
- Share on Facebook (Opens in new window) Facebook
- Share on X (Opens in new window) X
- Share on Pinterest (Opens in new window) Pinterest
- Share on Nextdoor (Opens in new window) Nextdoor
- Share on Pocket (Opens in new window) Pocket
- Share on Reddit (Opens in new window) Reddit
- Share on LinkedIn (Opens in new window) LinkedIn
- Print (Opens in new window) Print
- Email a link to a friend (Opens in new window) Email
Related
Discover more from Steve's Crafting Café
Subscribe to get the latest posts sent to your email.

