Paper Pumpkin Kits 2024 Gallery
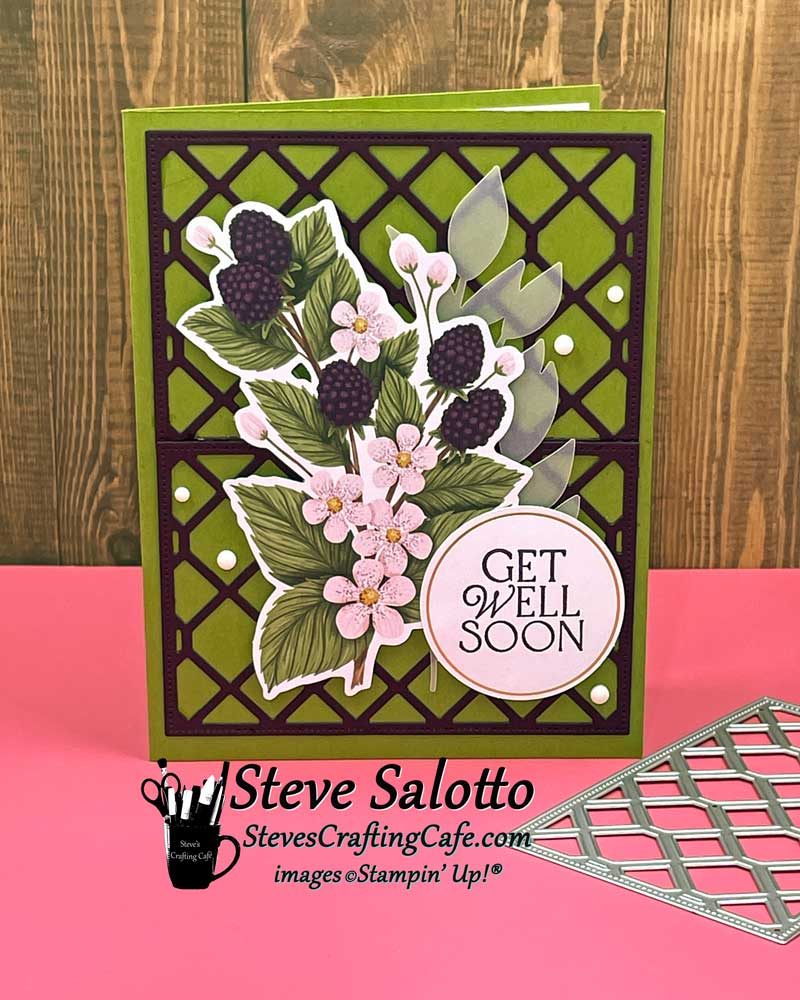
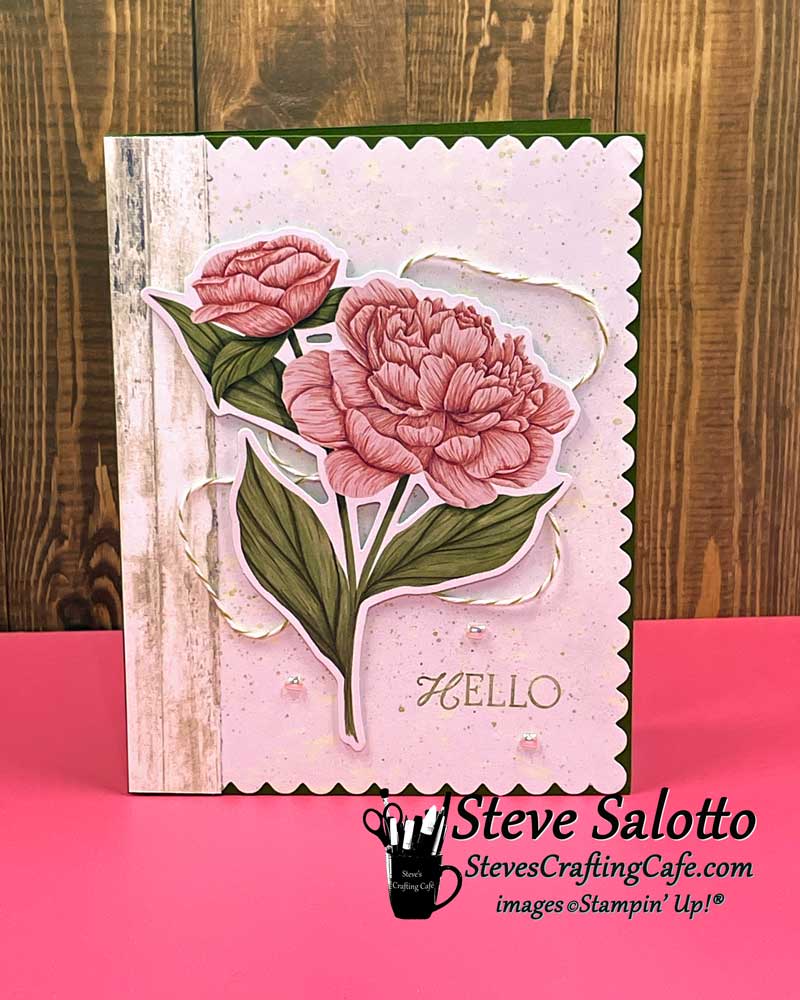
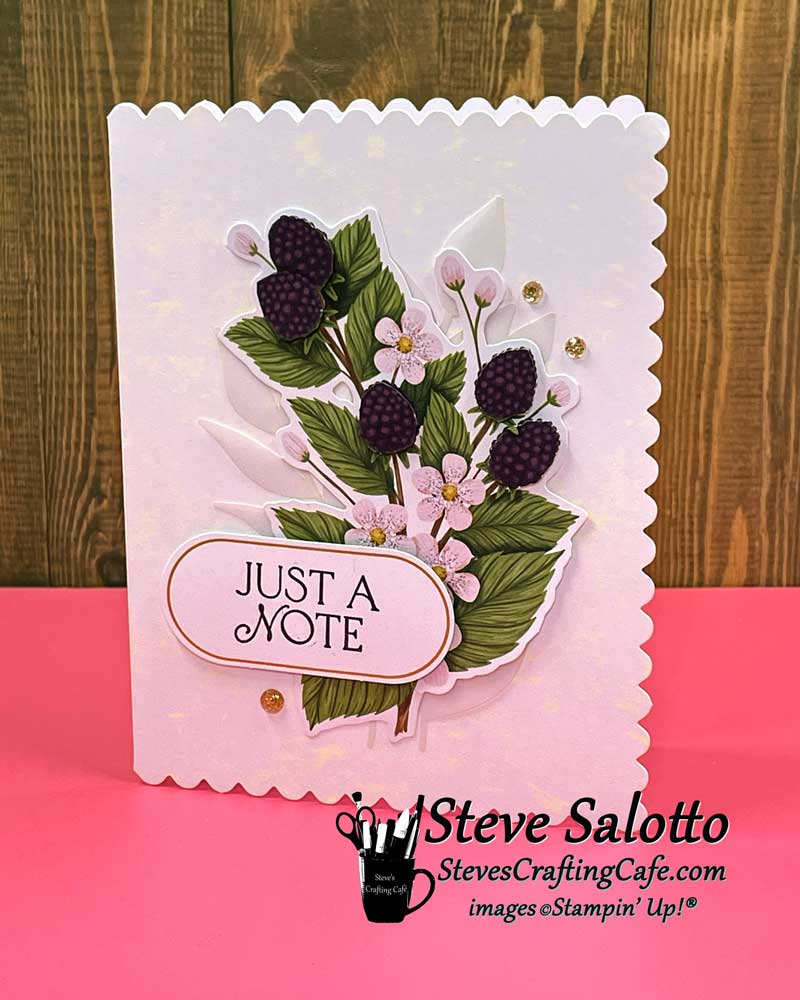
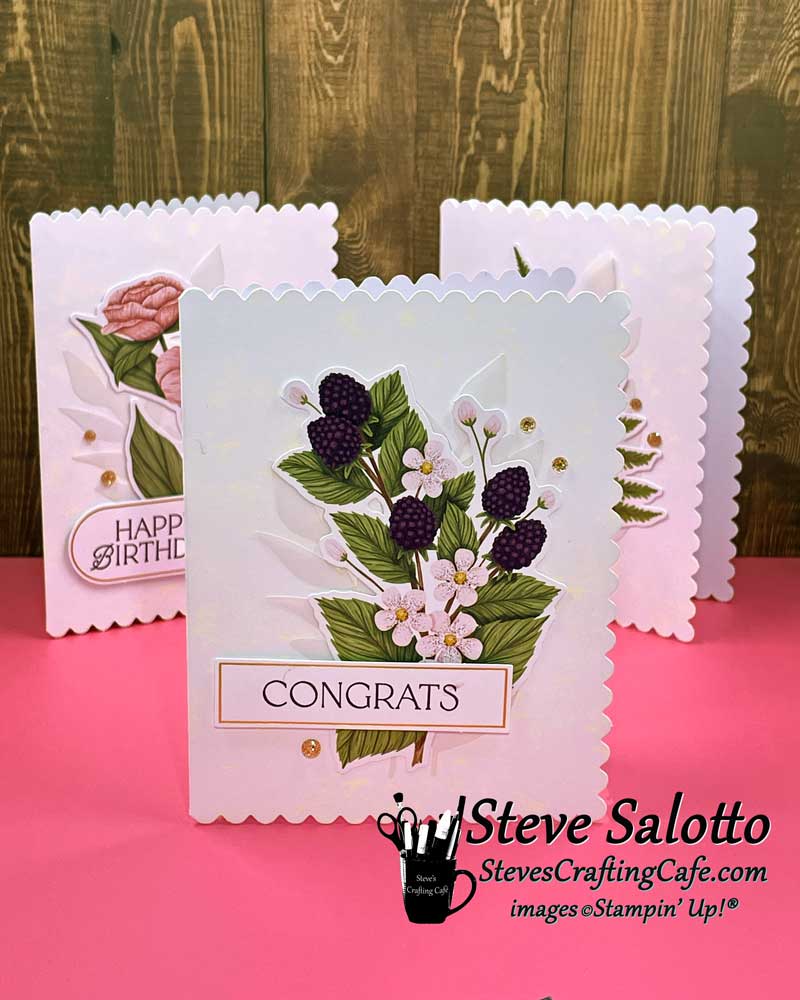
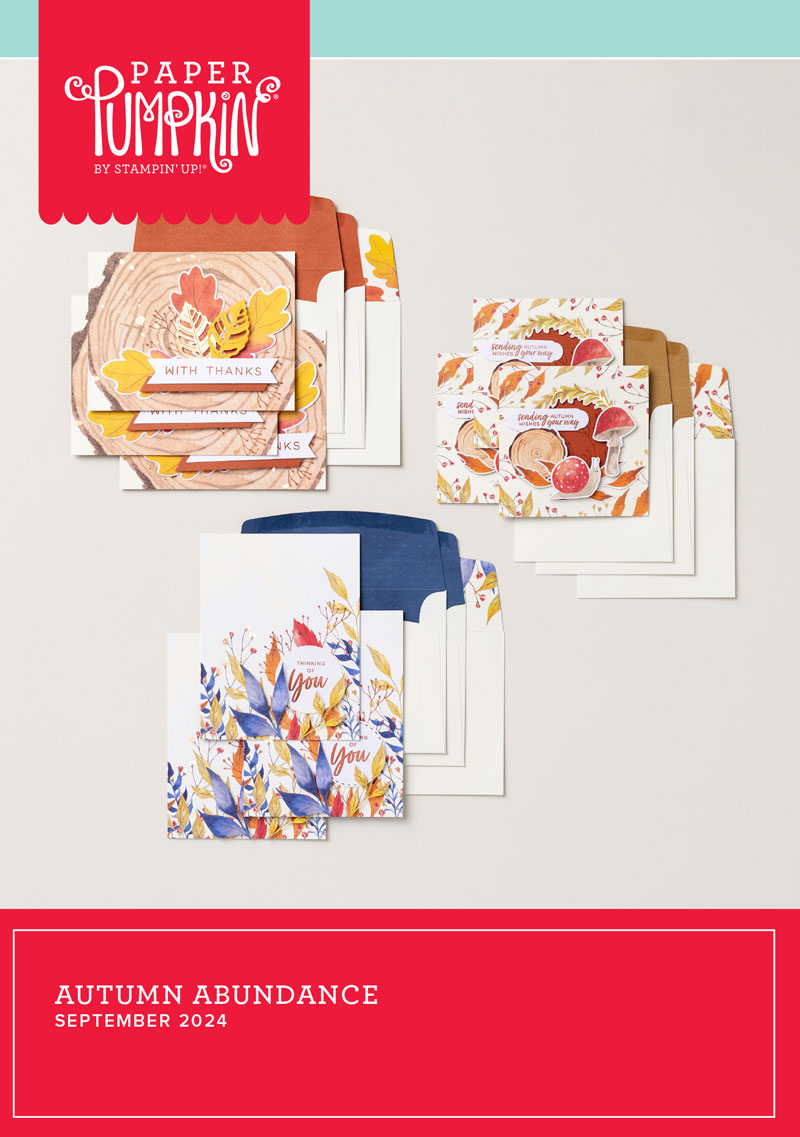
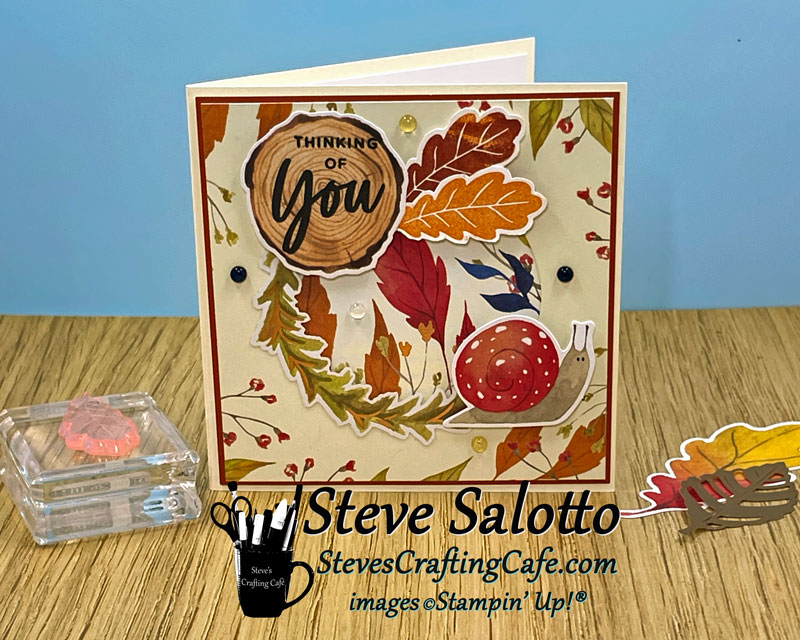
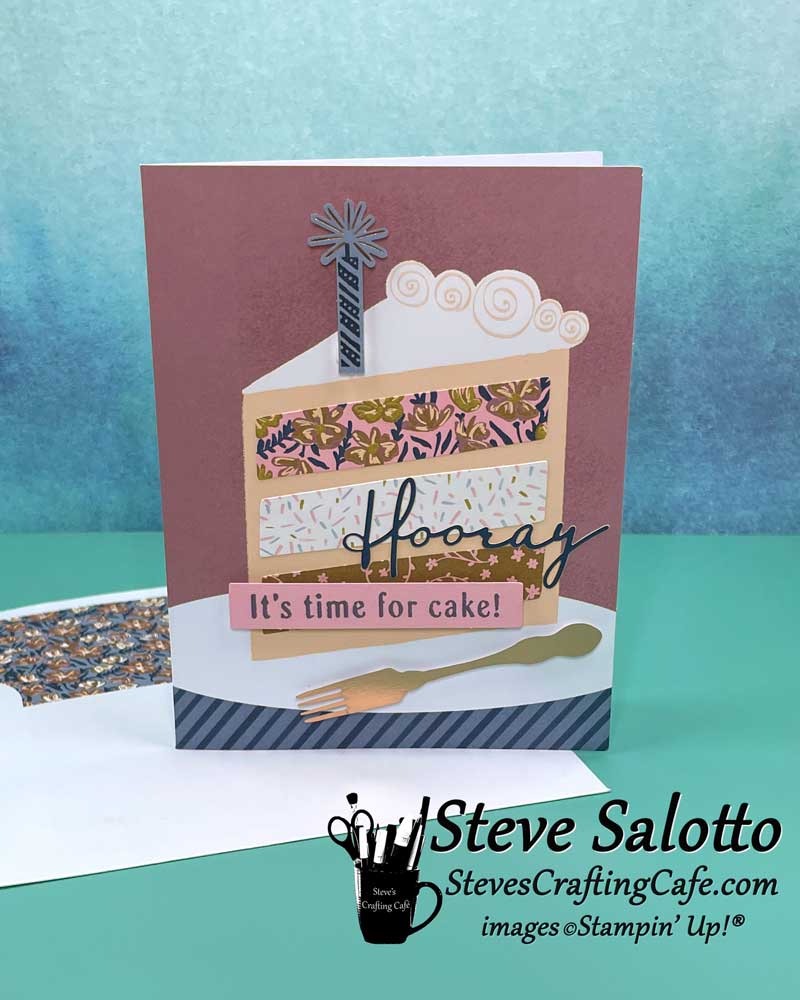
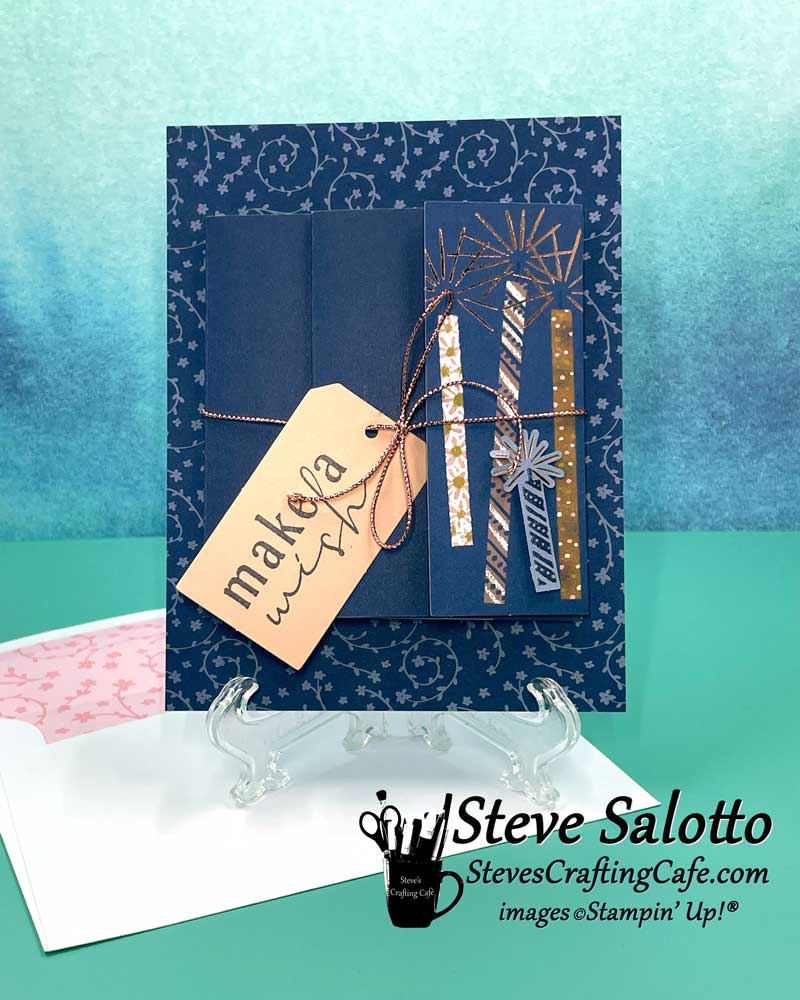
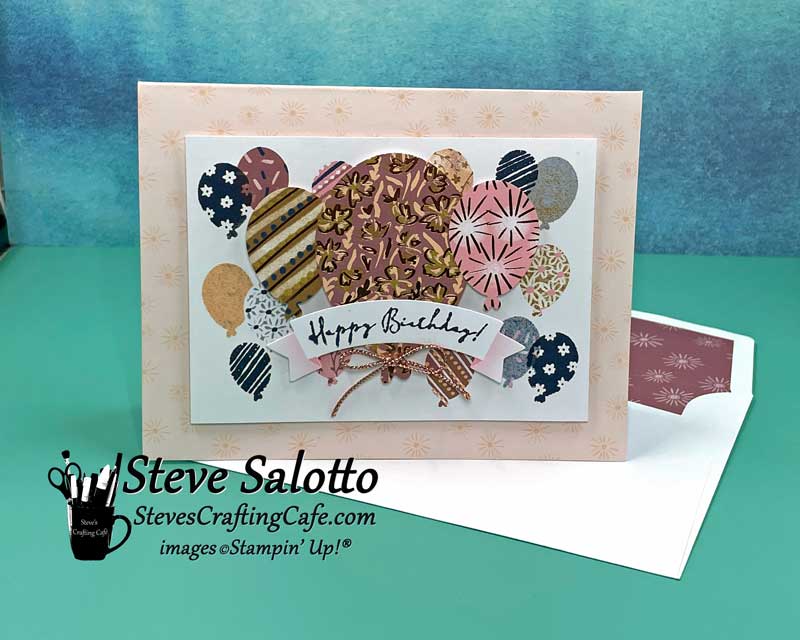
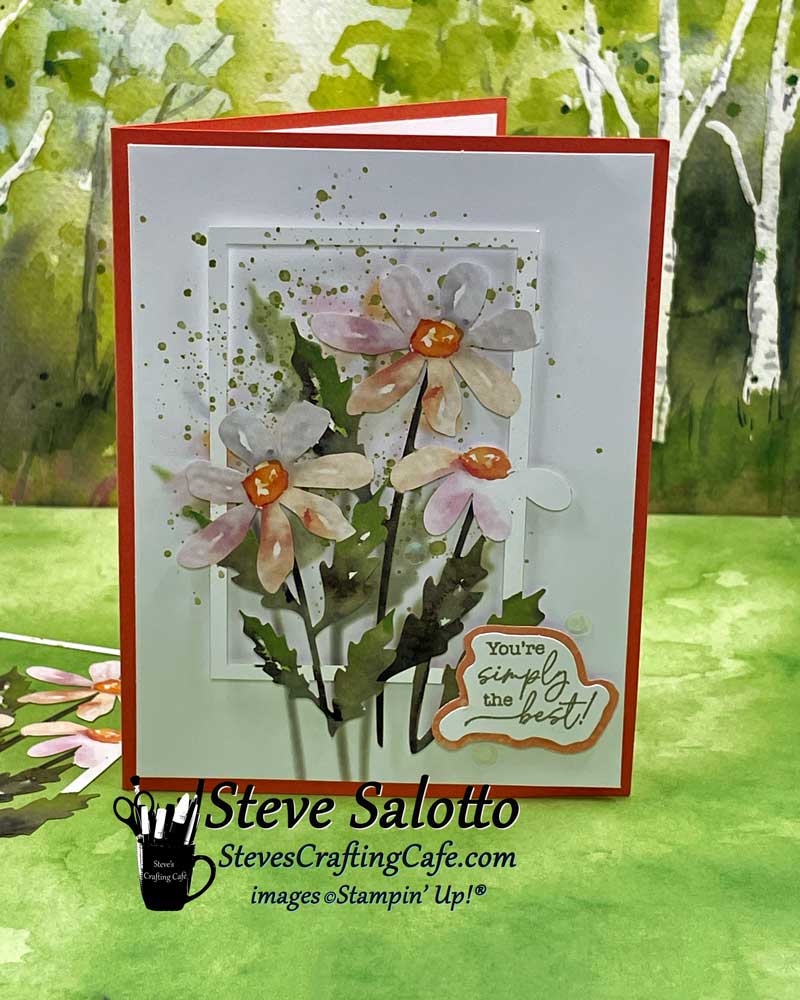
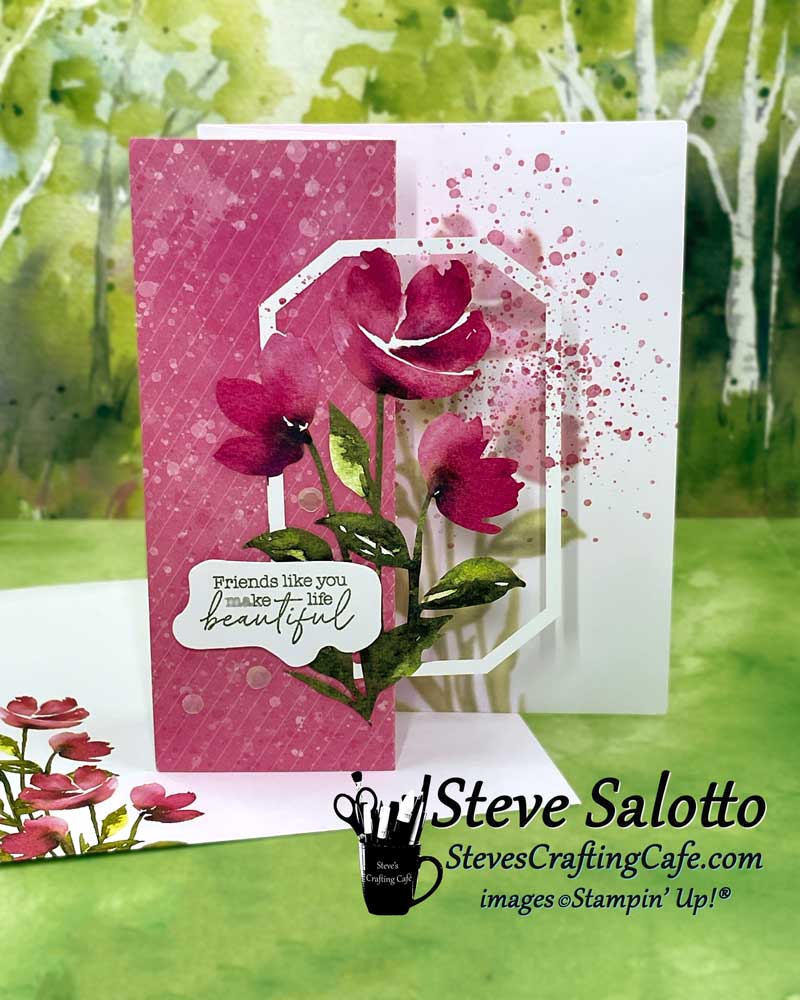
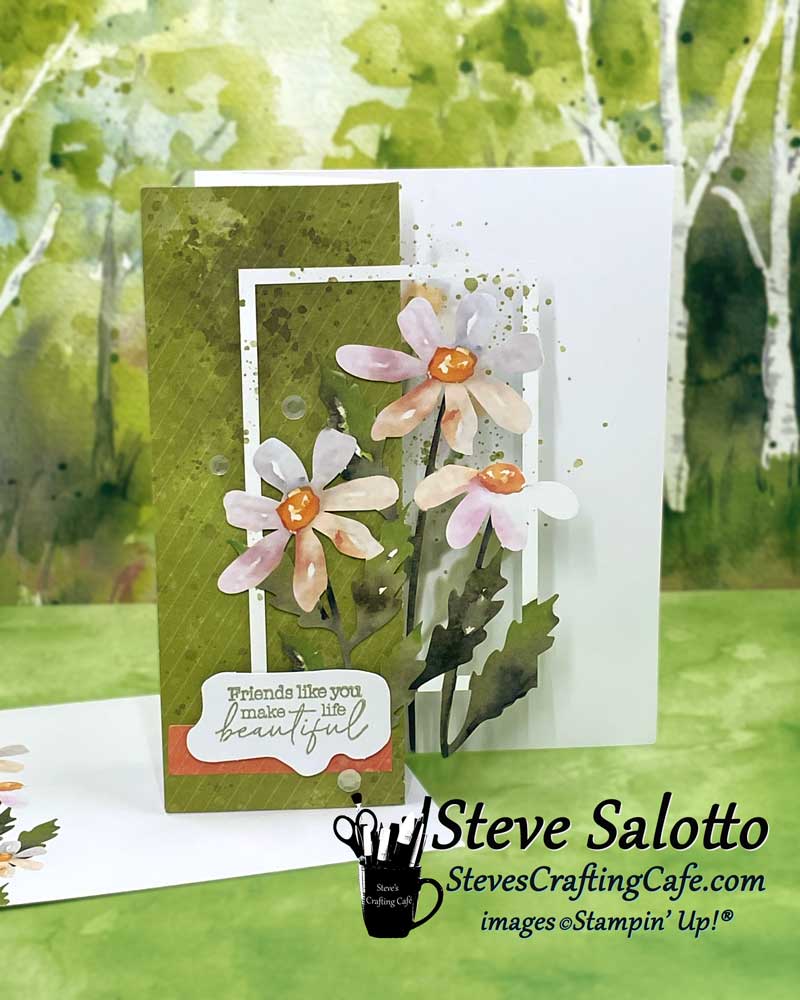
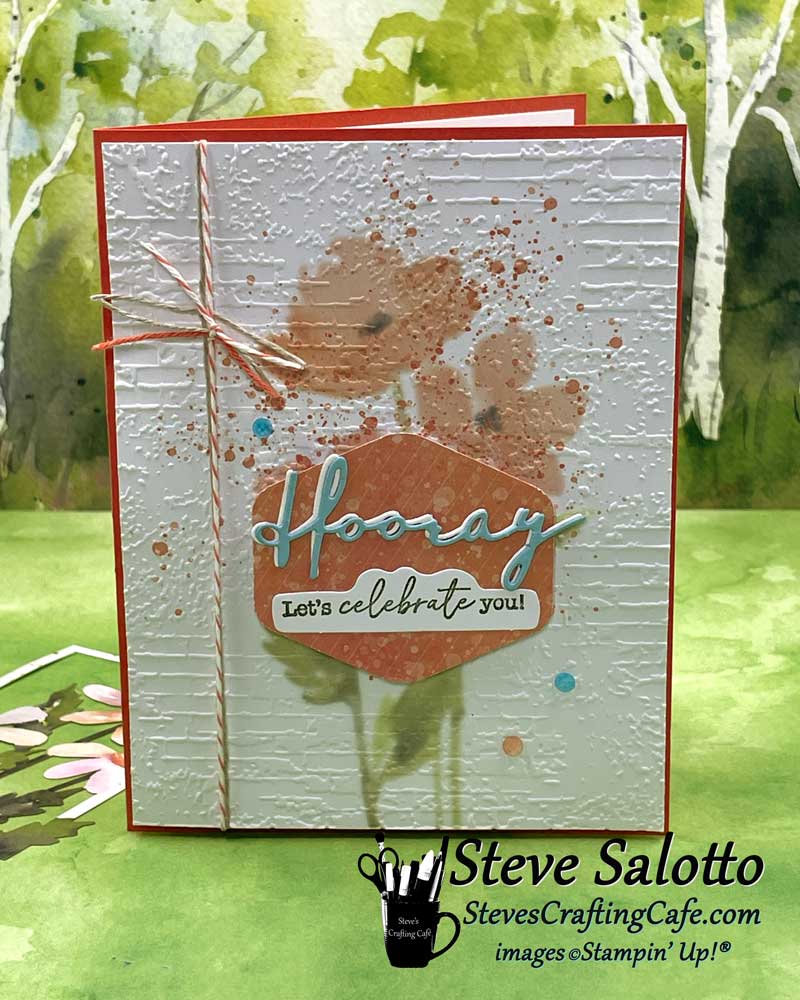
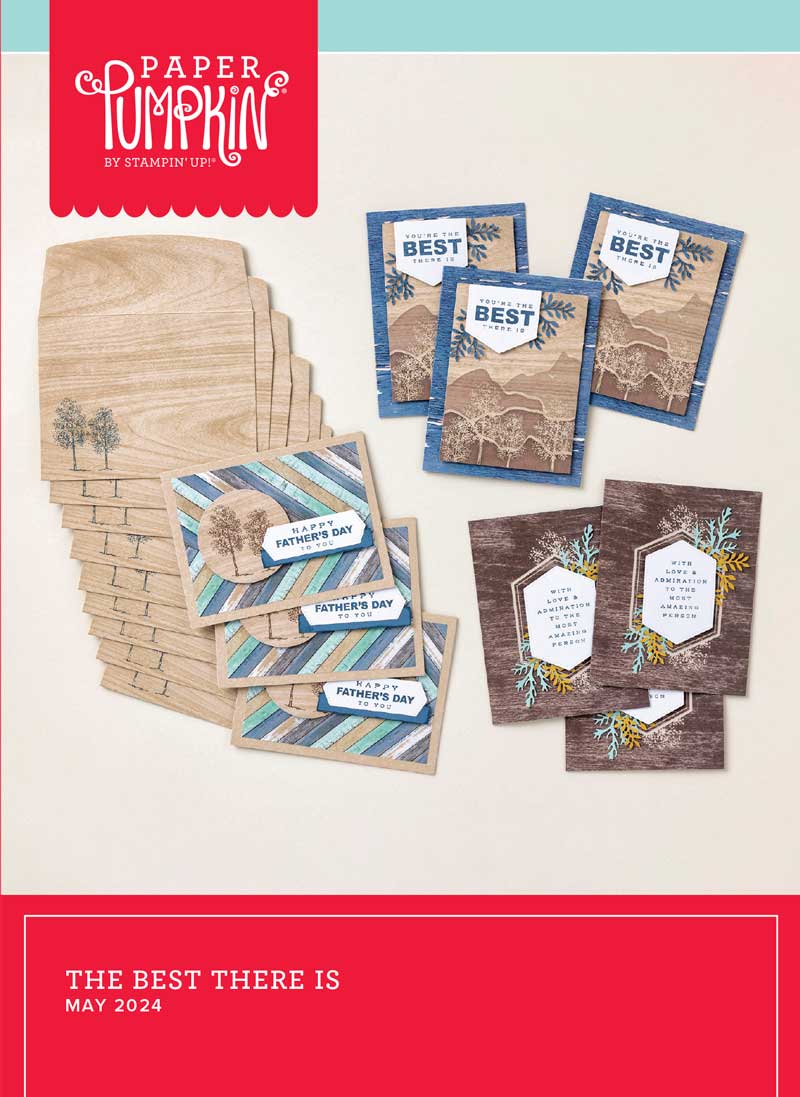
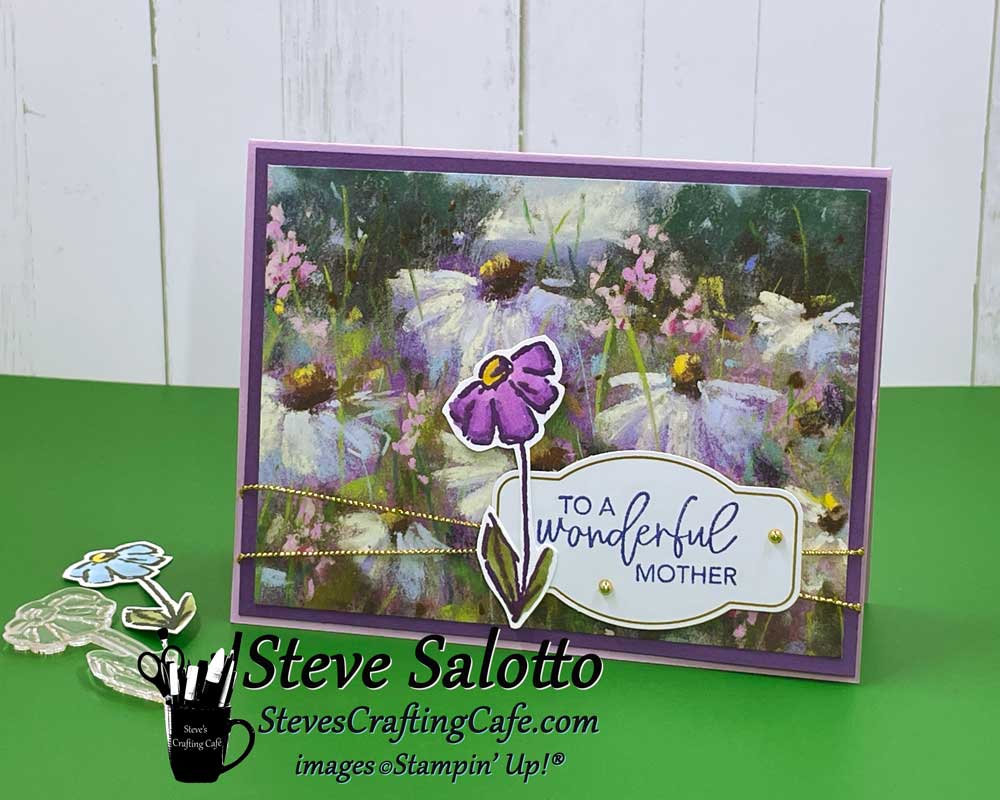
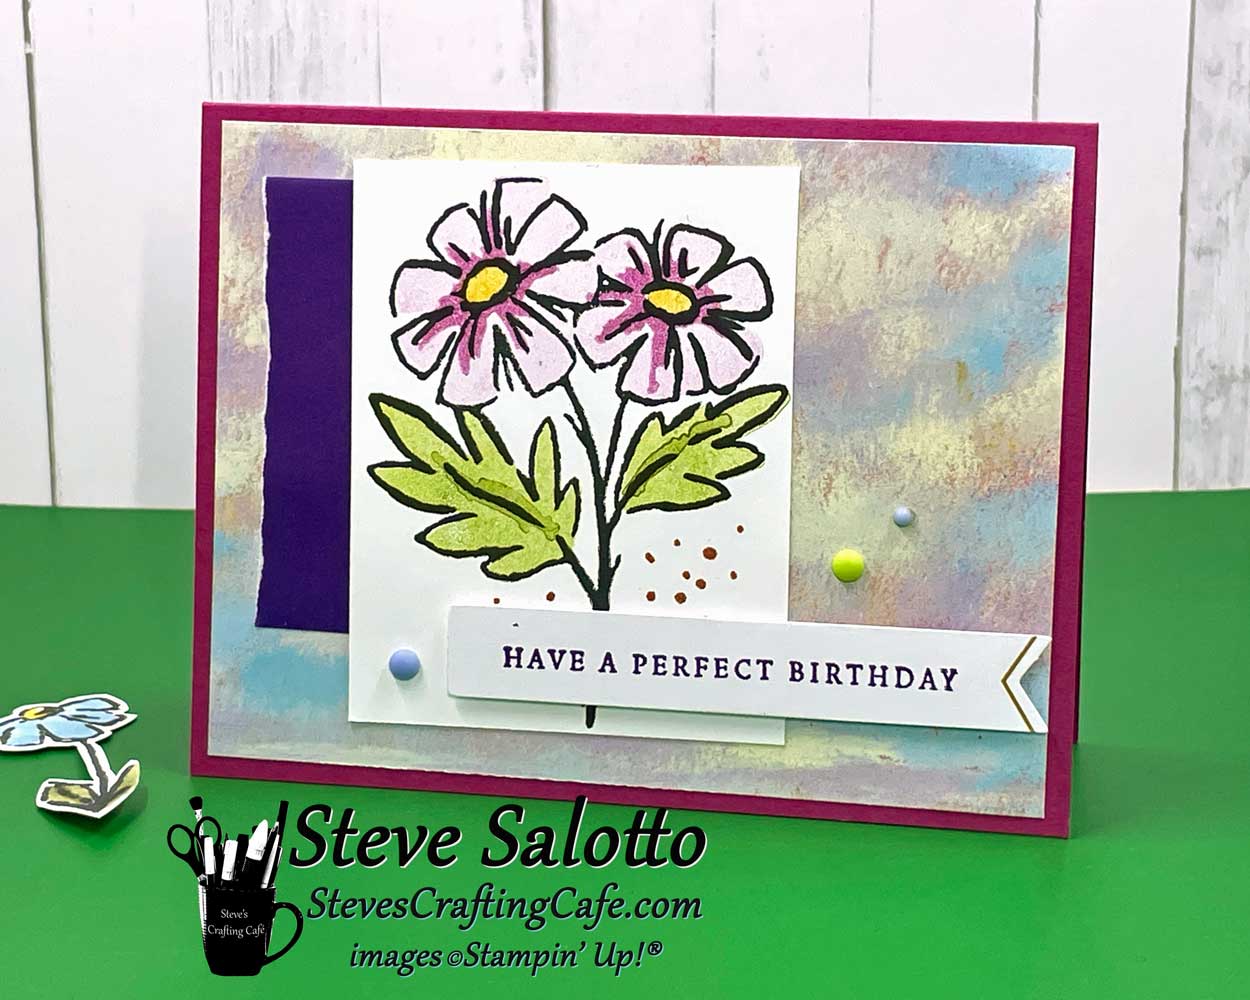
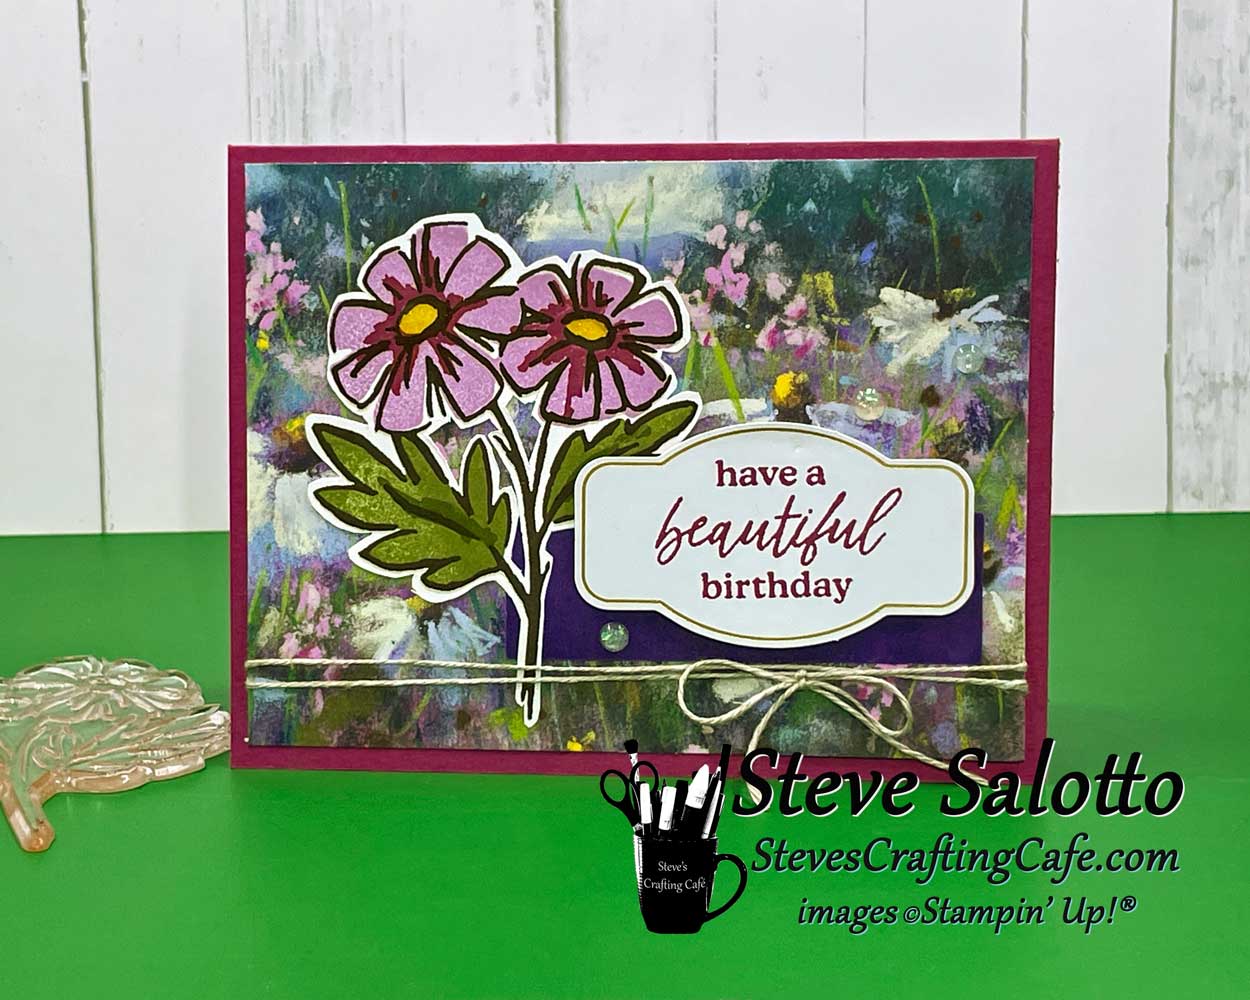
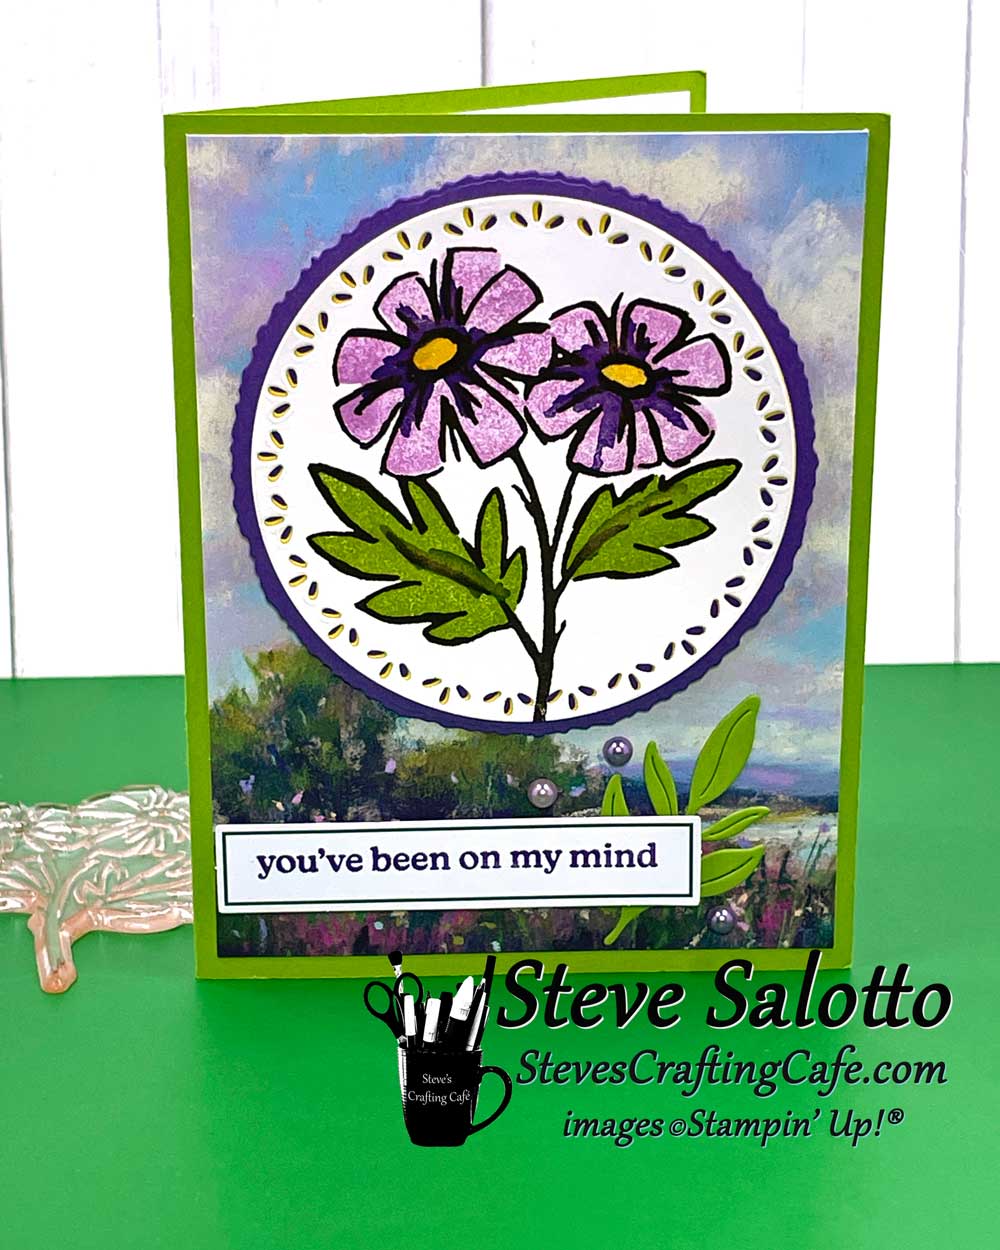
Paper Pumpkin Gallery 2024
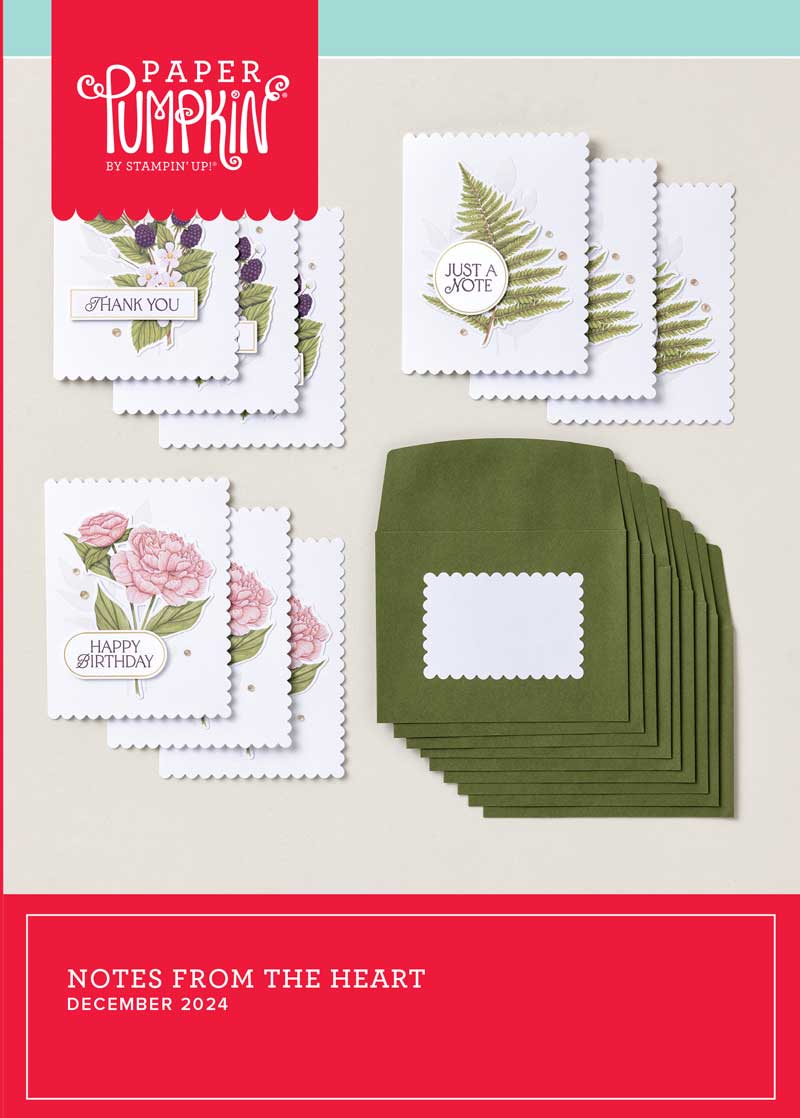
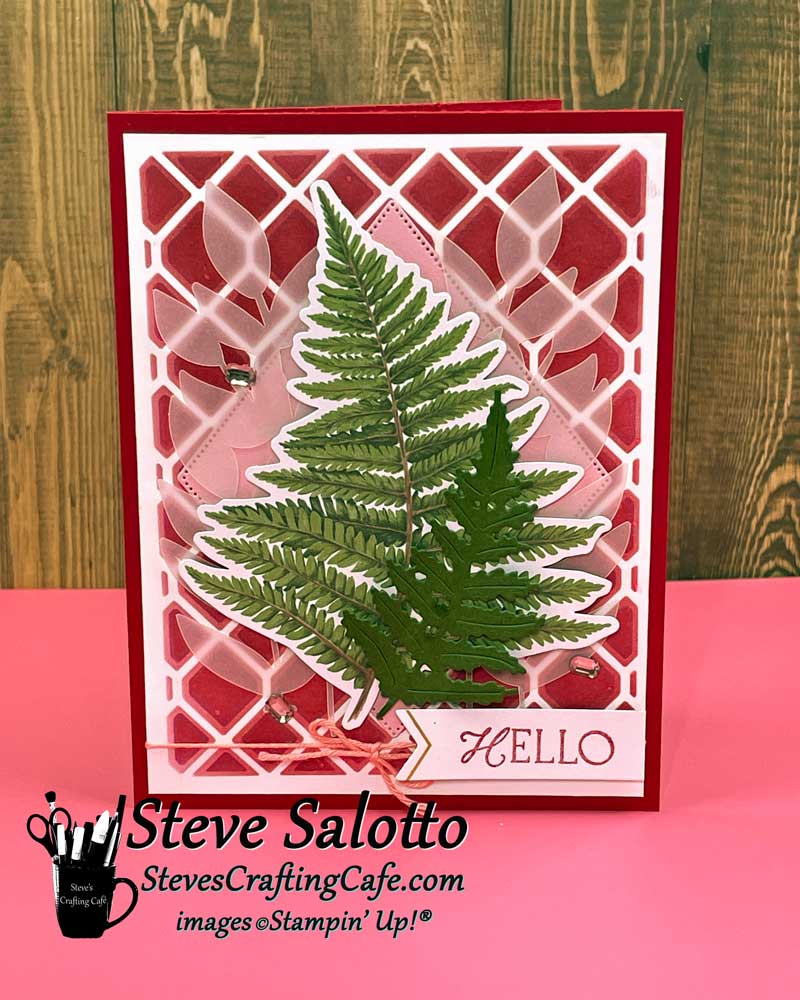
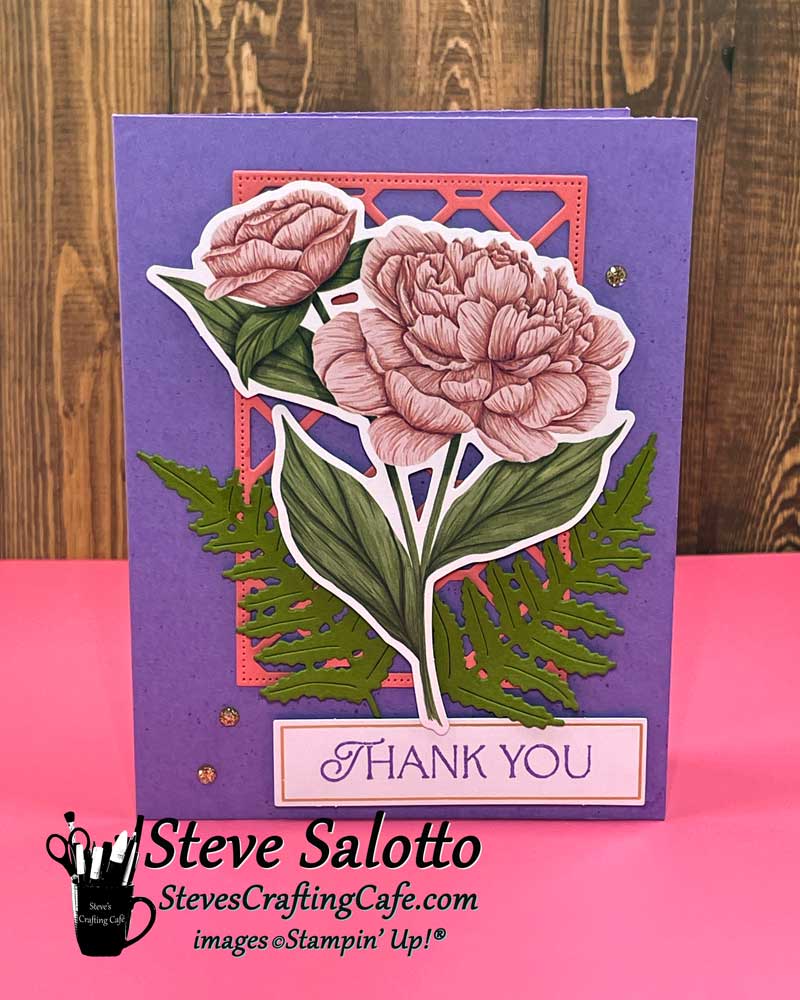
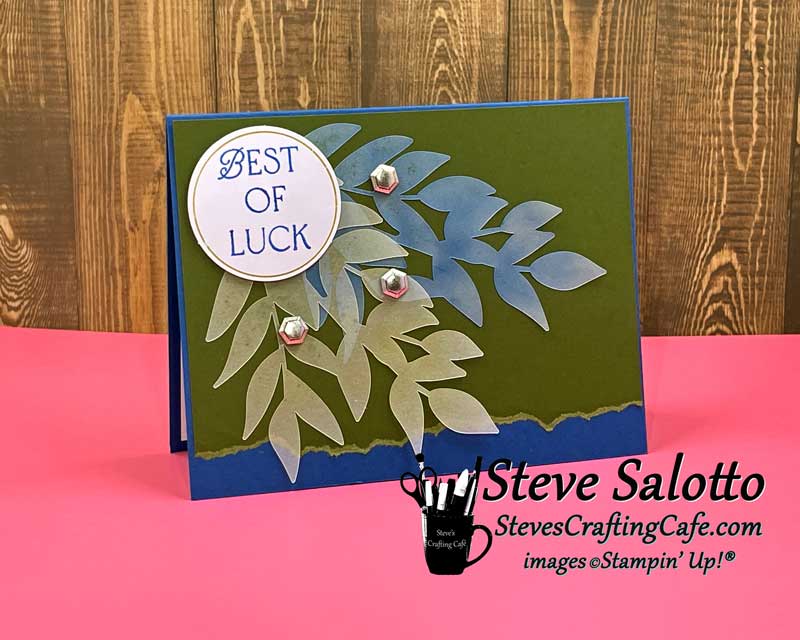
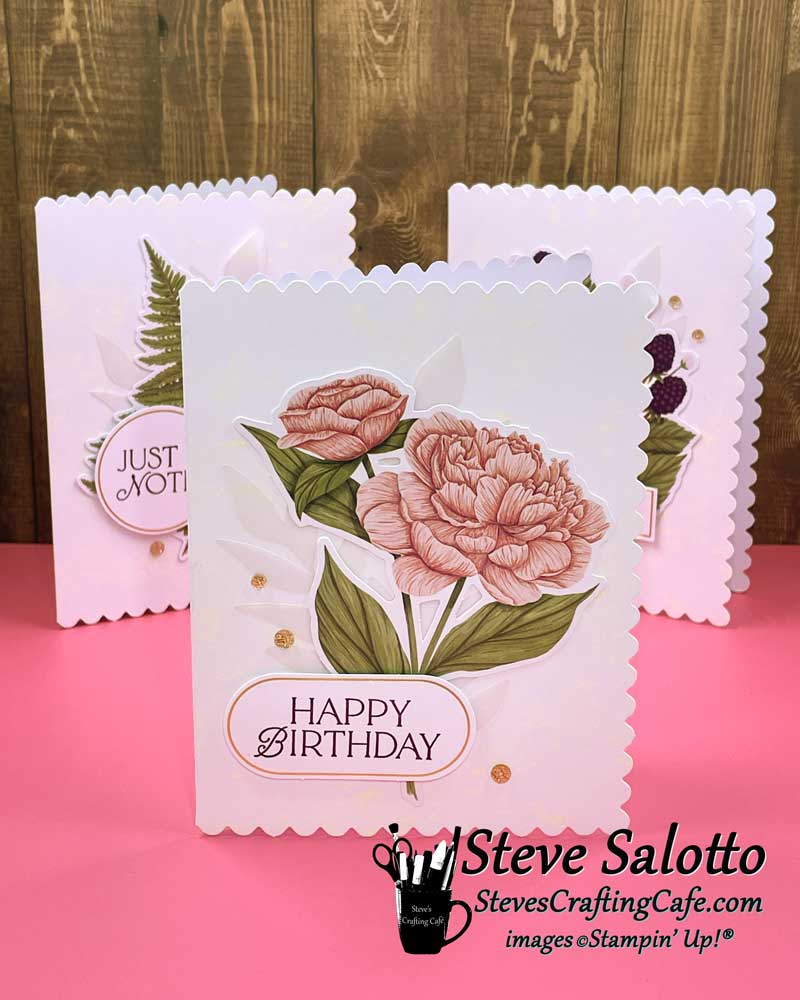
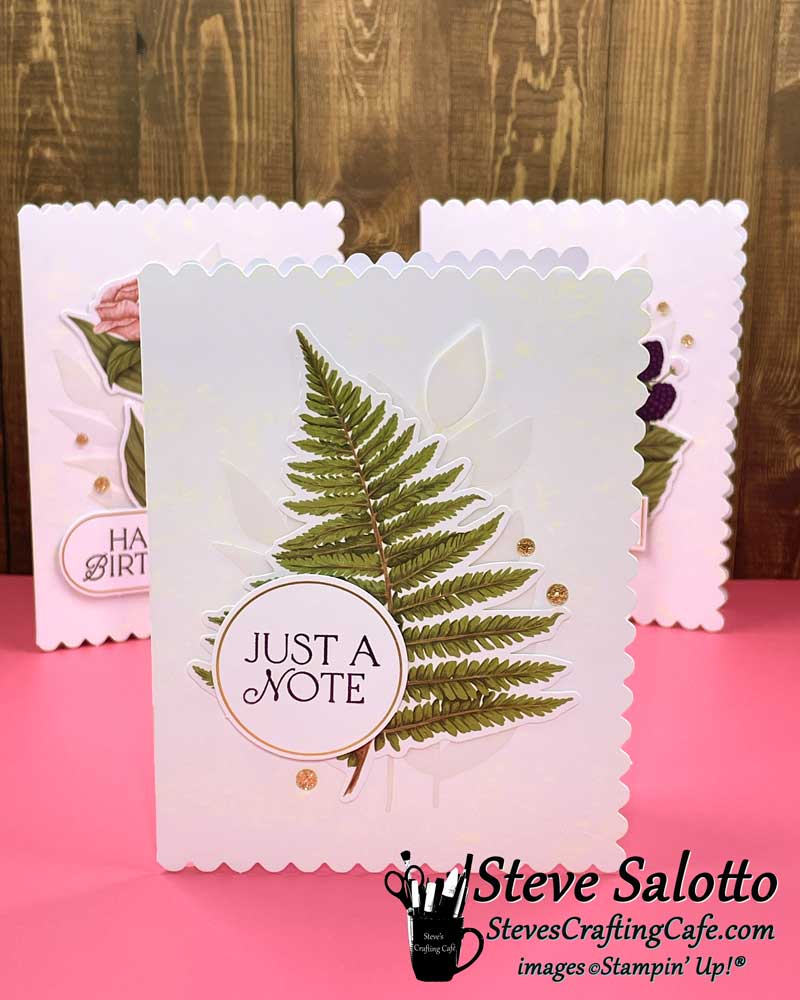
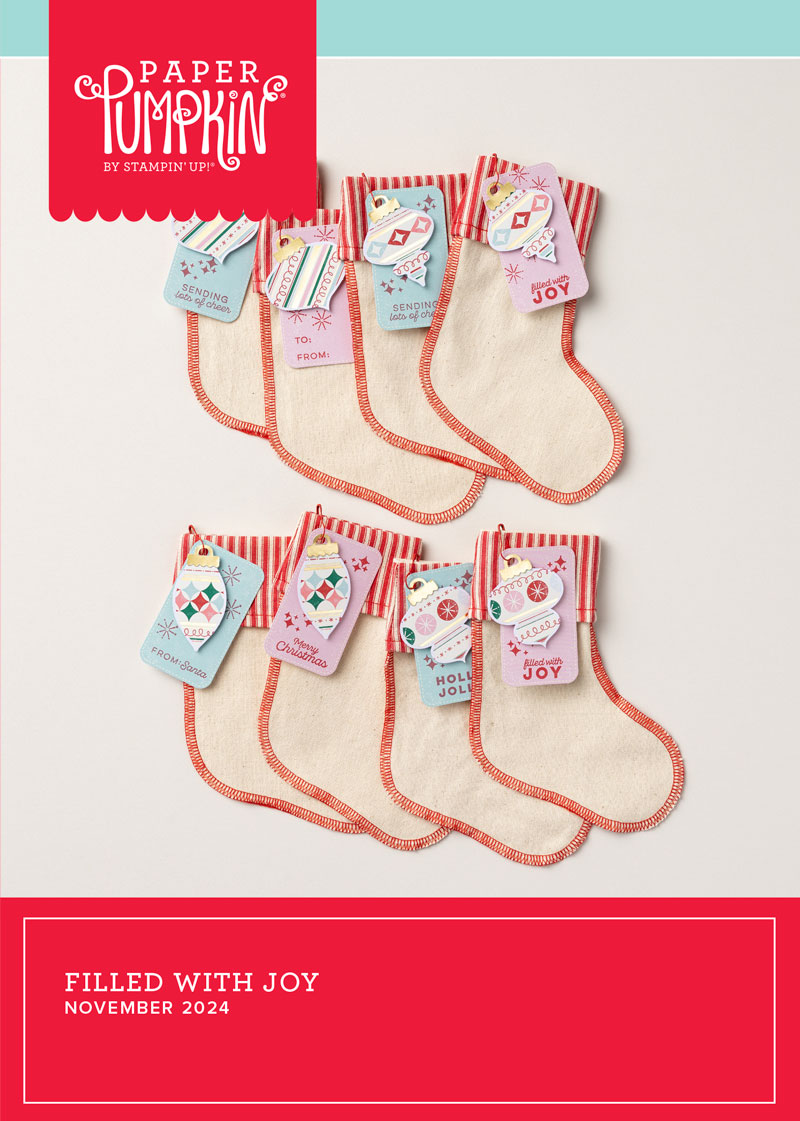
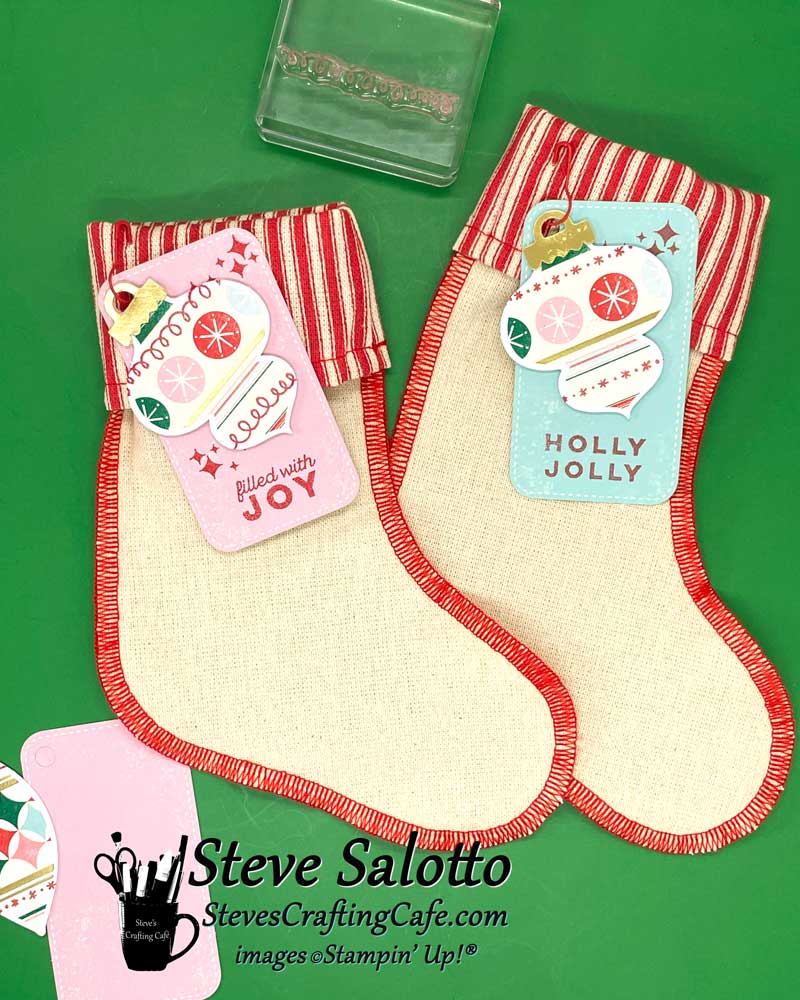
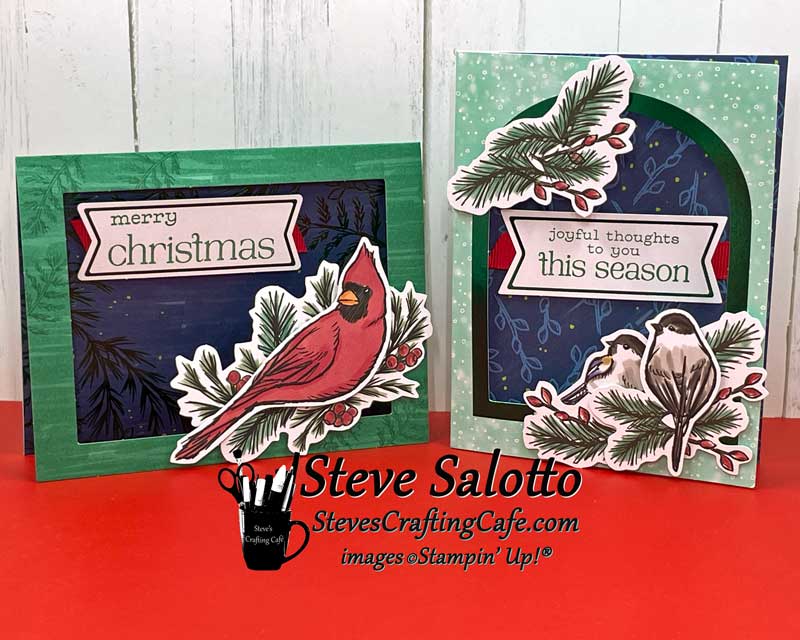
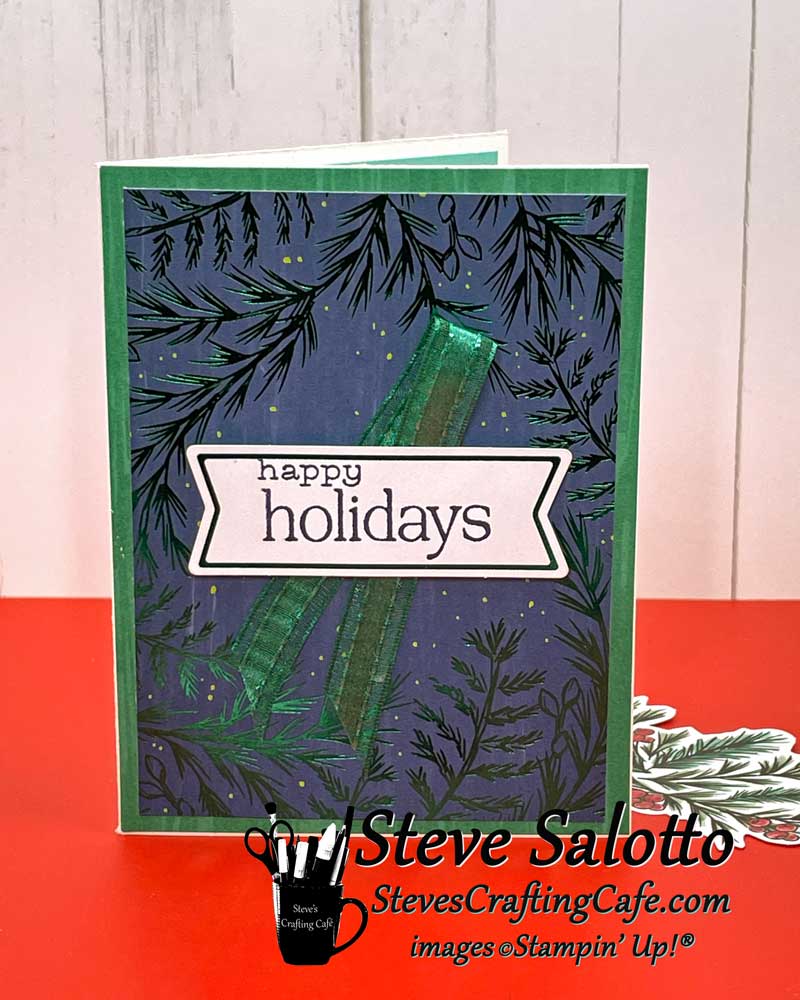
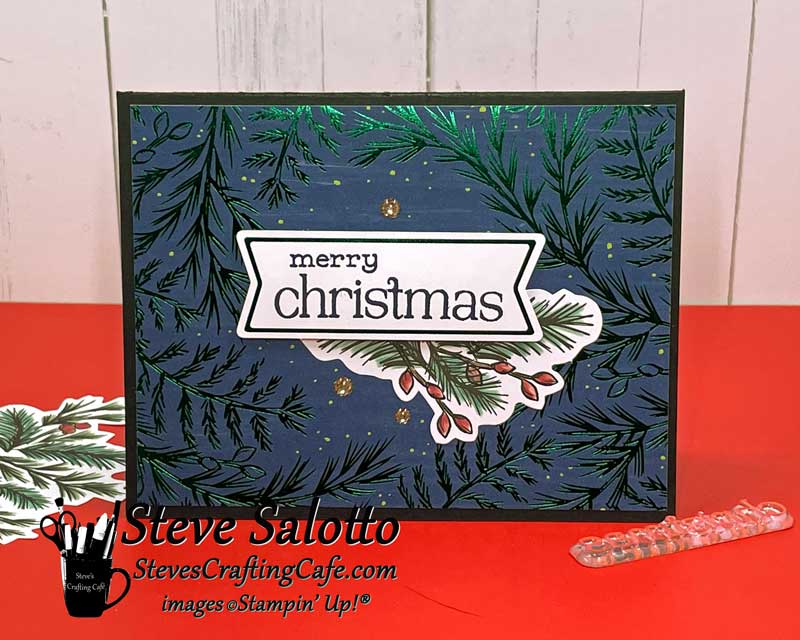
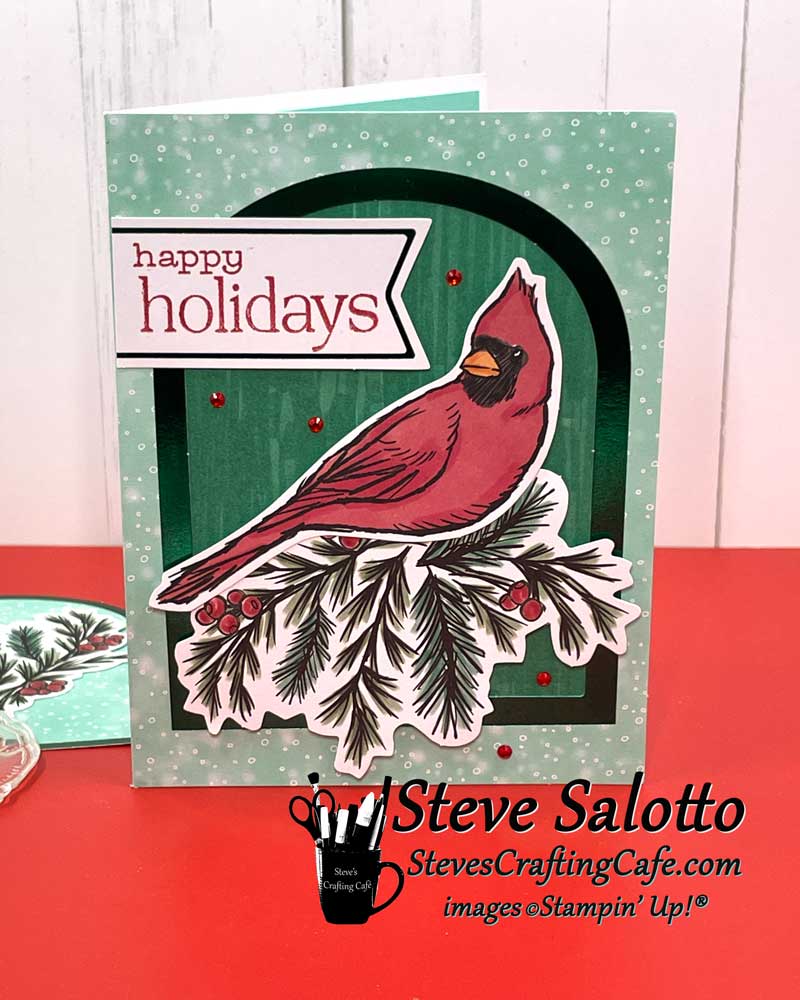
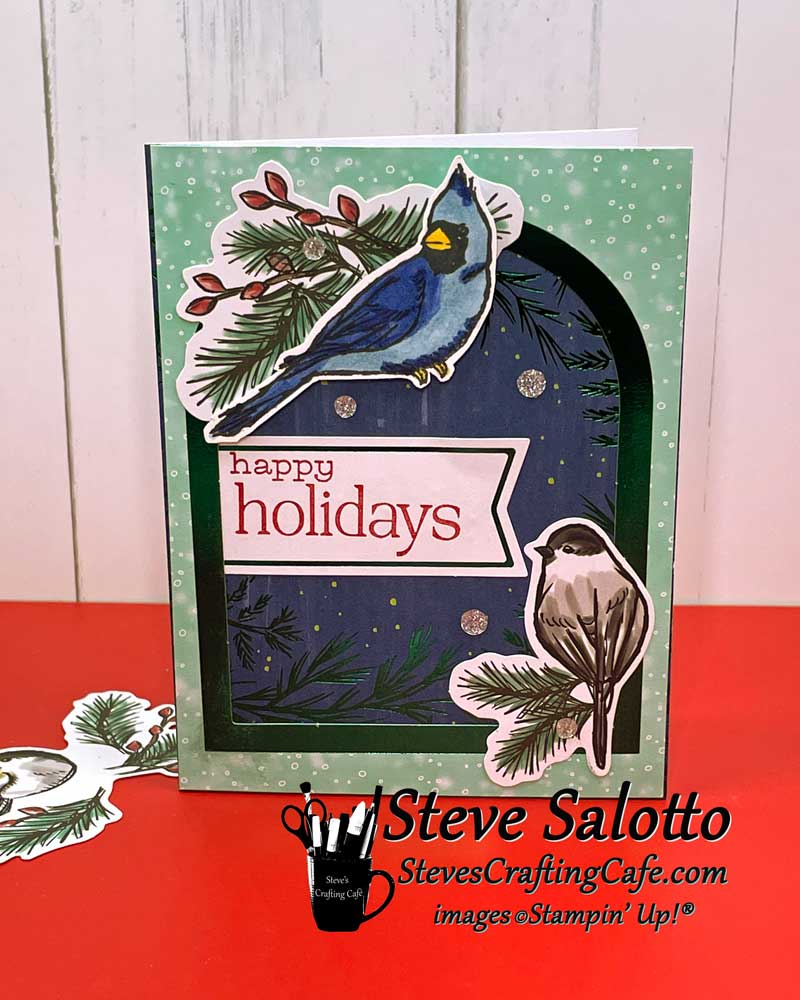
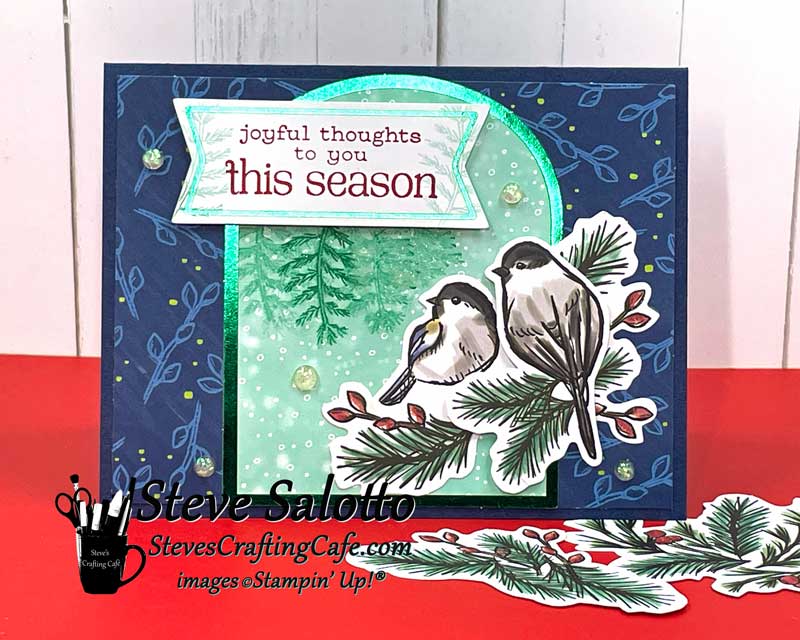
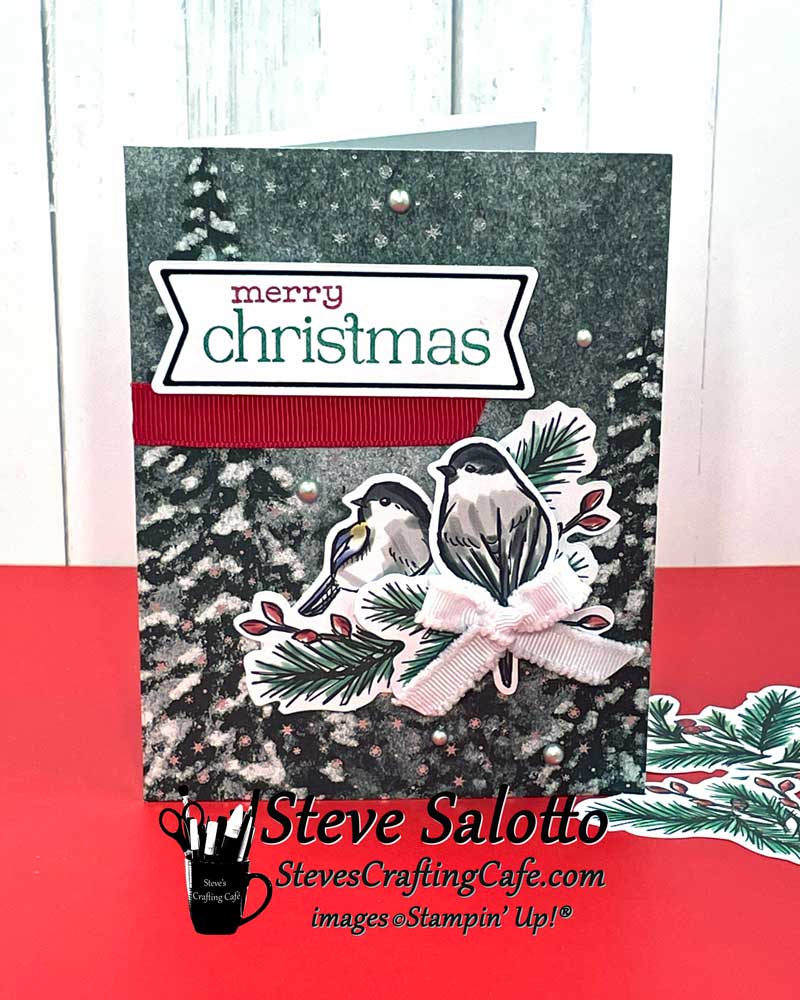
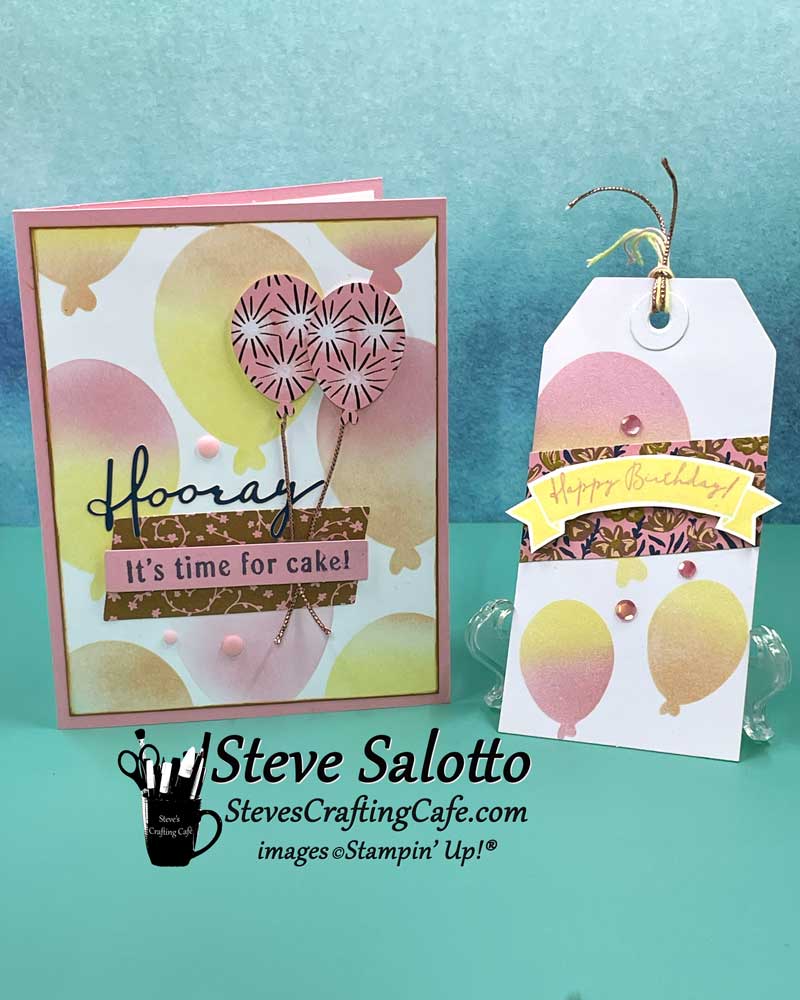
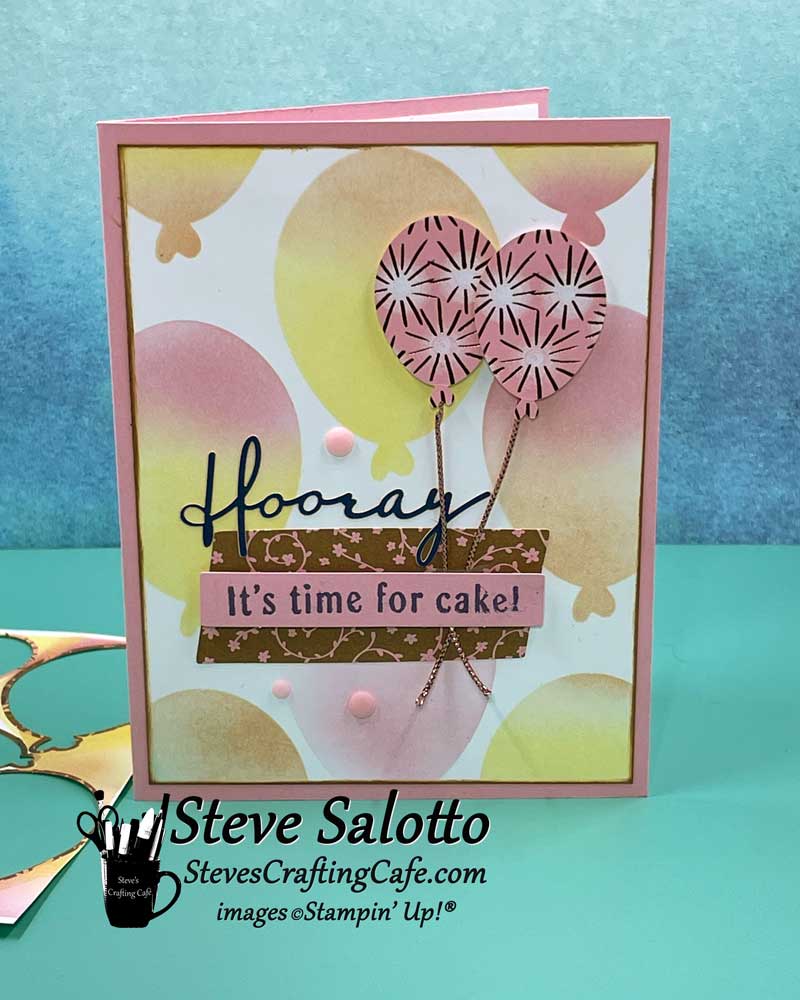
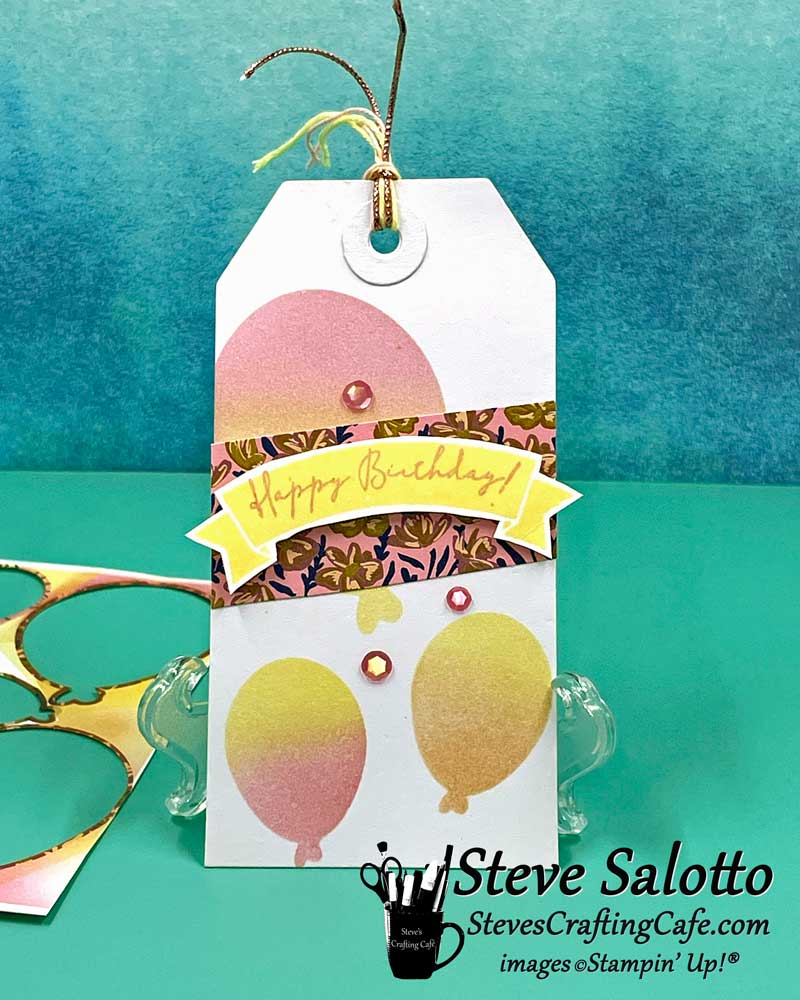
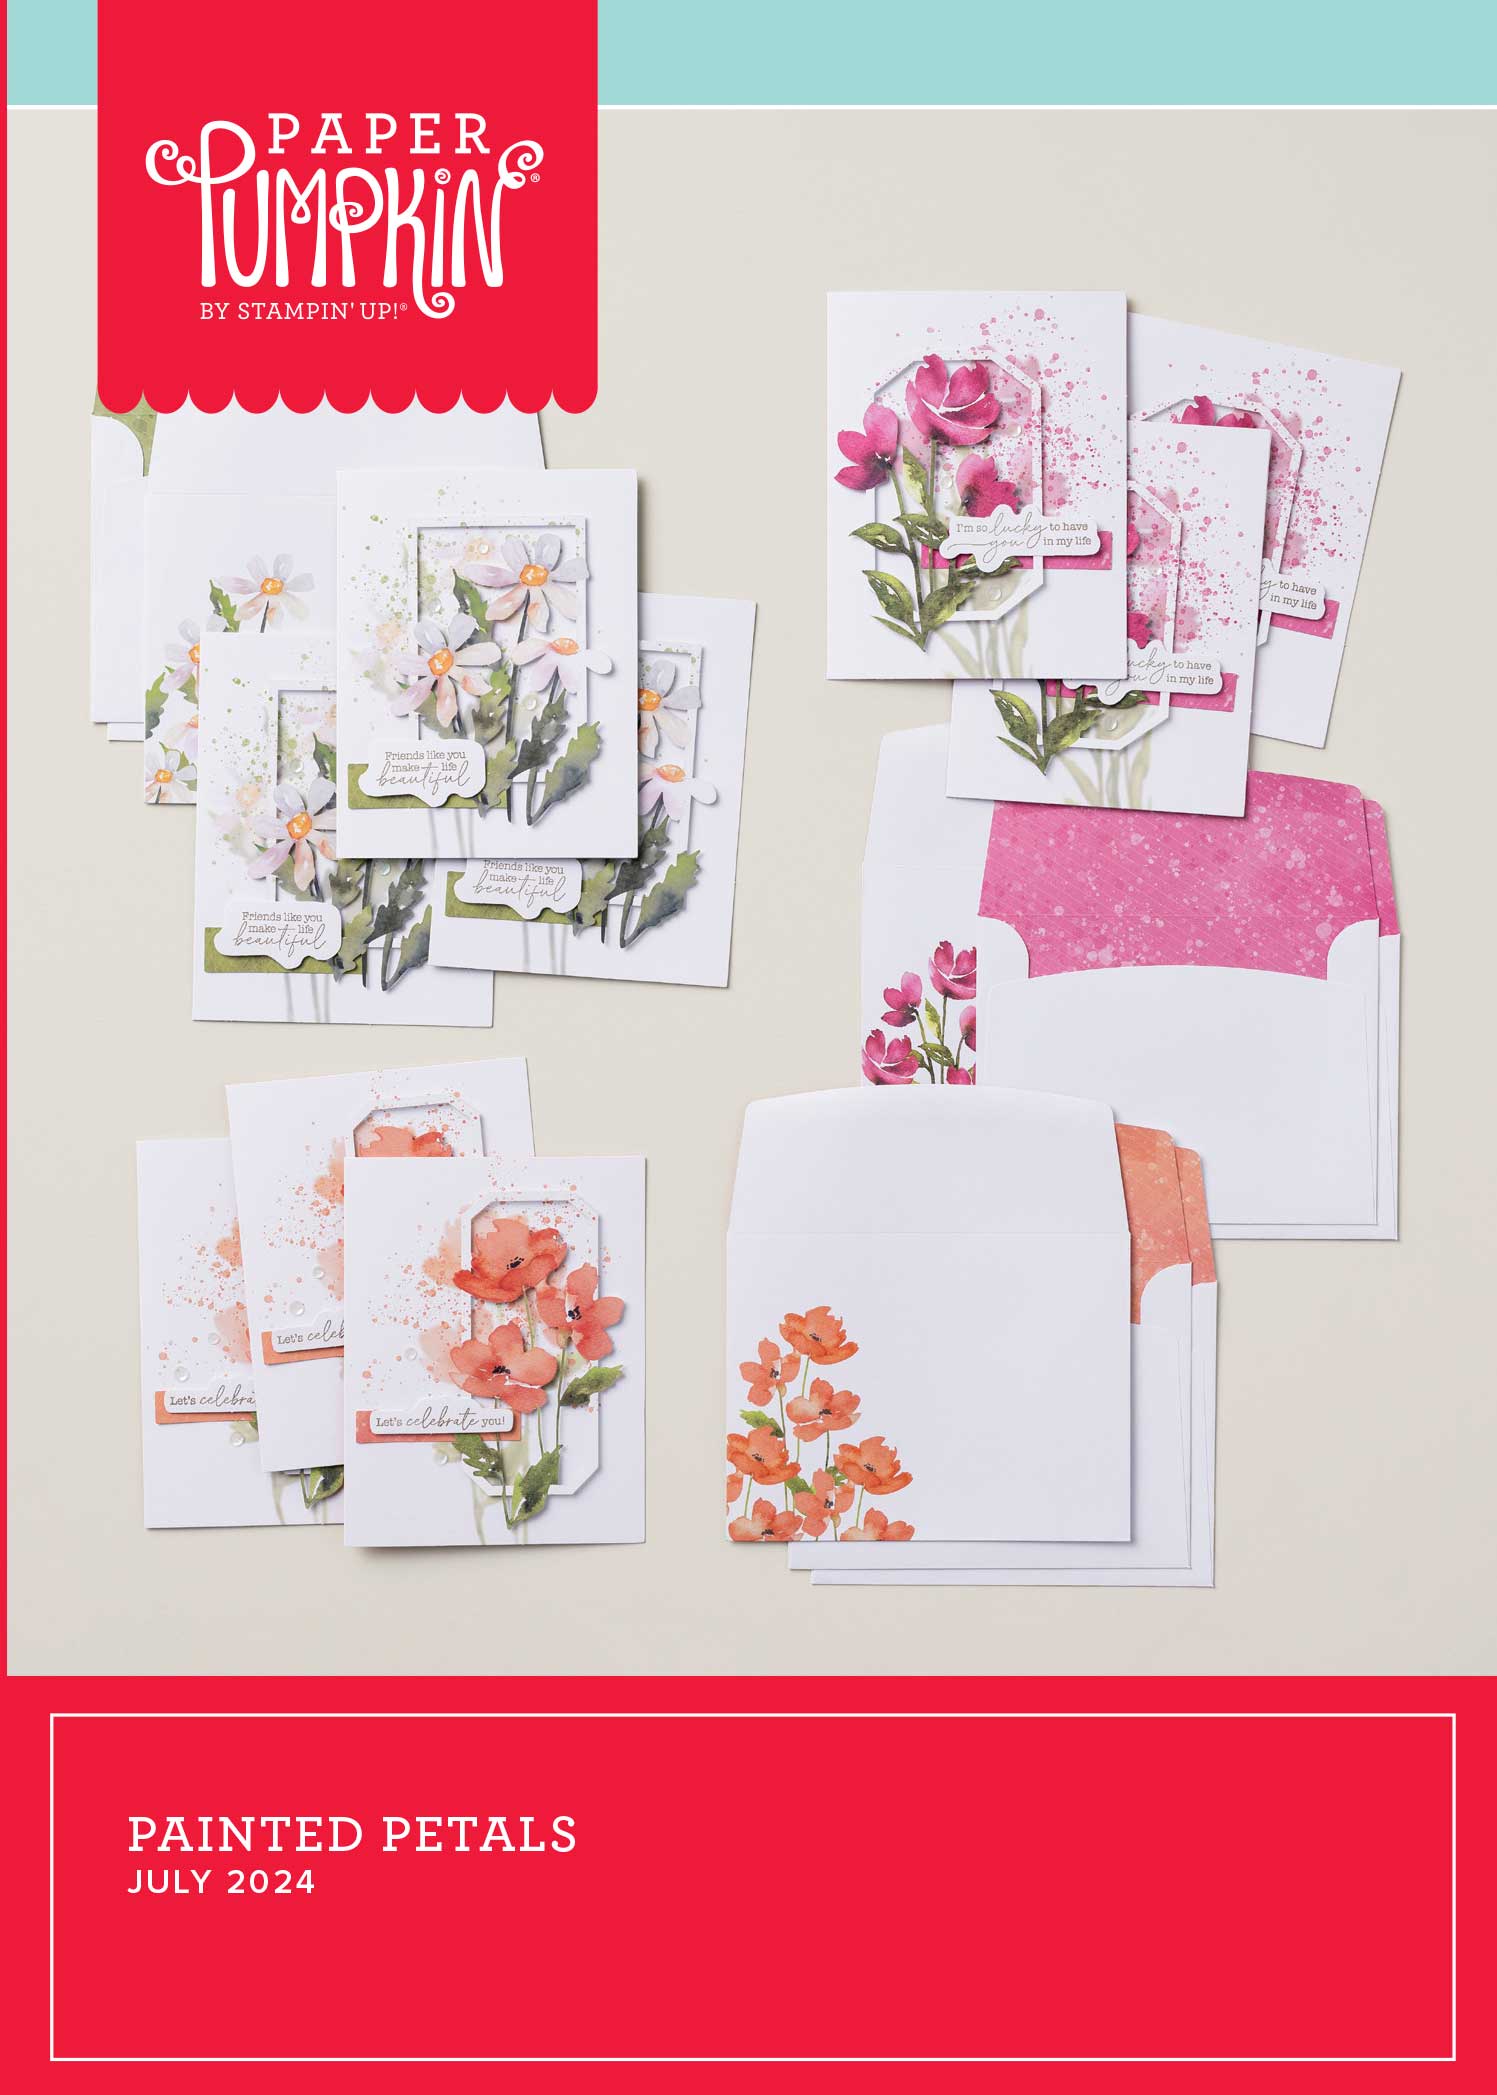
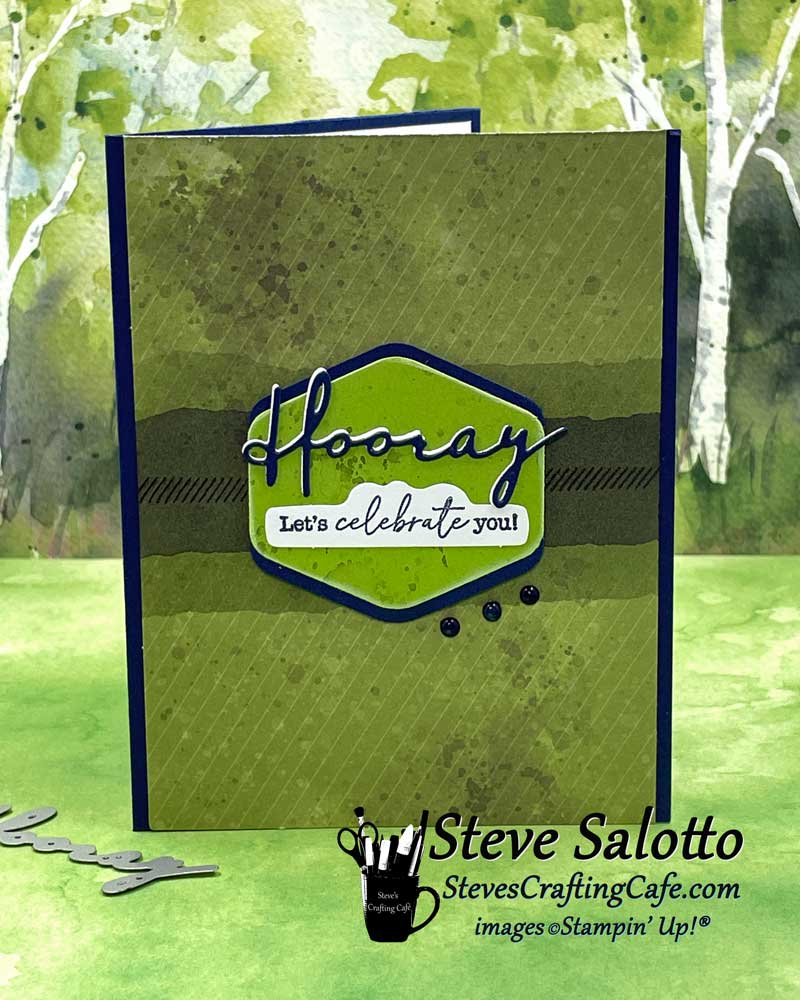
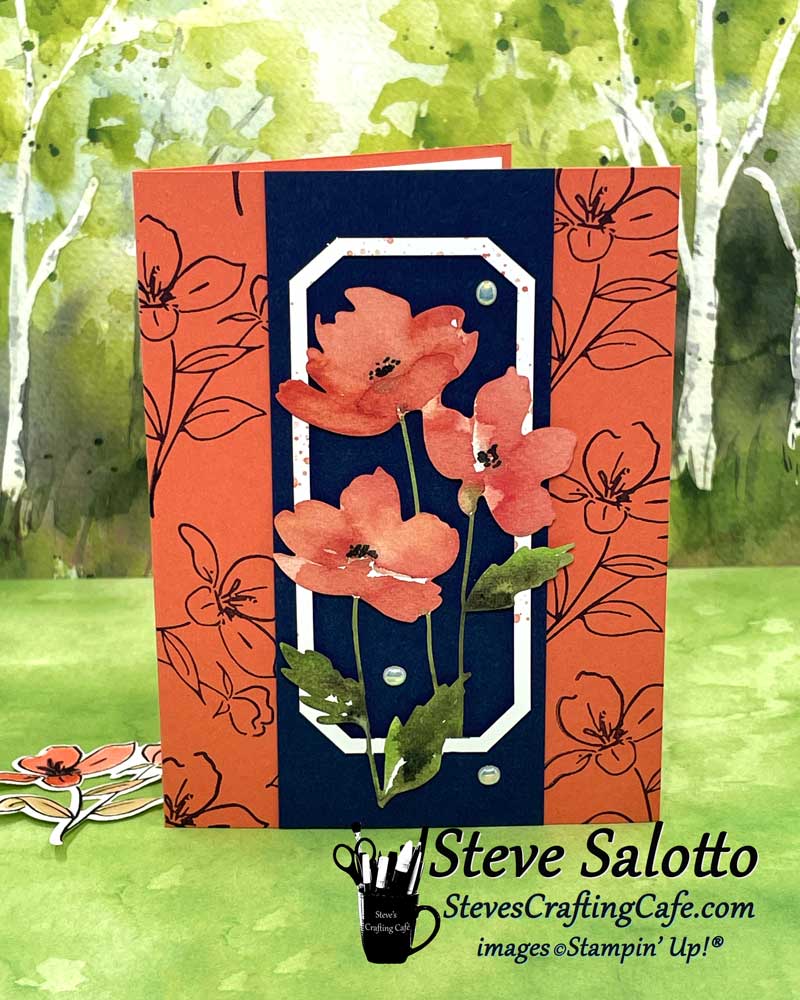
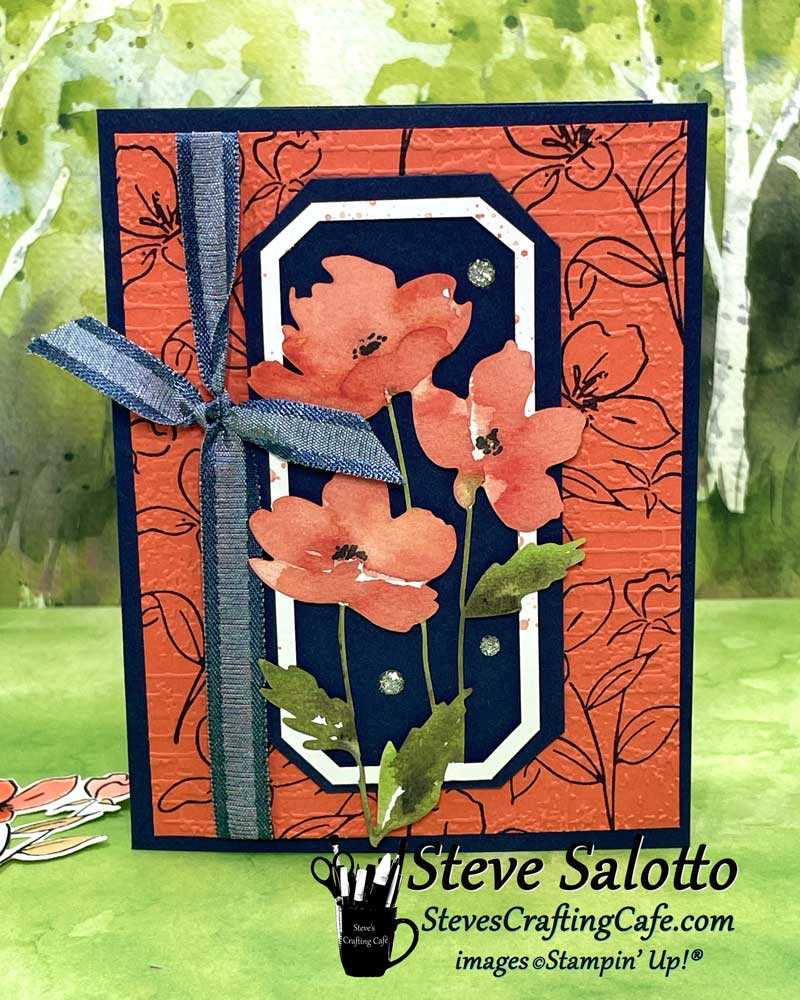
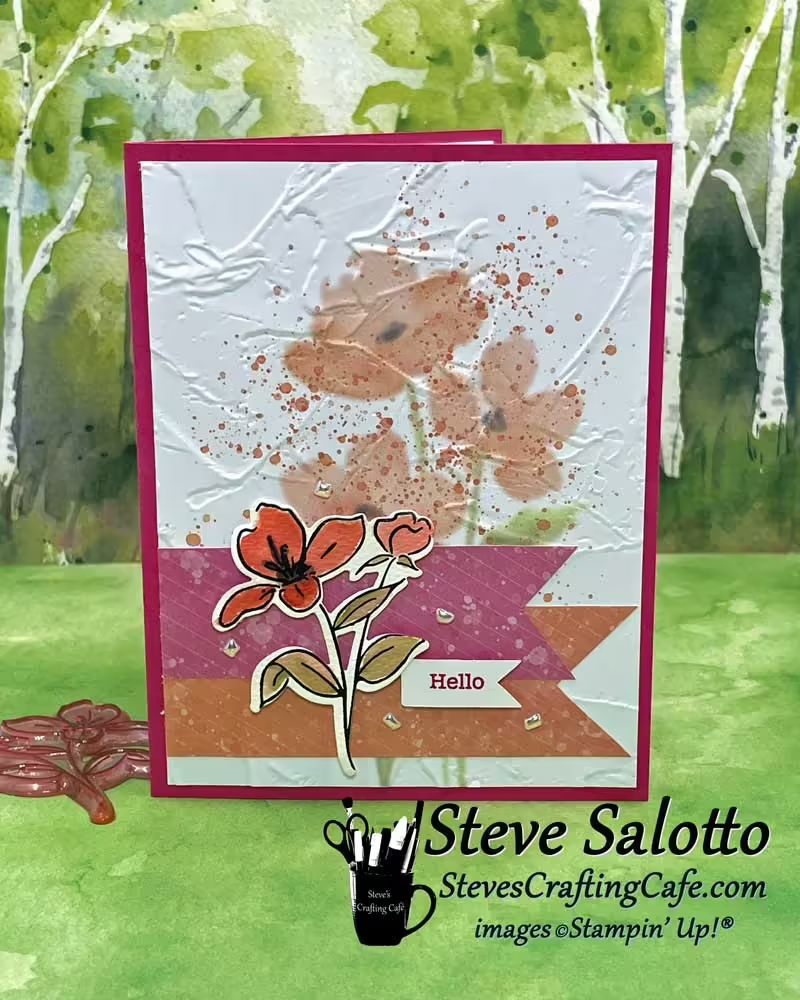
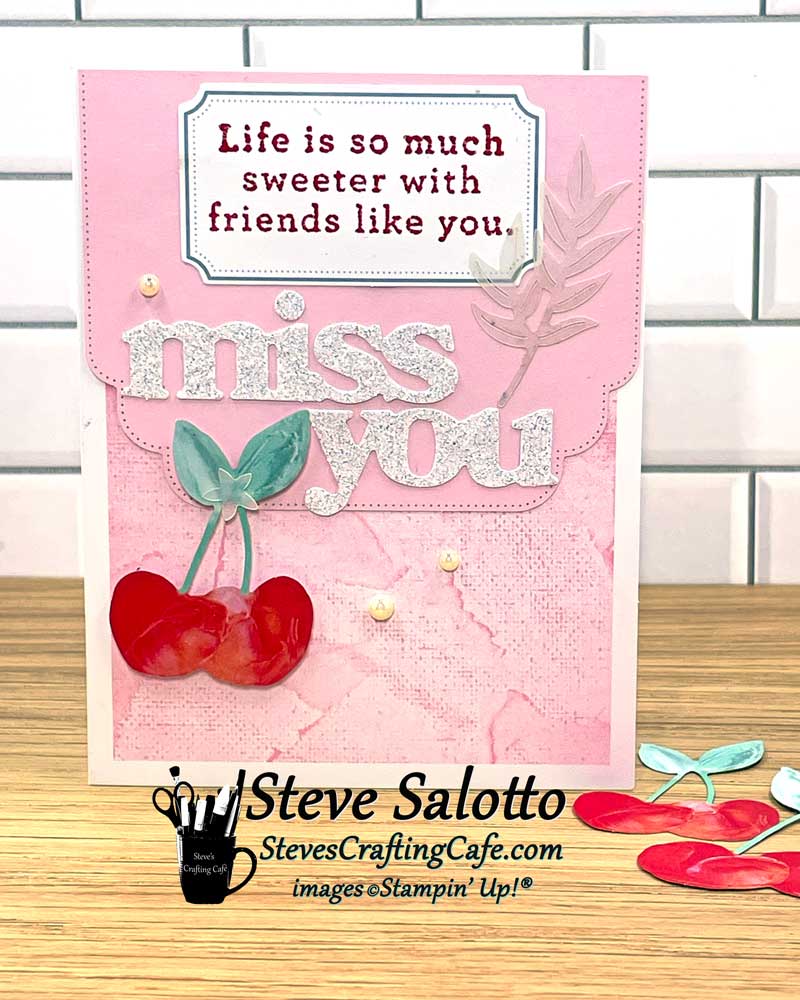
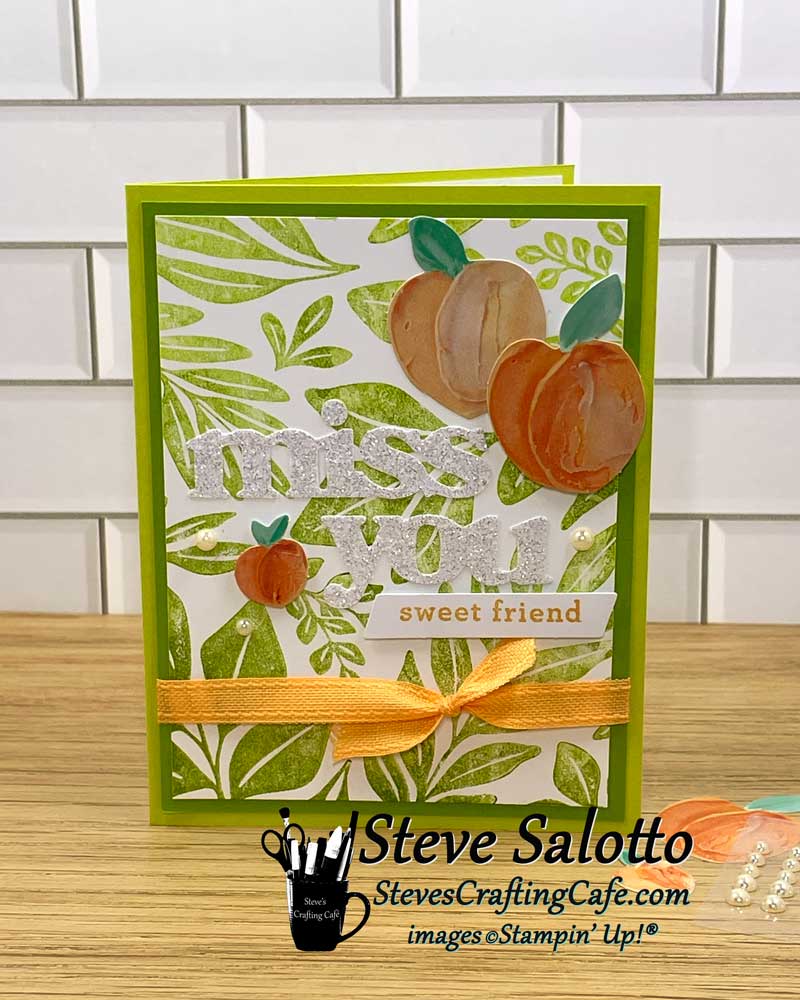
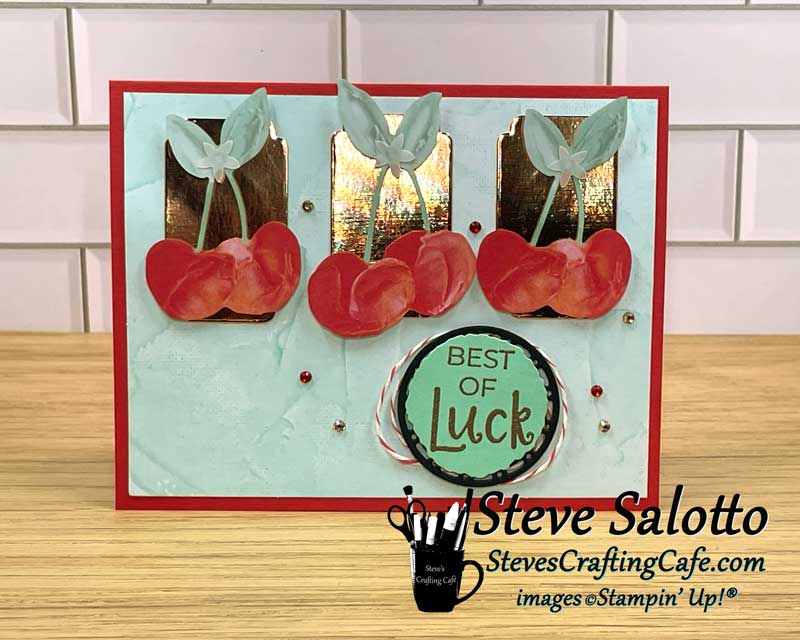
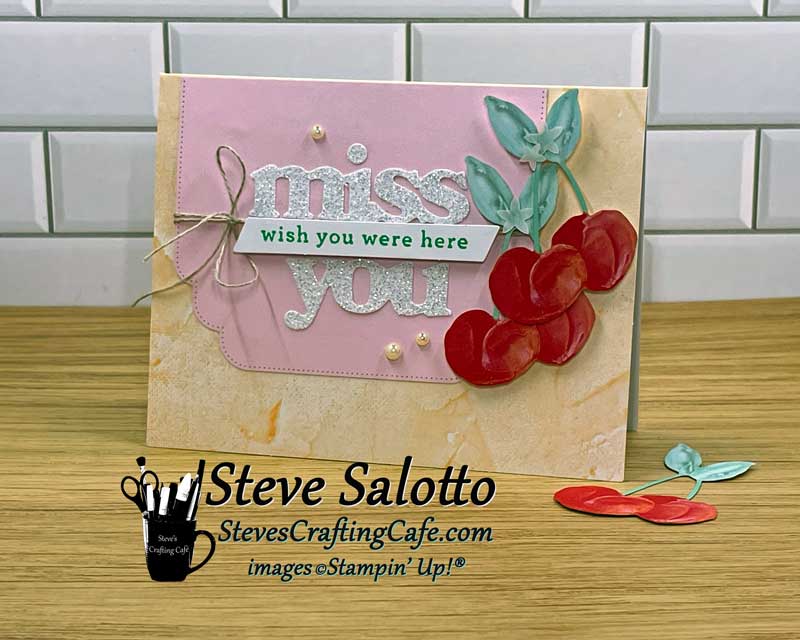
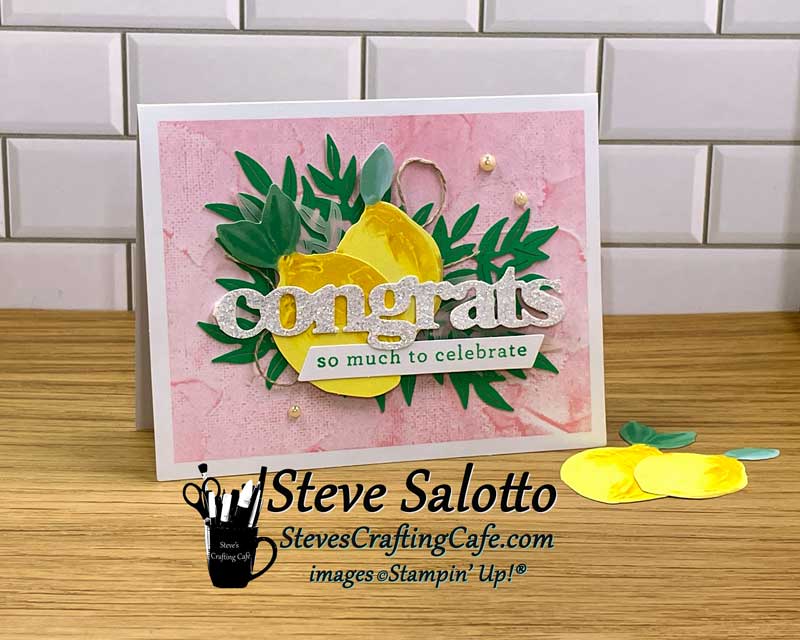
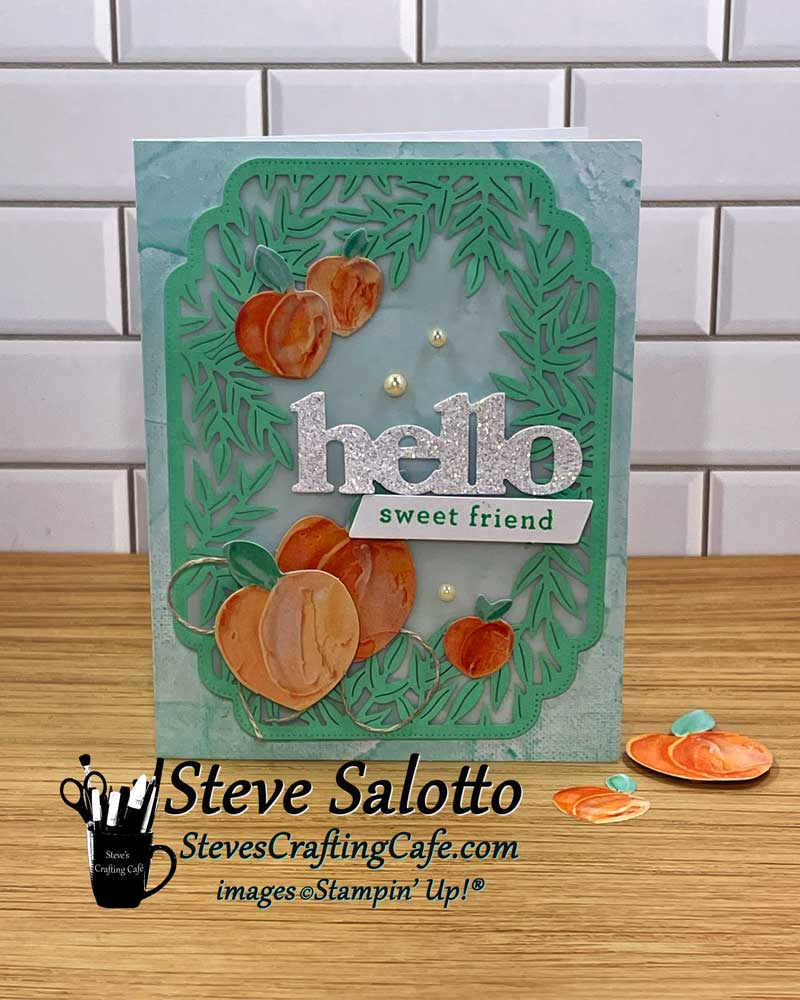
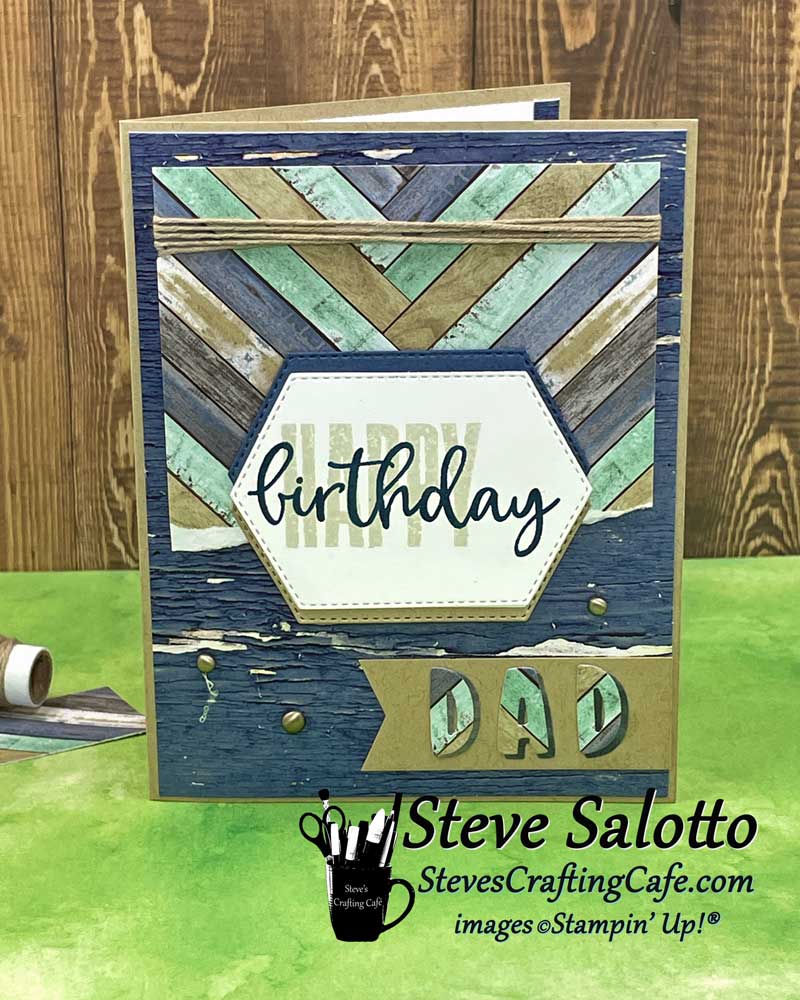
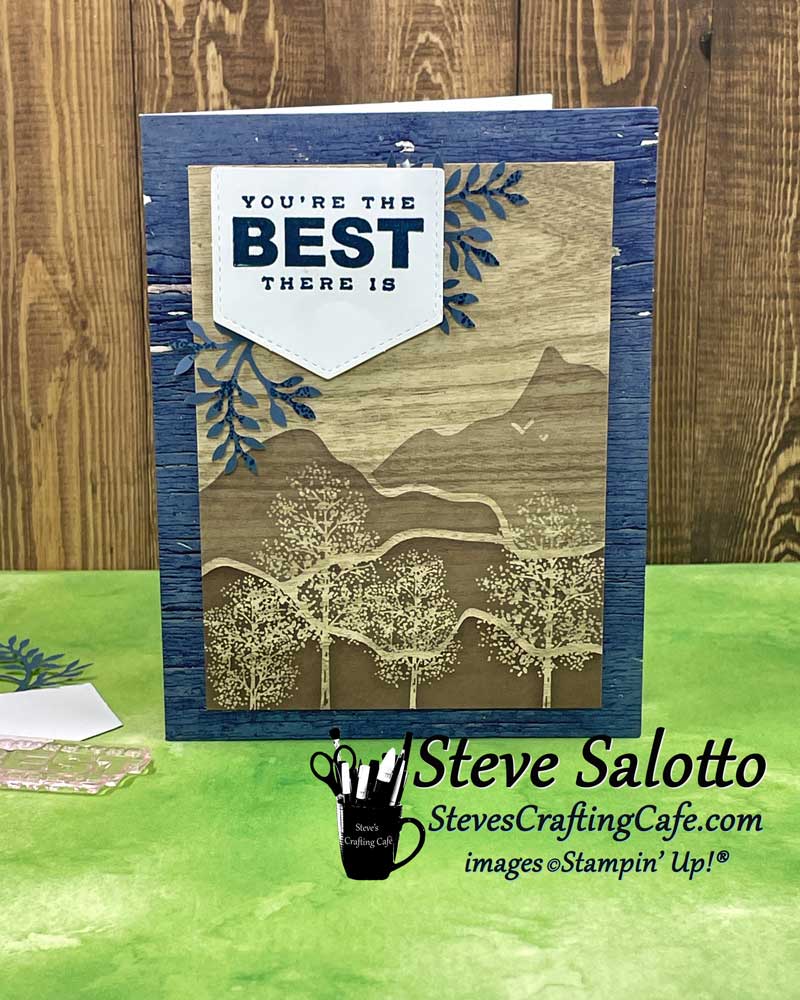
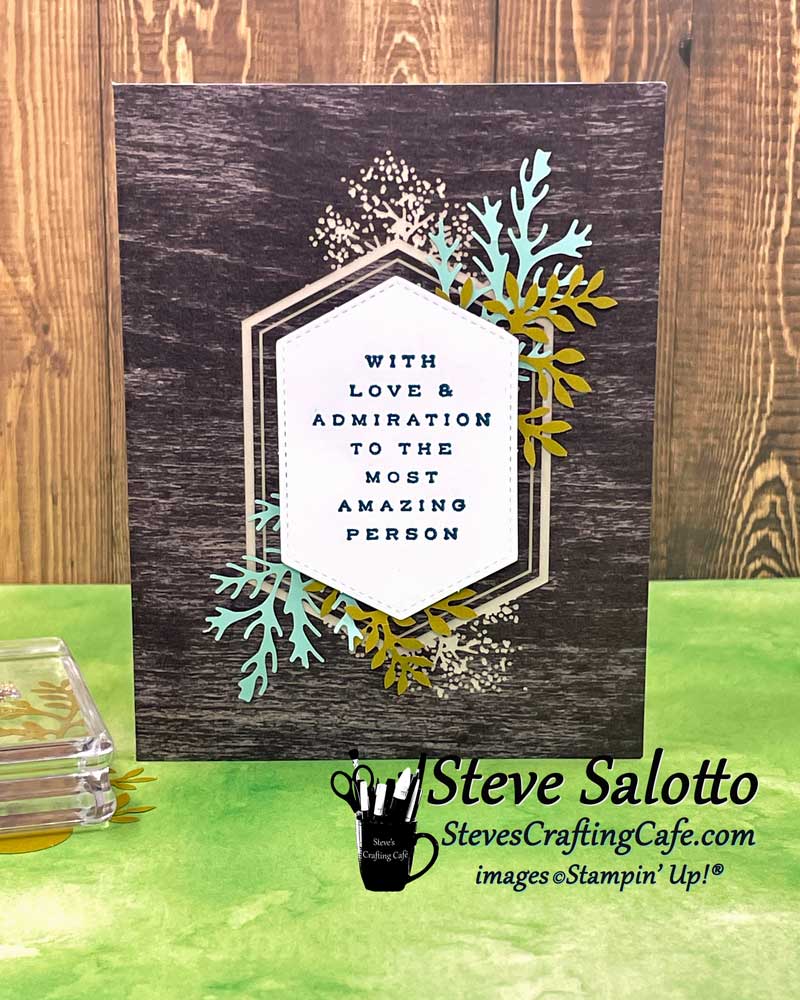
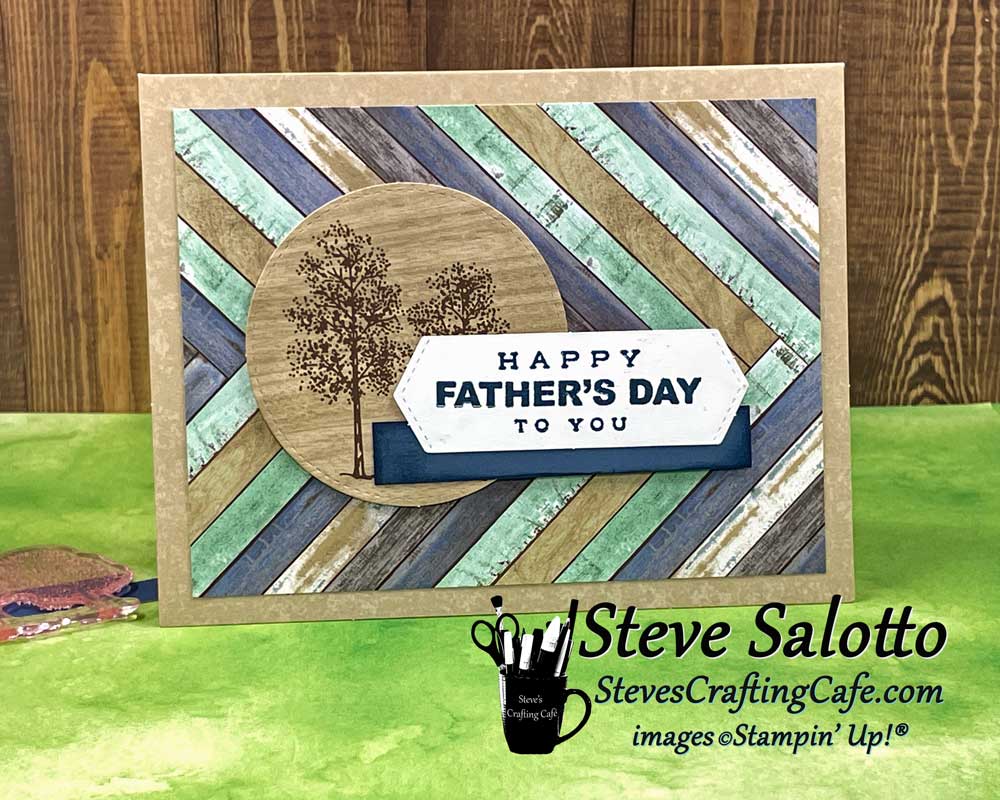
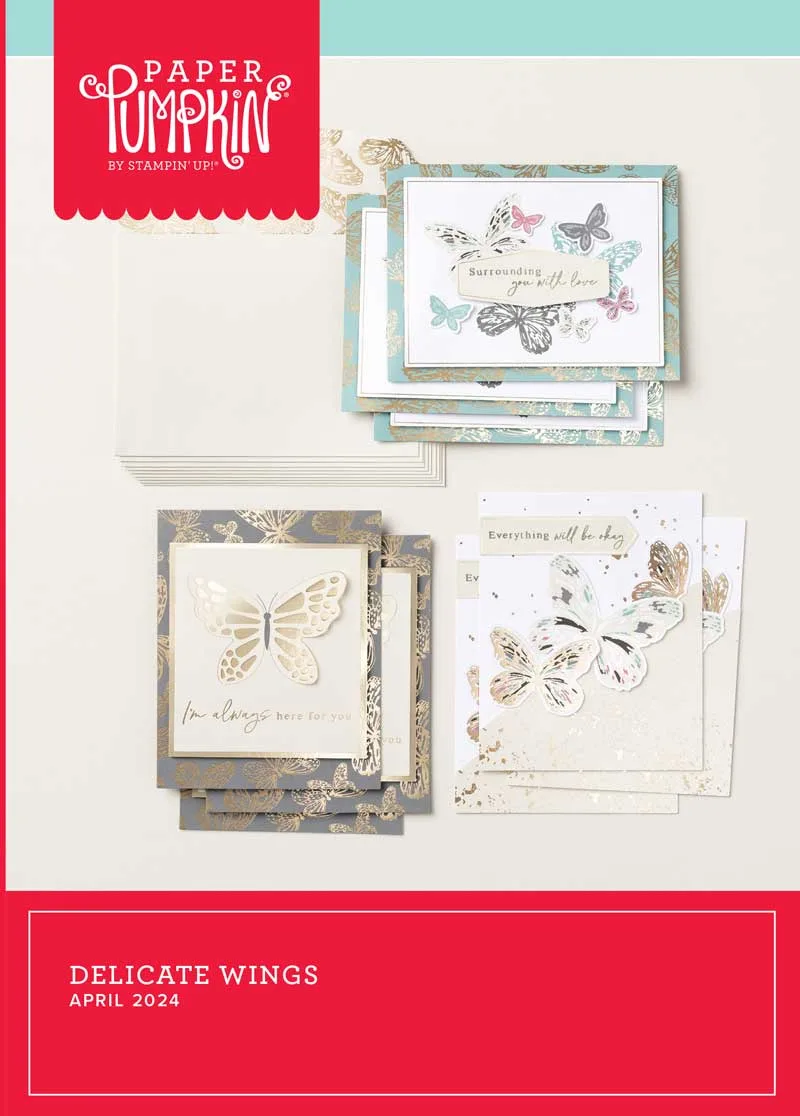
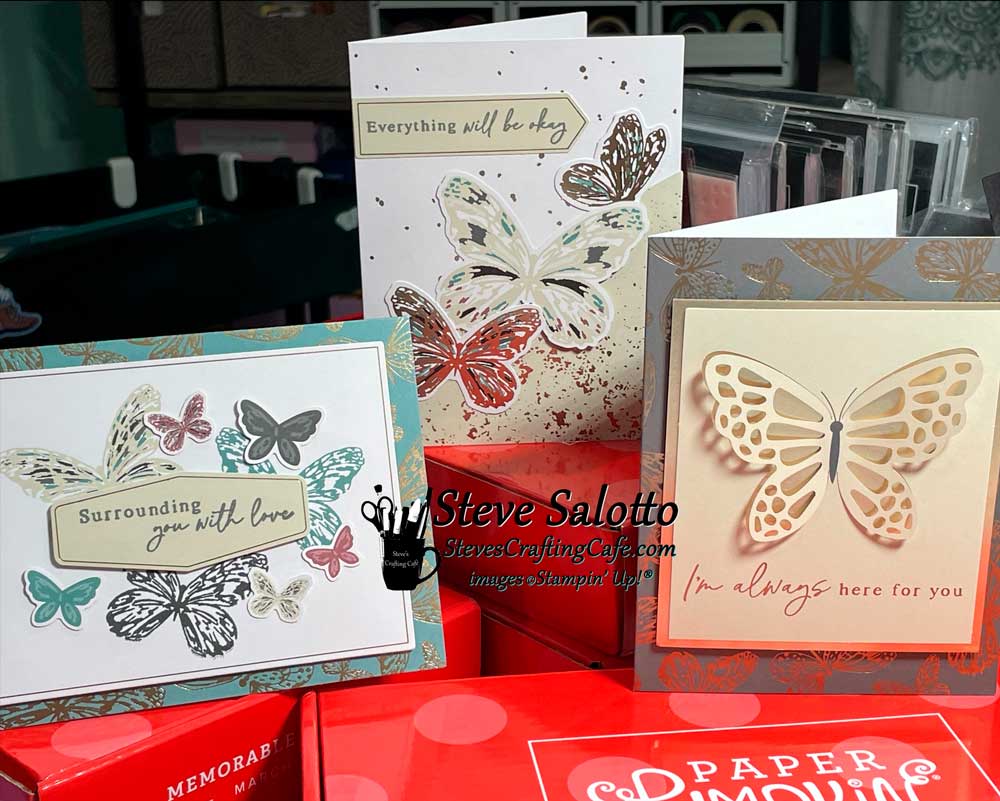
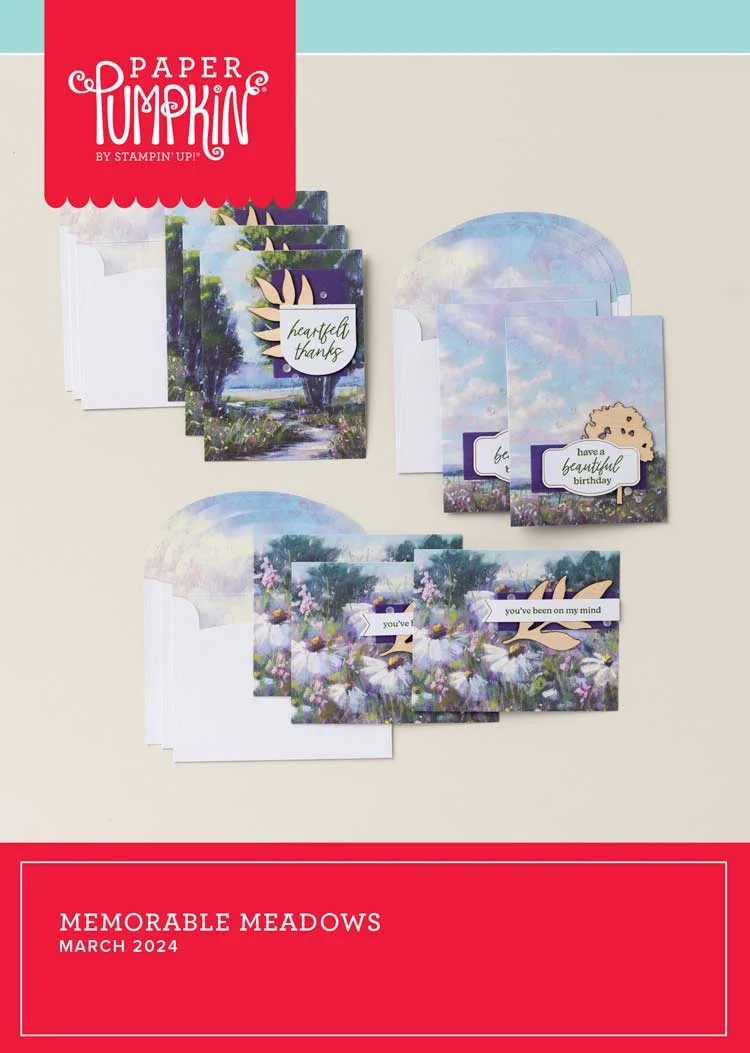
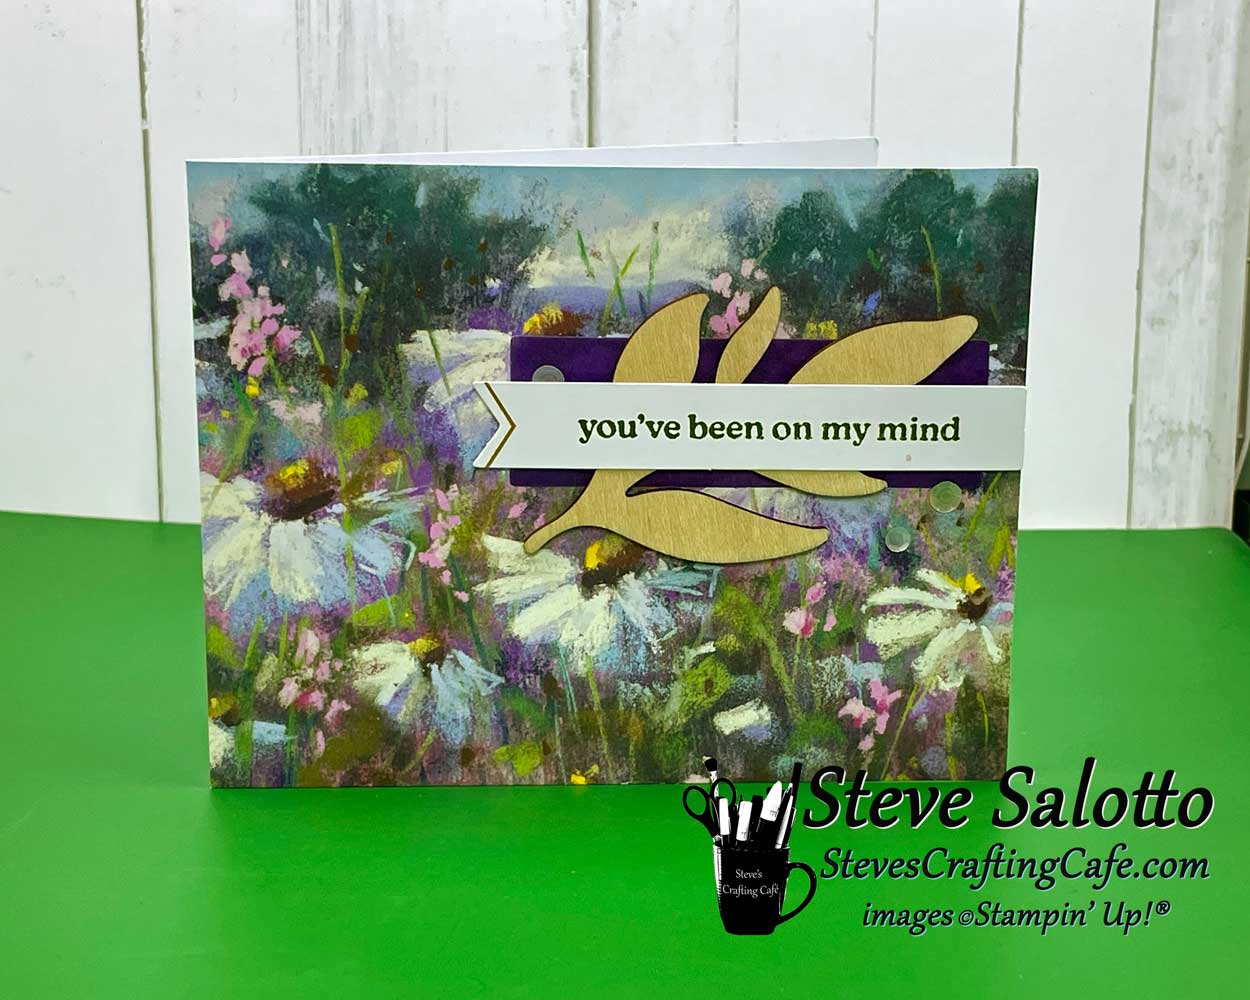
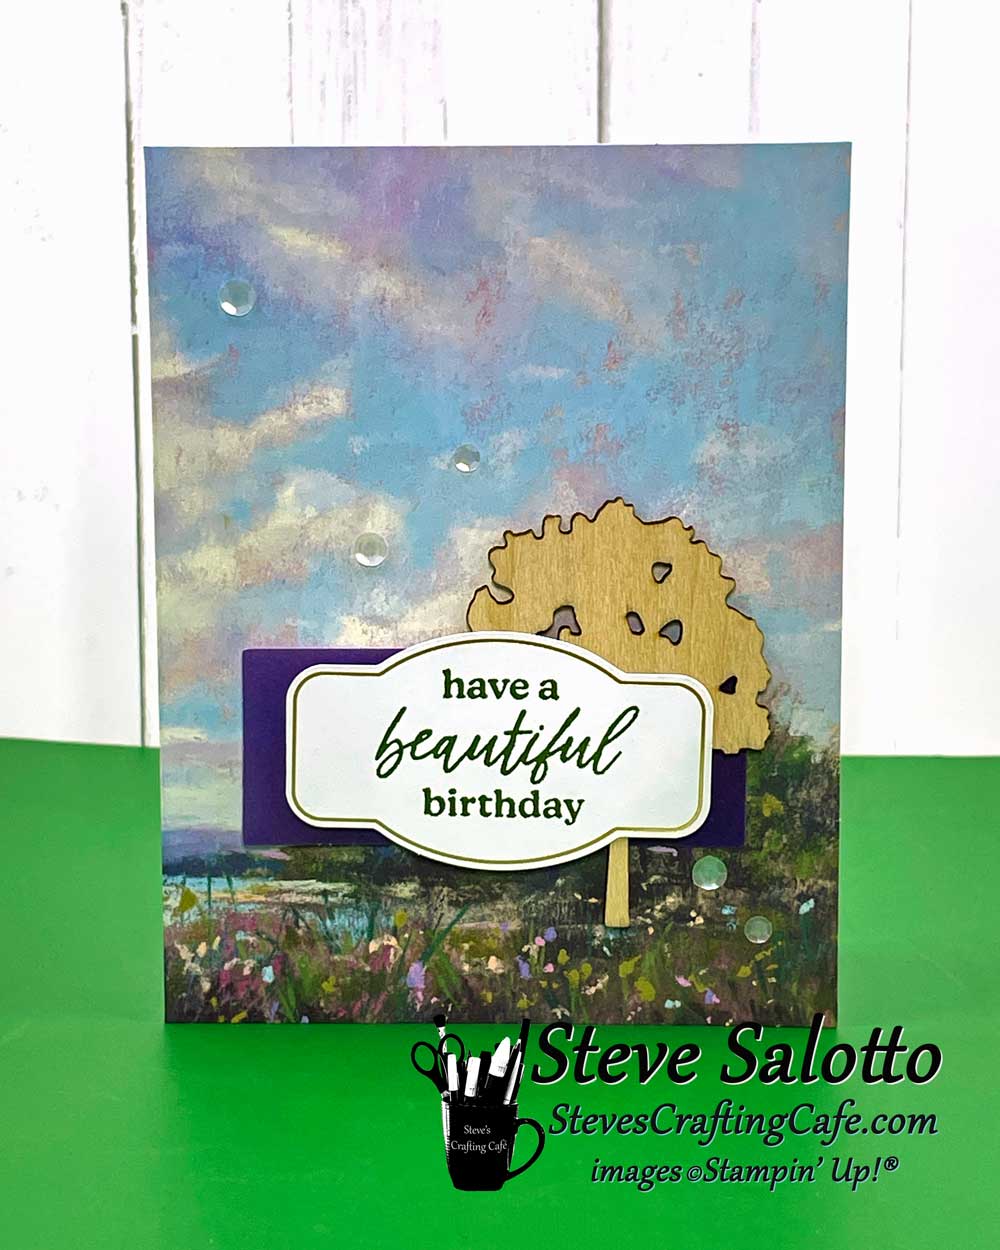
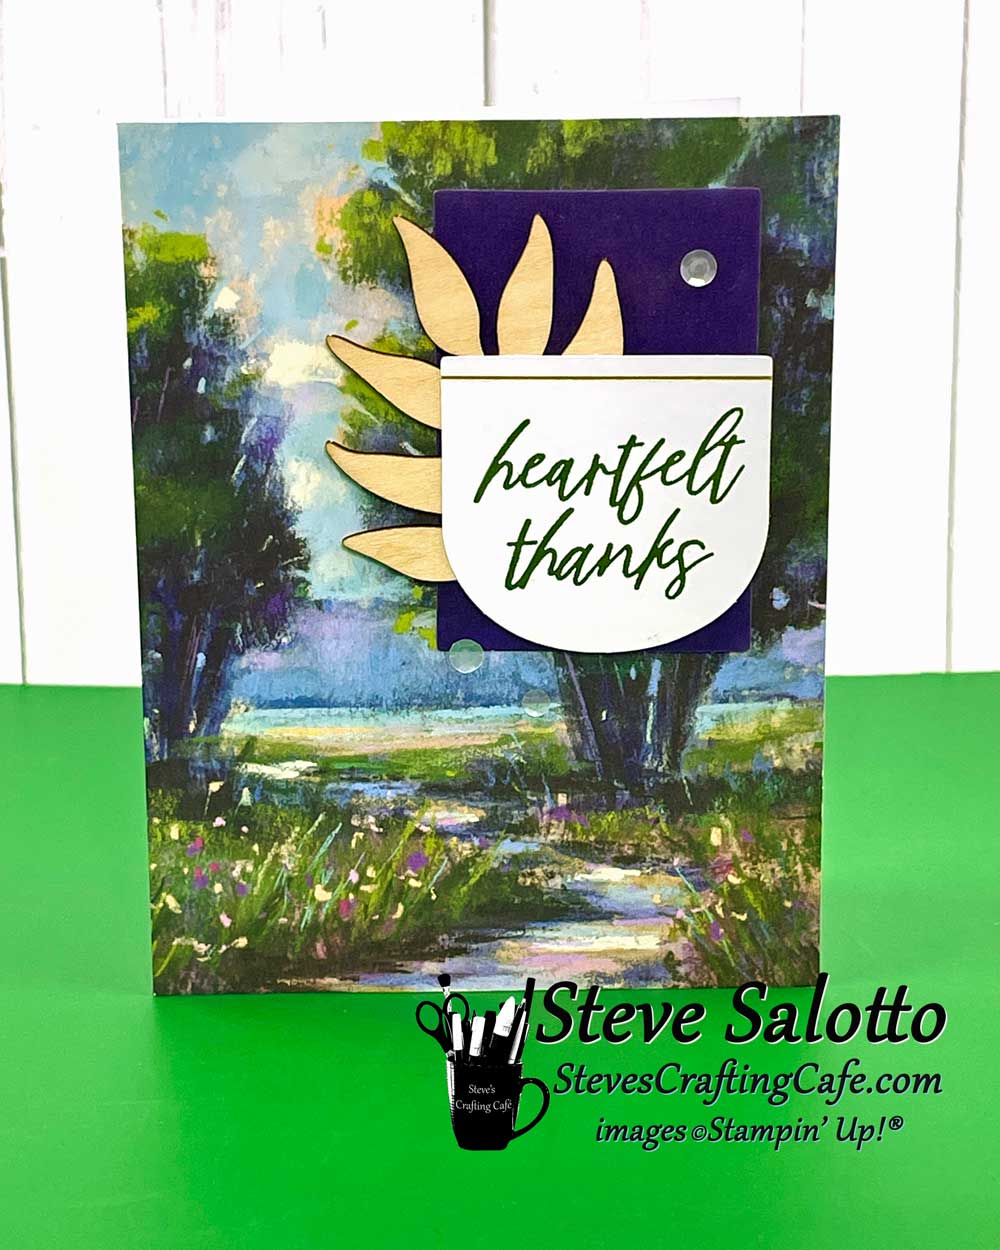
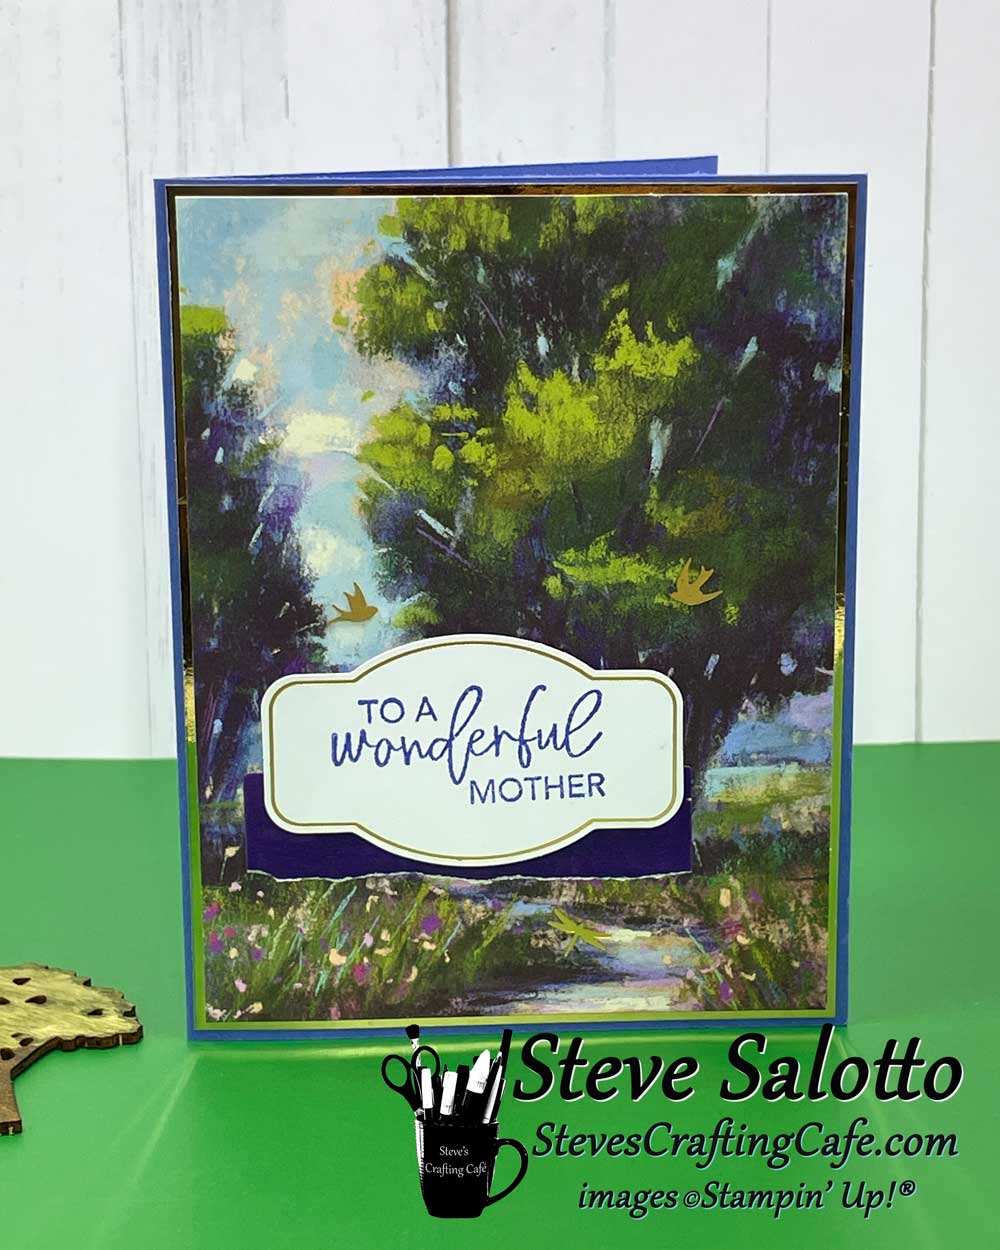
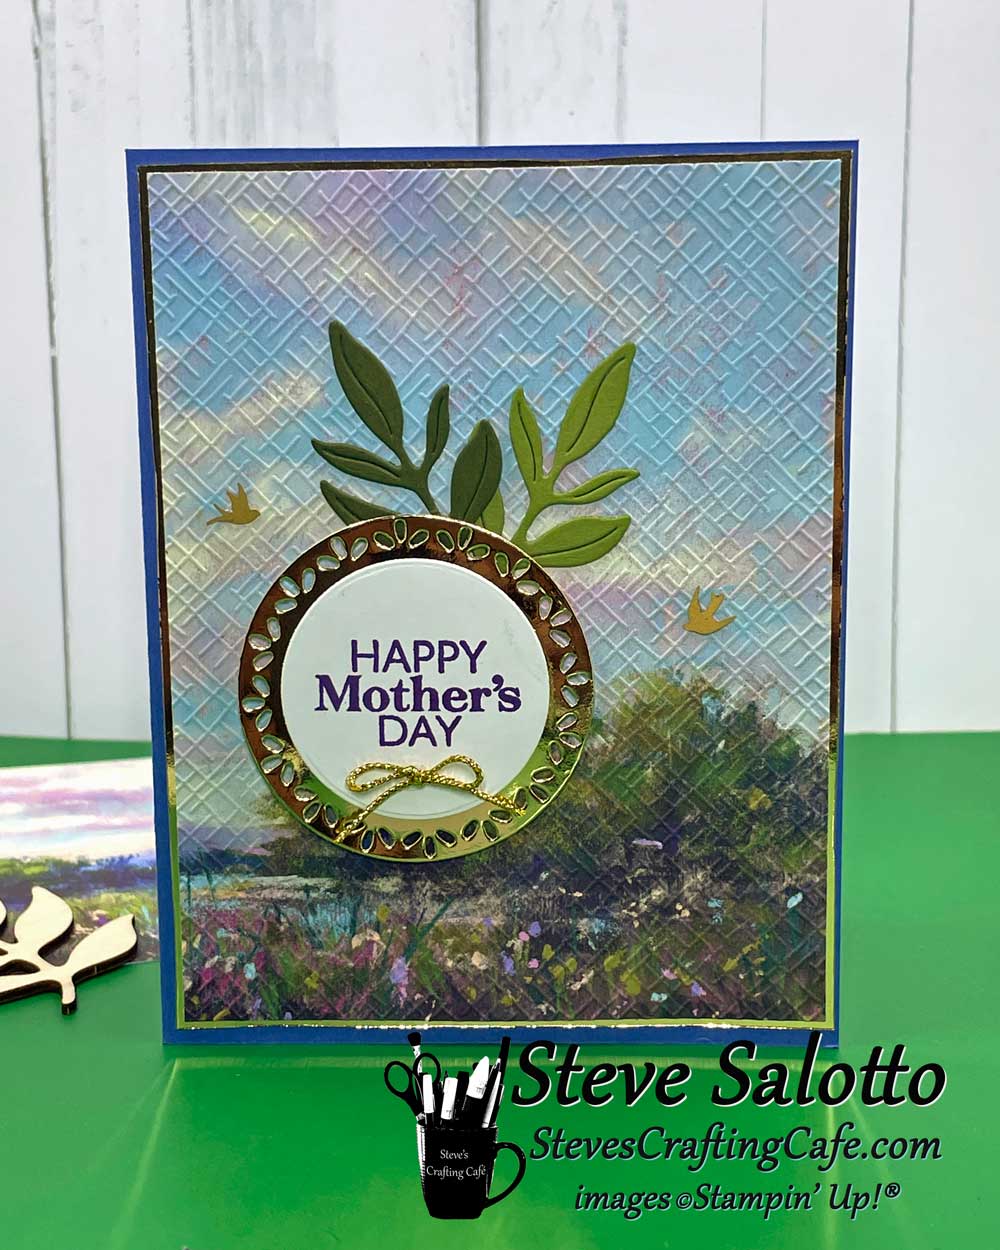
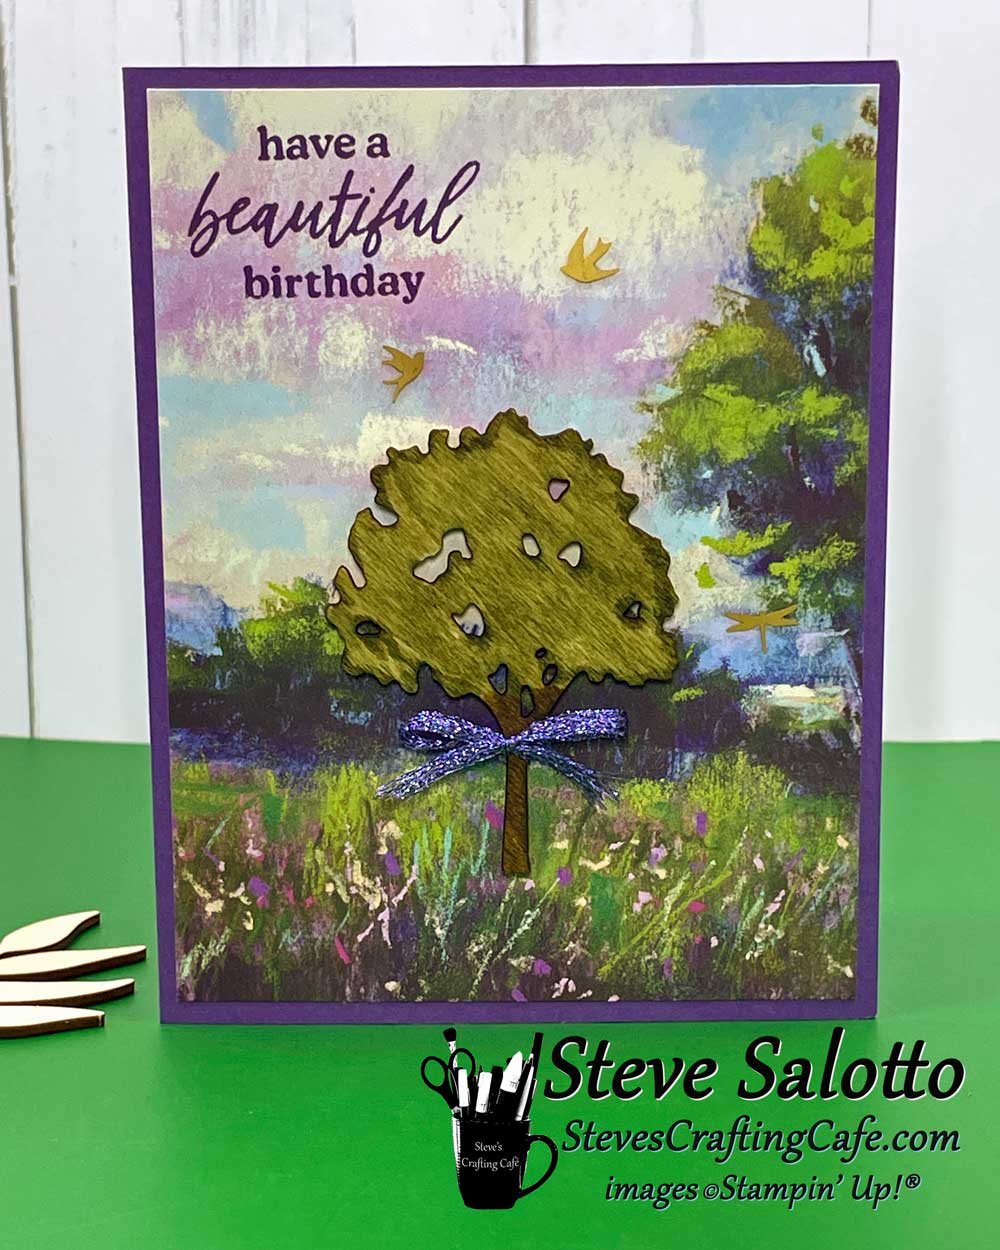
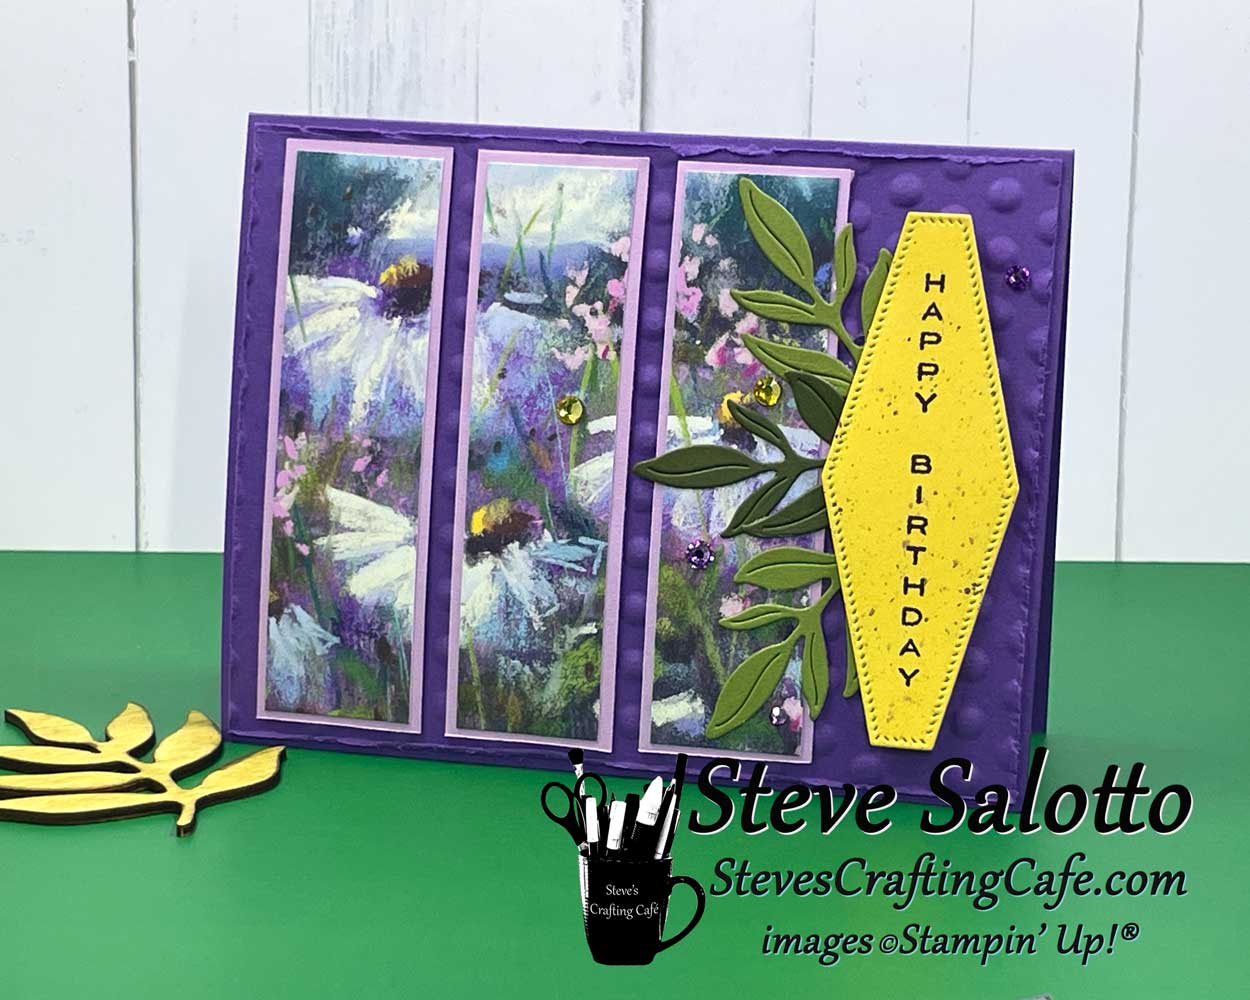
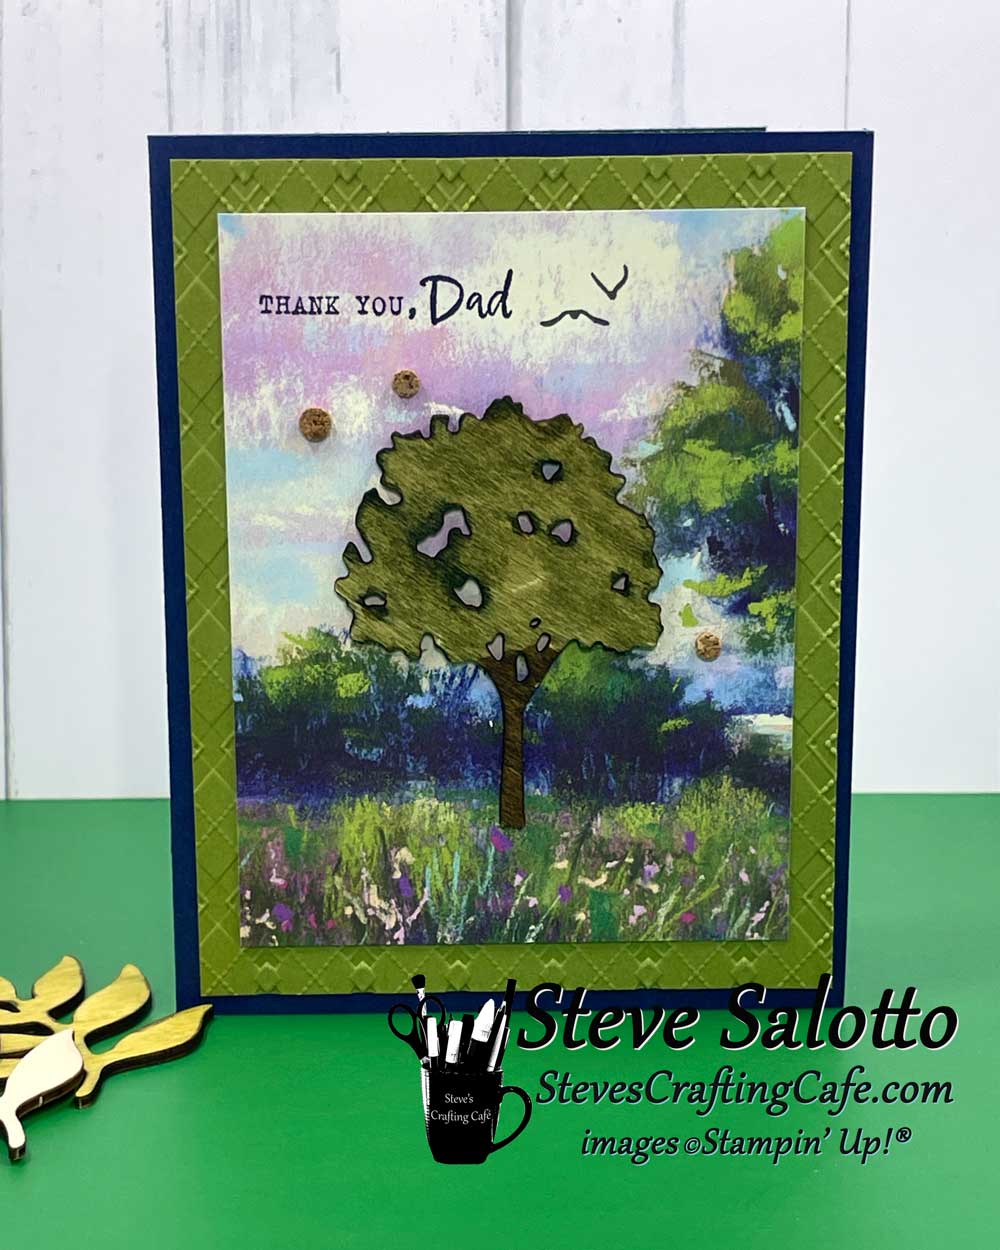
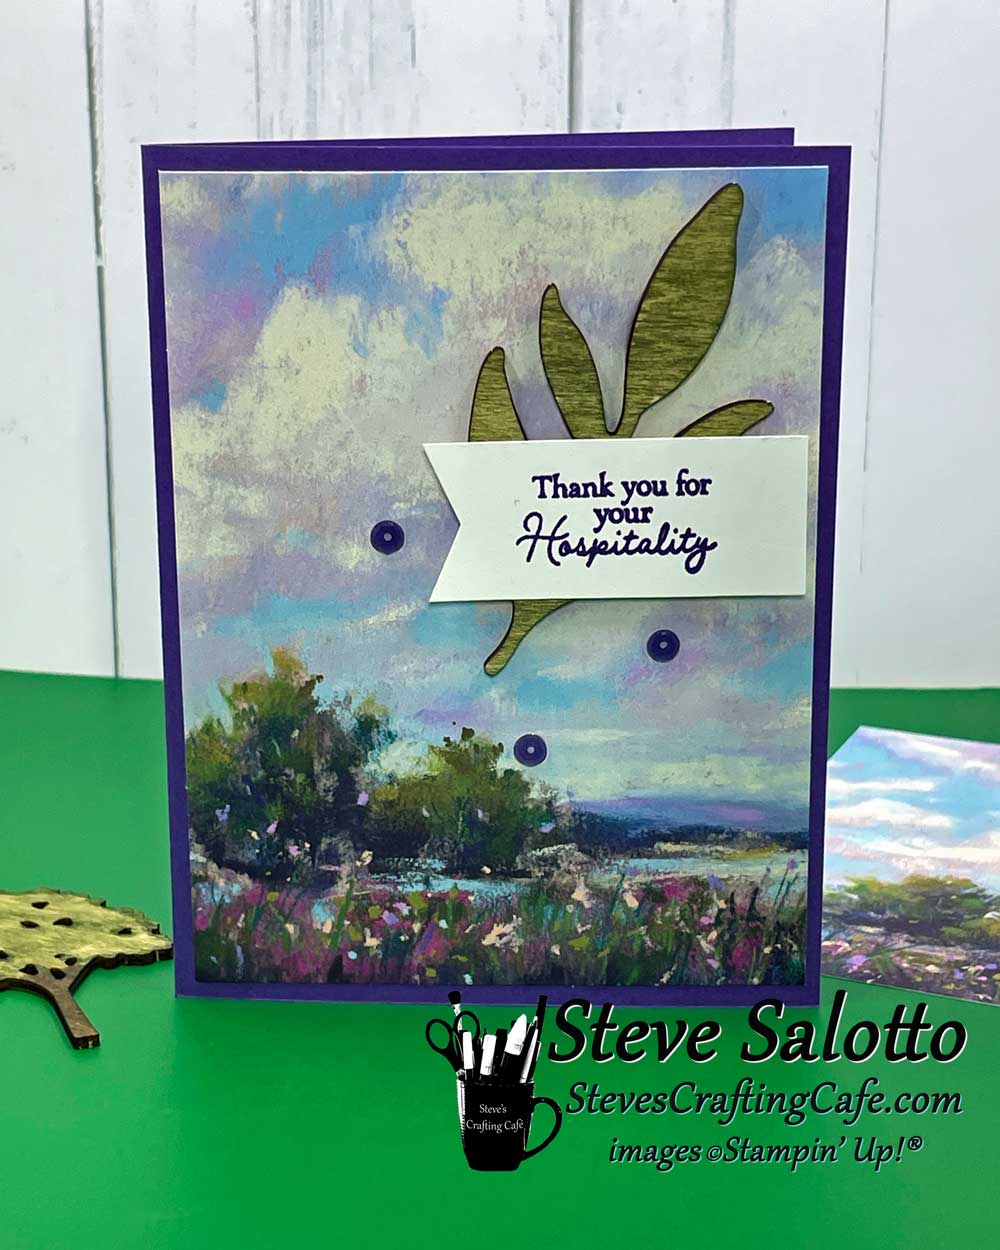
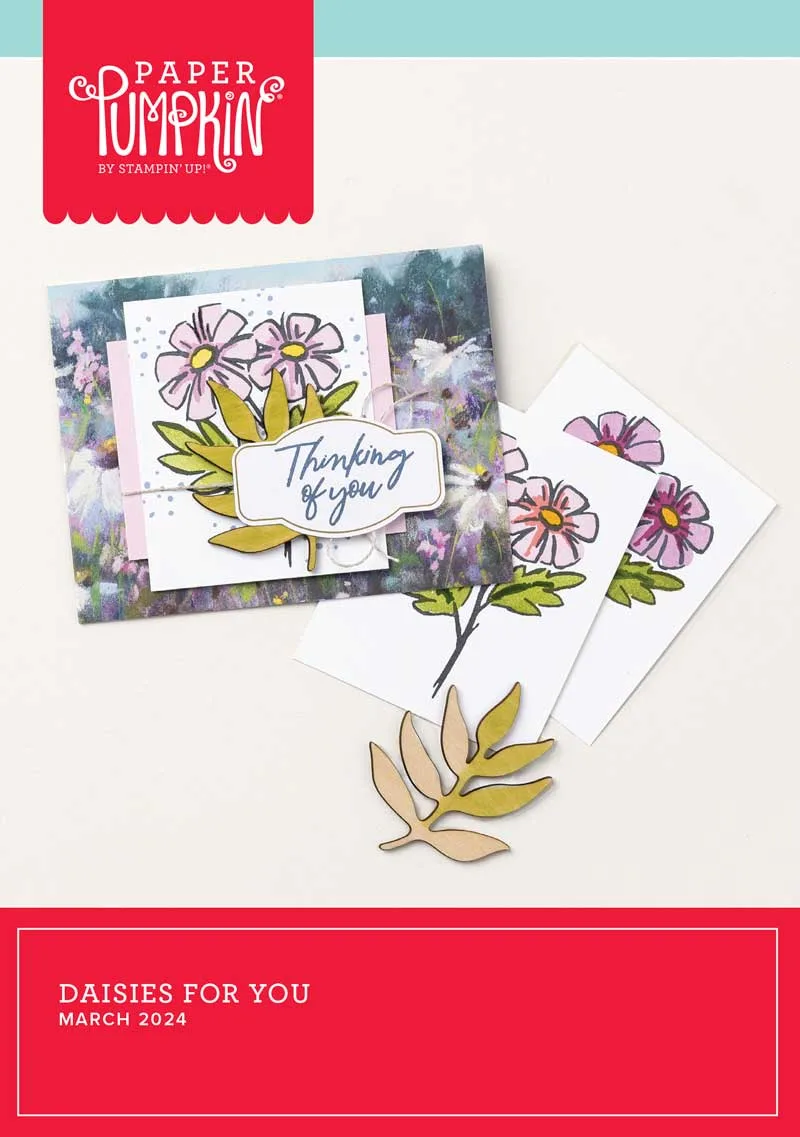
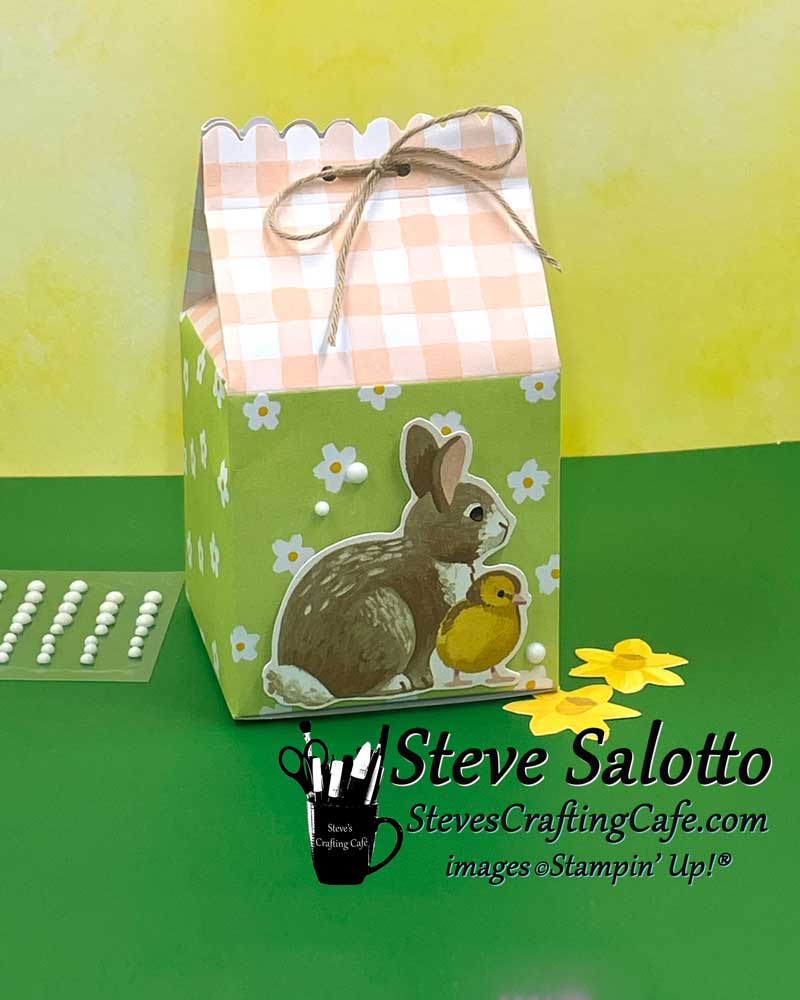
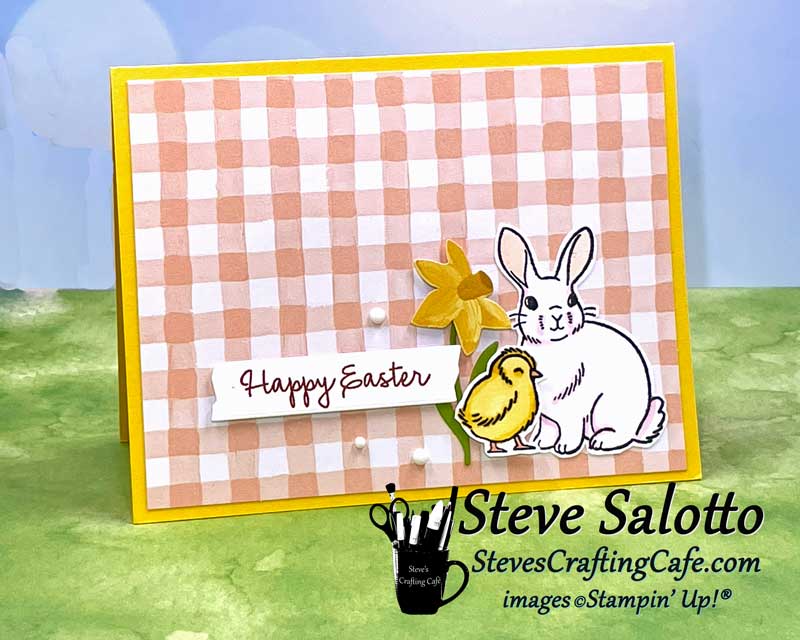
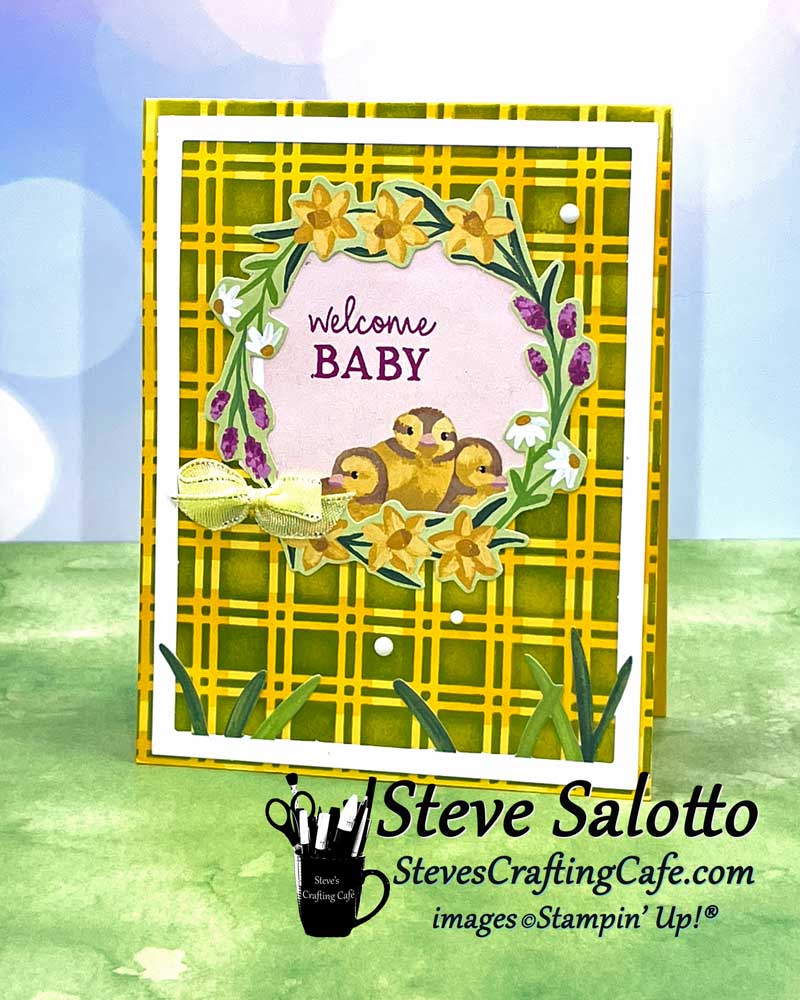
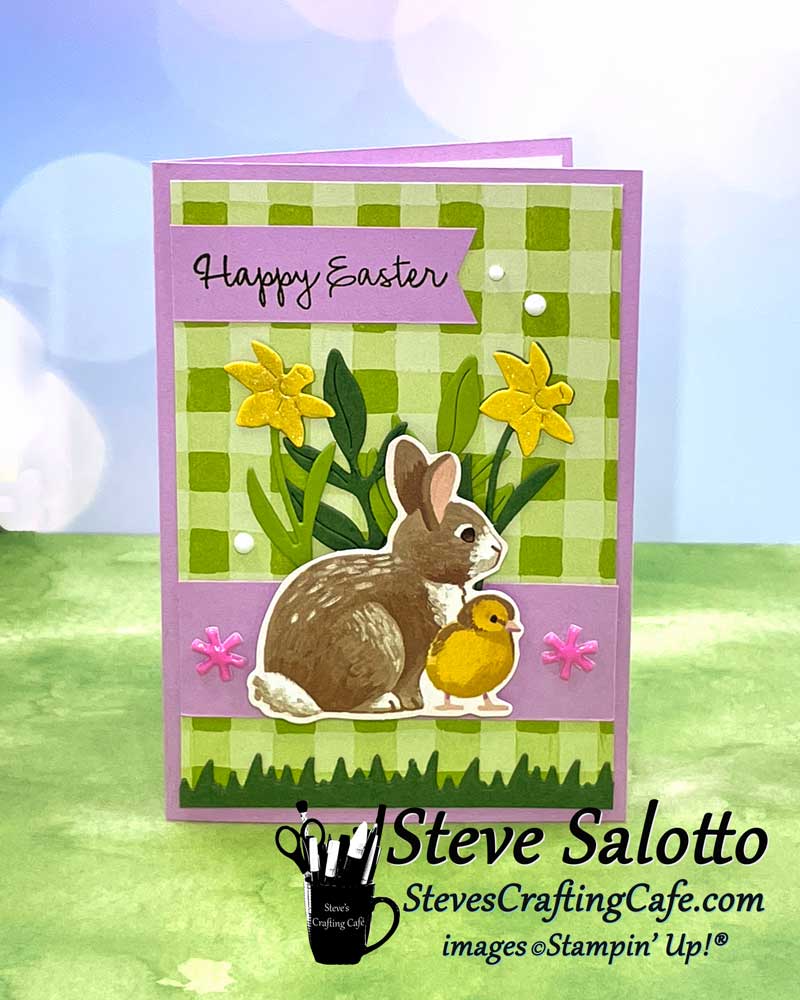
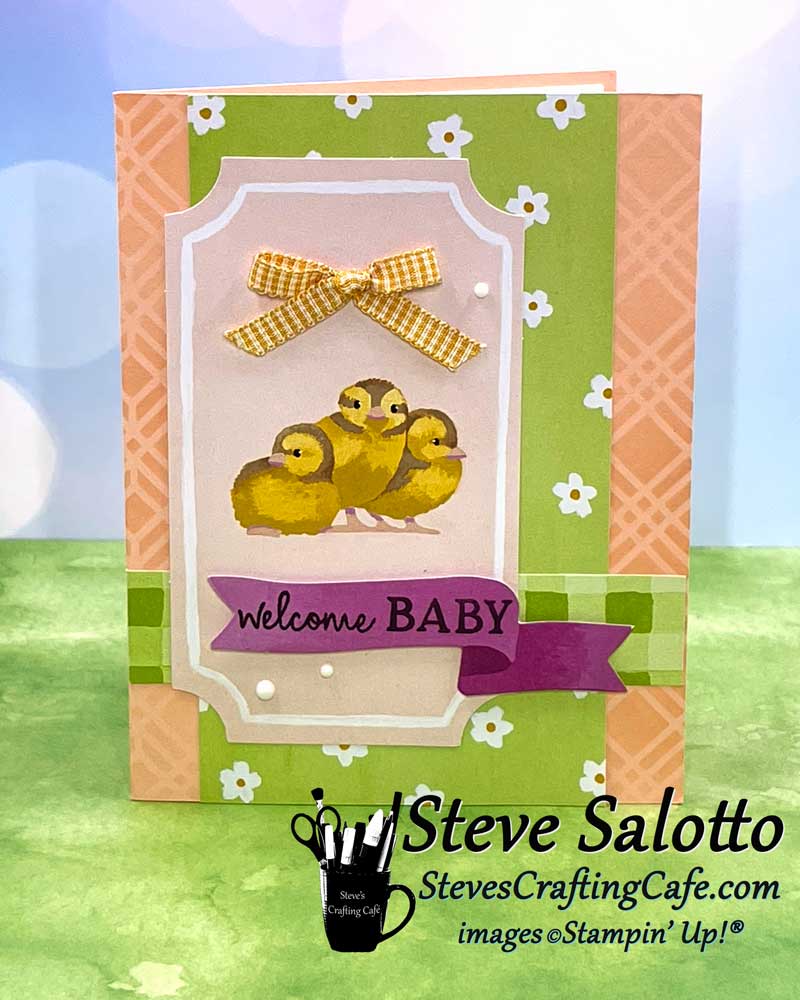
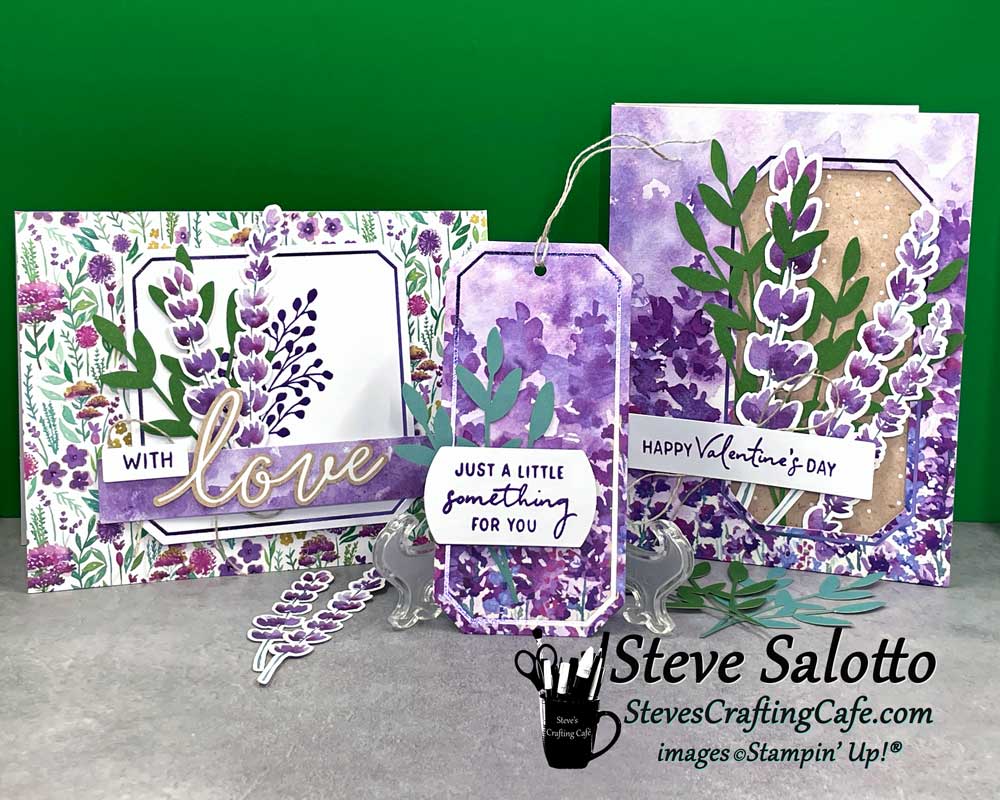
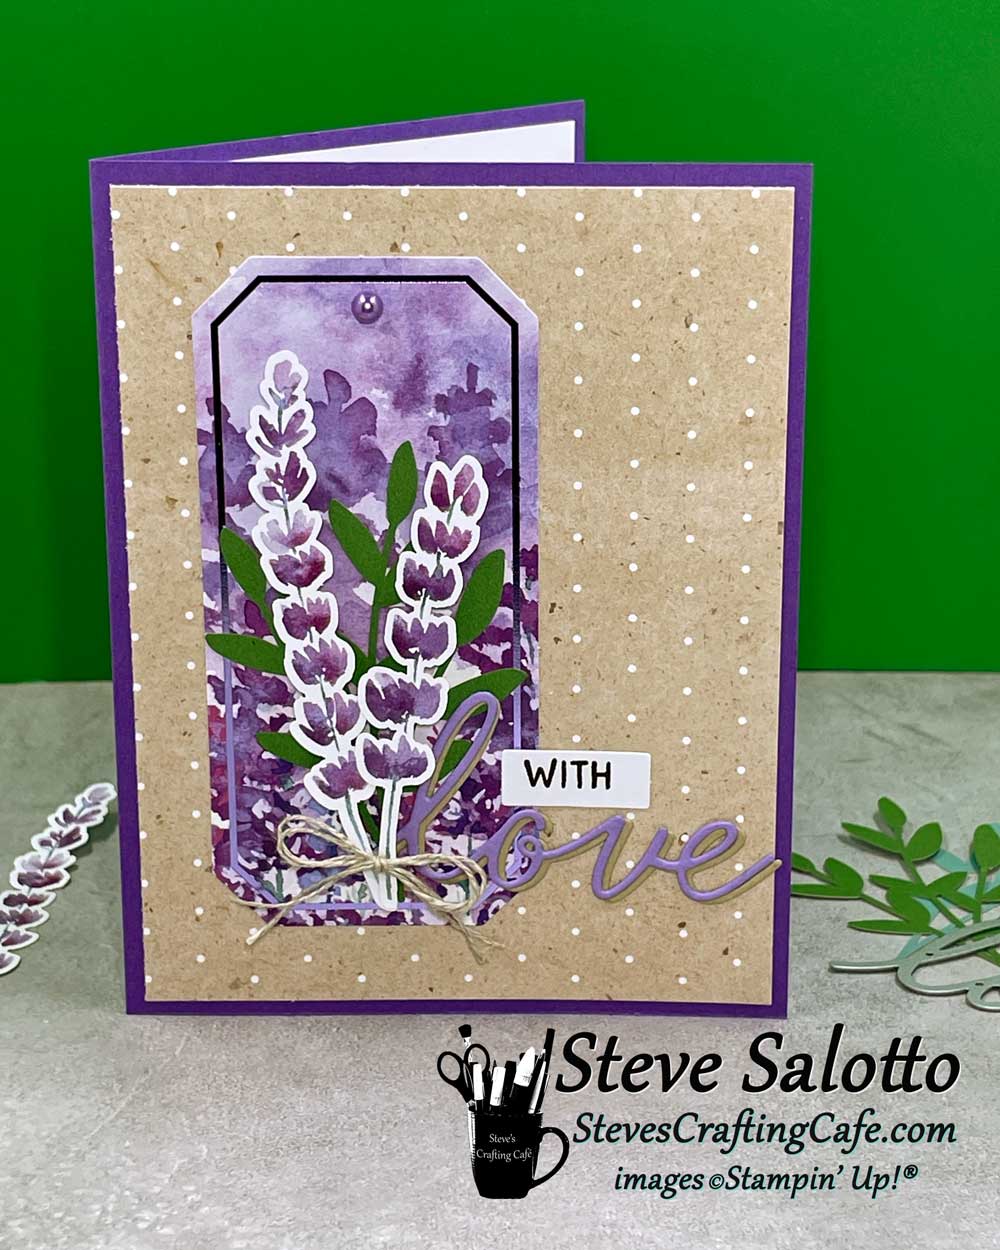
I love Paper Pumpkin, the crafting kit subscription from Stampin’ Up! It’s such a joy to receive each month. I love opening the box and revealing the projects I get to make. And of course, I love gathering with my other subscribers on the last Friday every month to relax and put it together. But the best part in my opinion is creating my own original designs. (aka “alternates”) The kit usually contains supplies to make multiple copies of two or three different designs. So many of us make only one of each, and then we use the rest of the supplies to make our own creations. Alternates!
If you want to join the fun and try it out for a month (you can cancel any time) click here for more information.
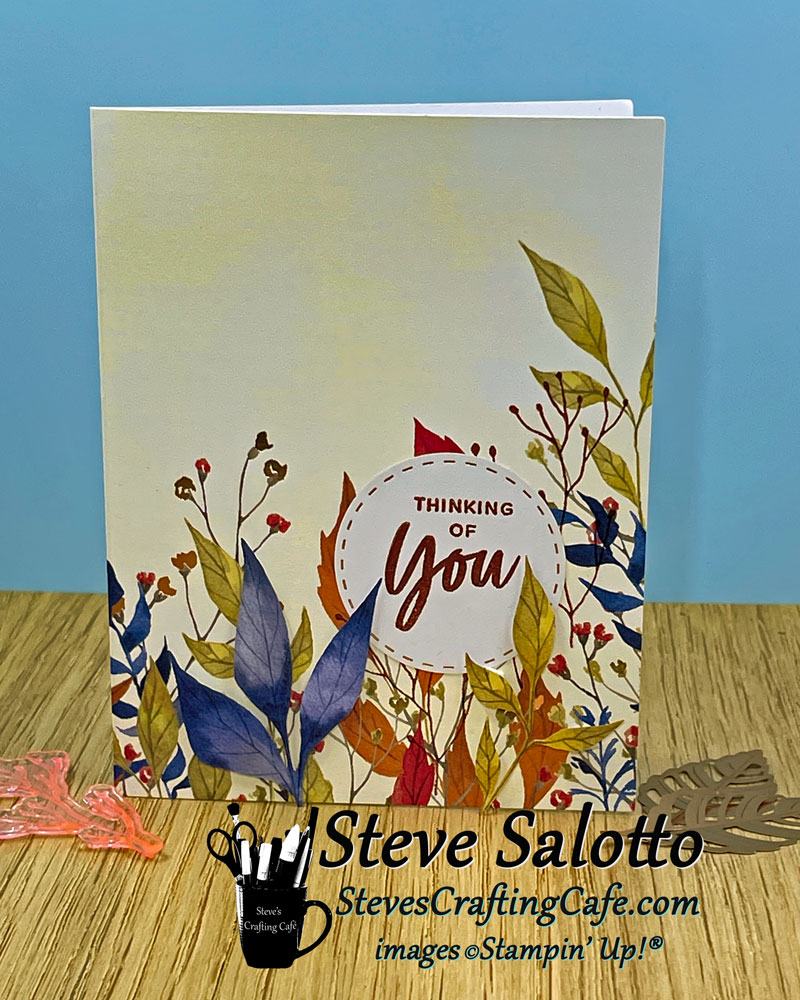
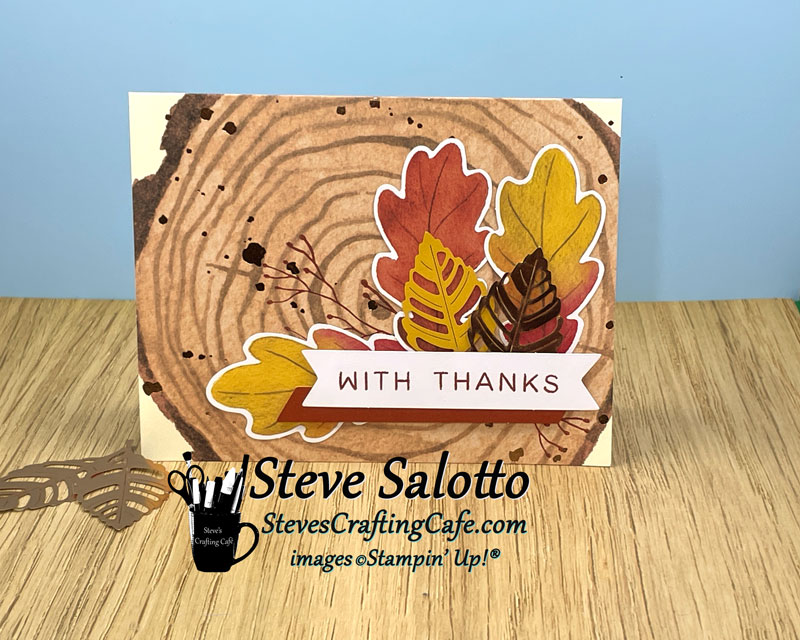
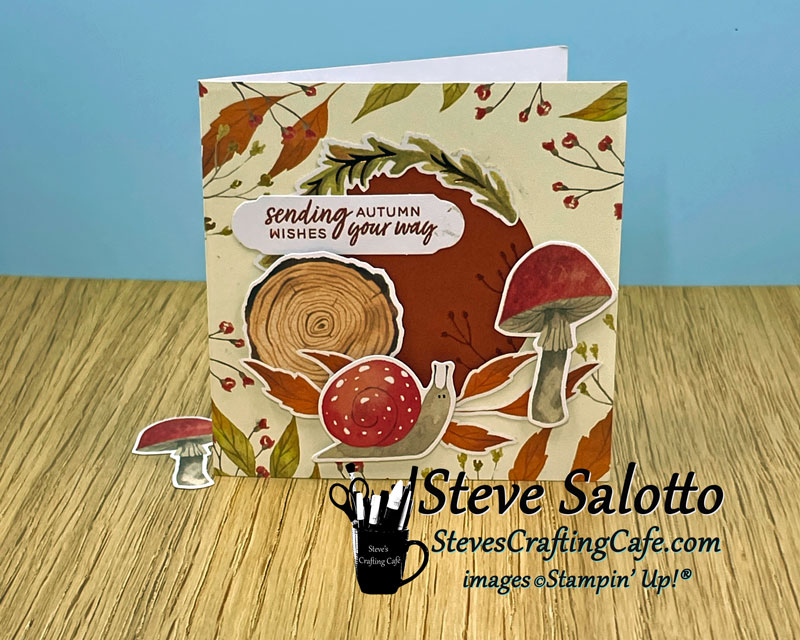
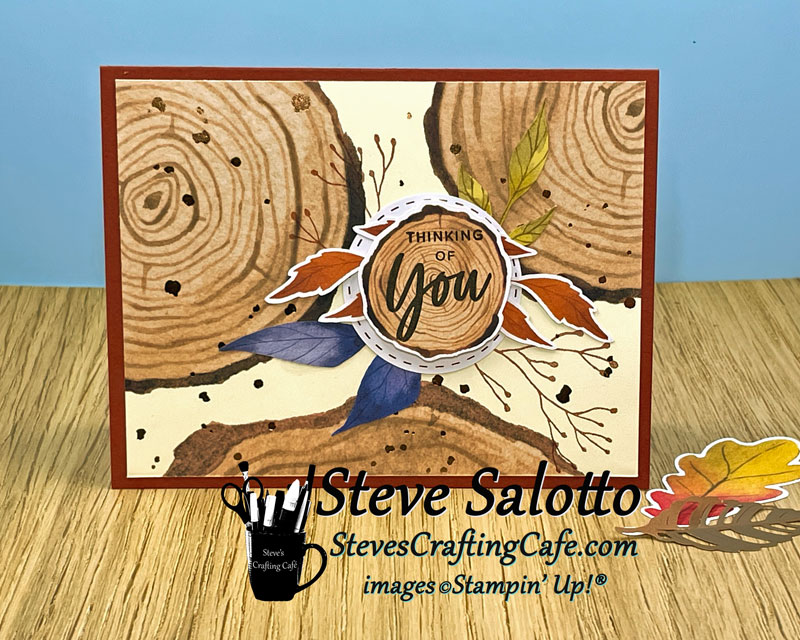
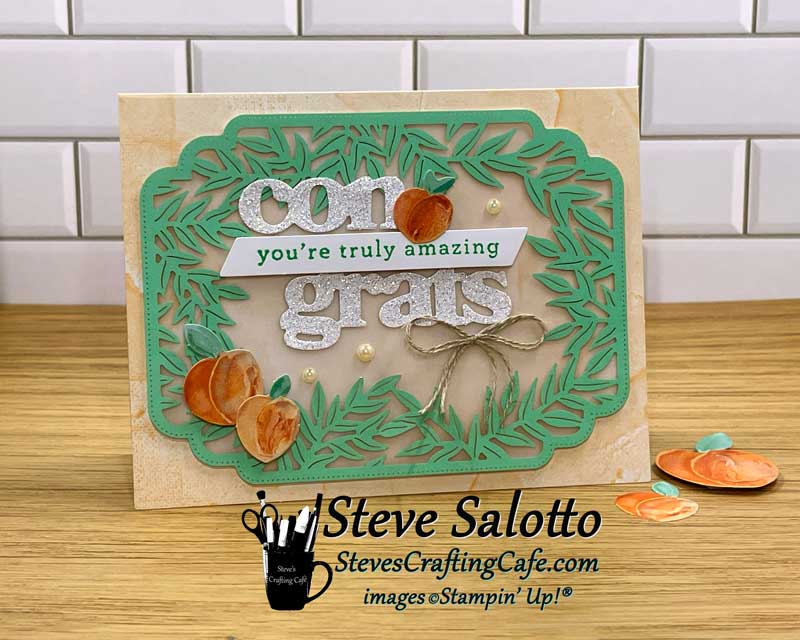
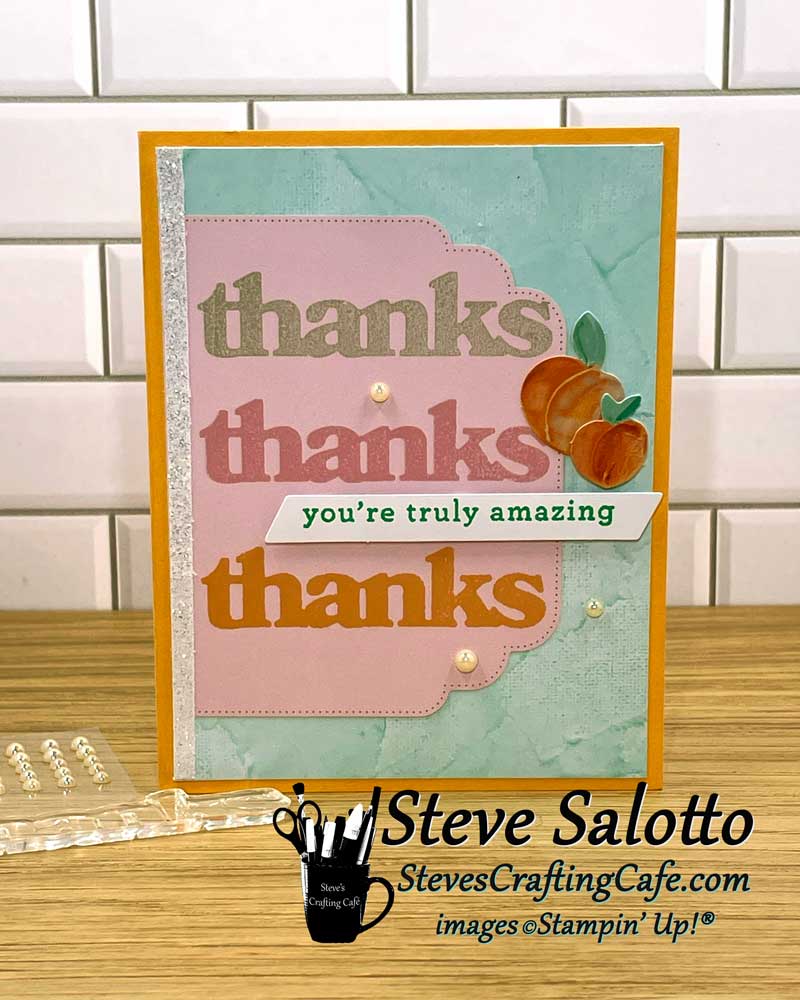
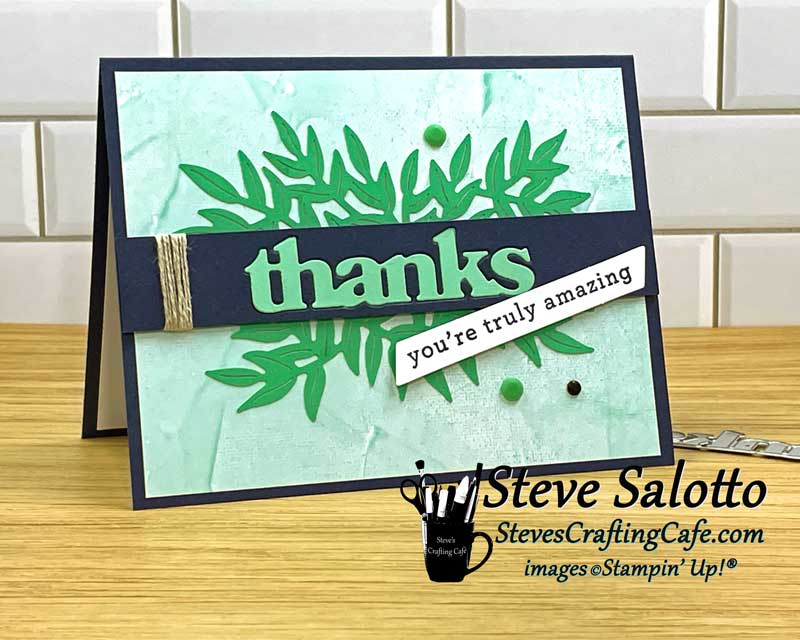
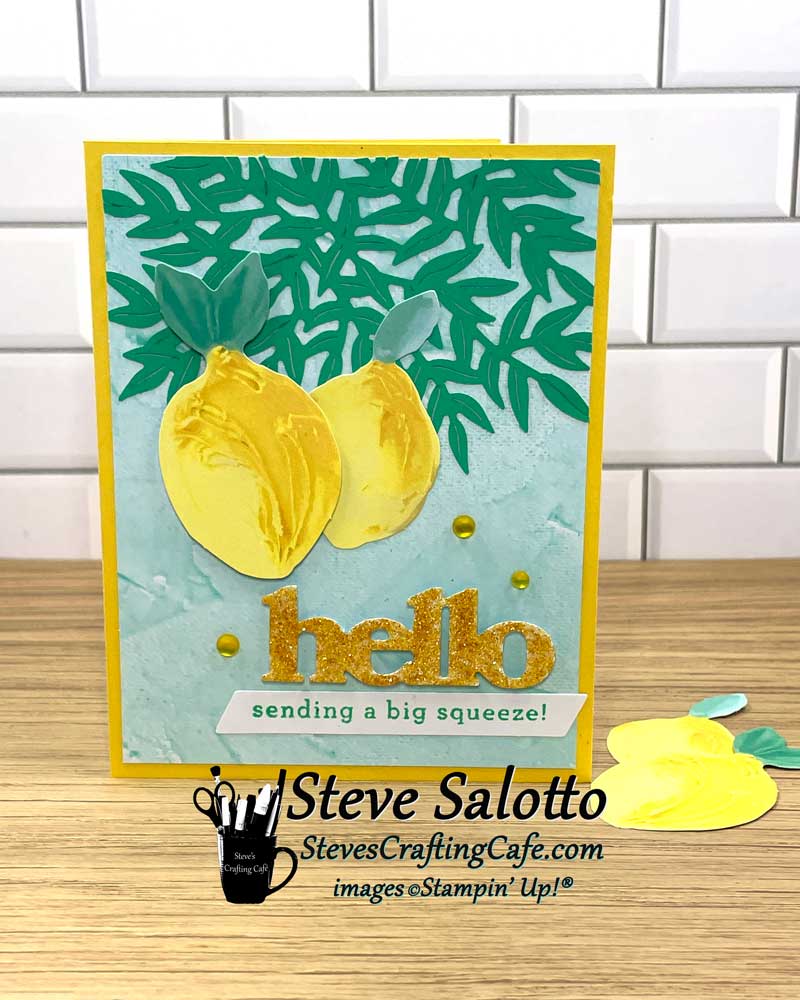
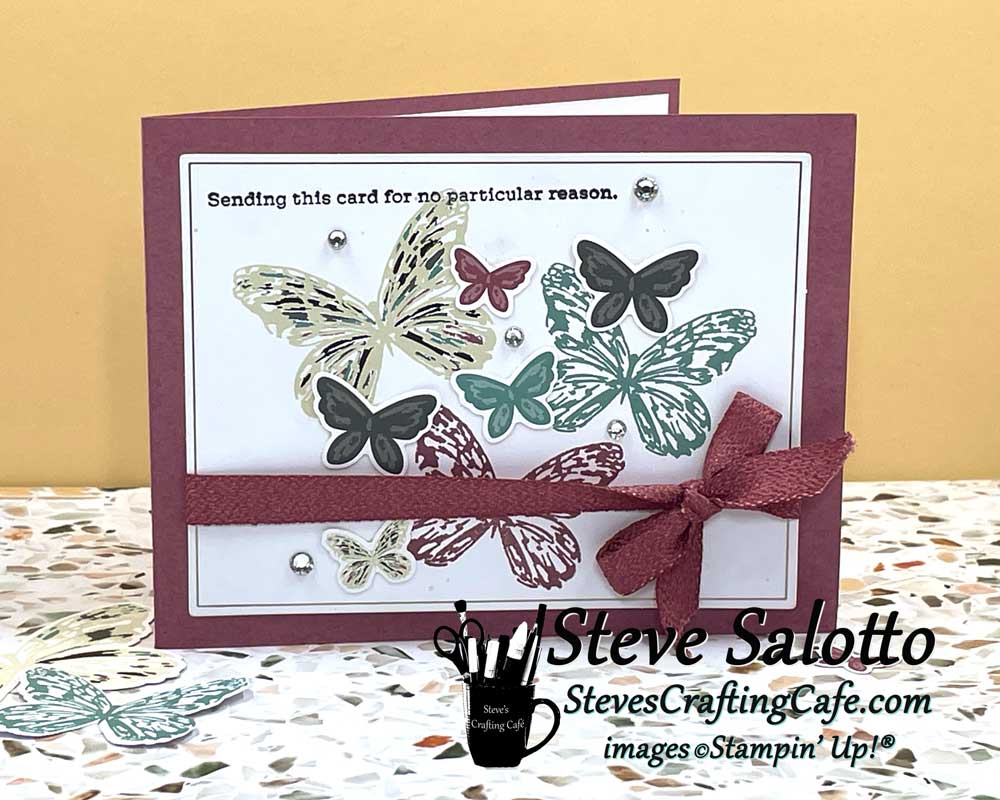
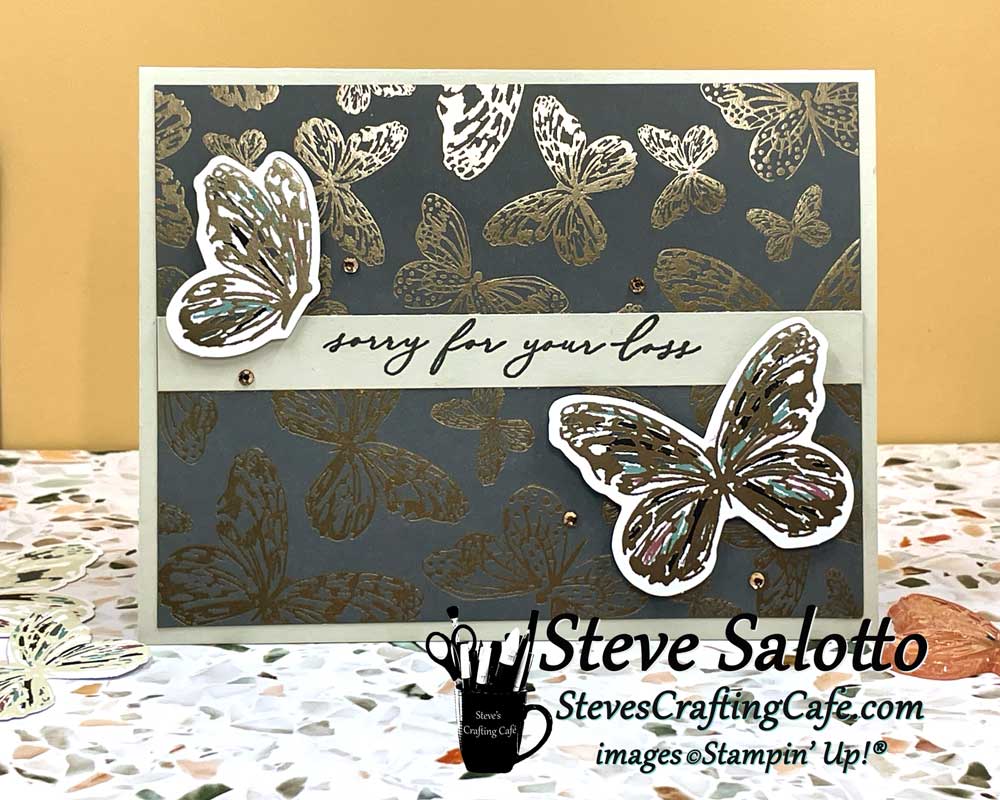
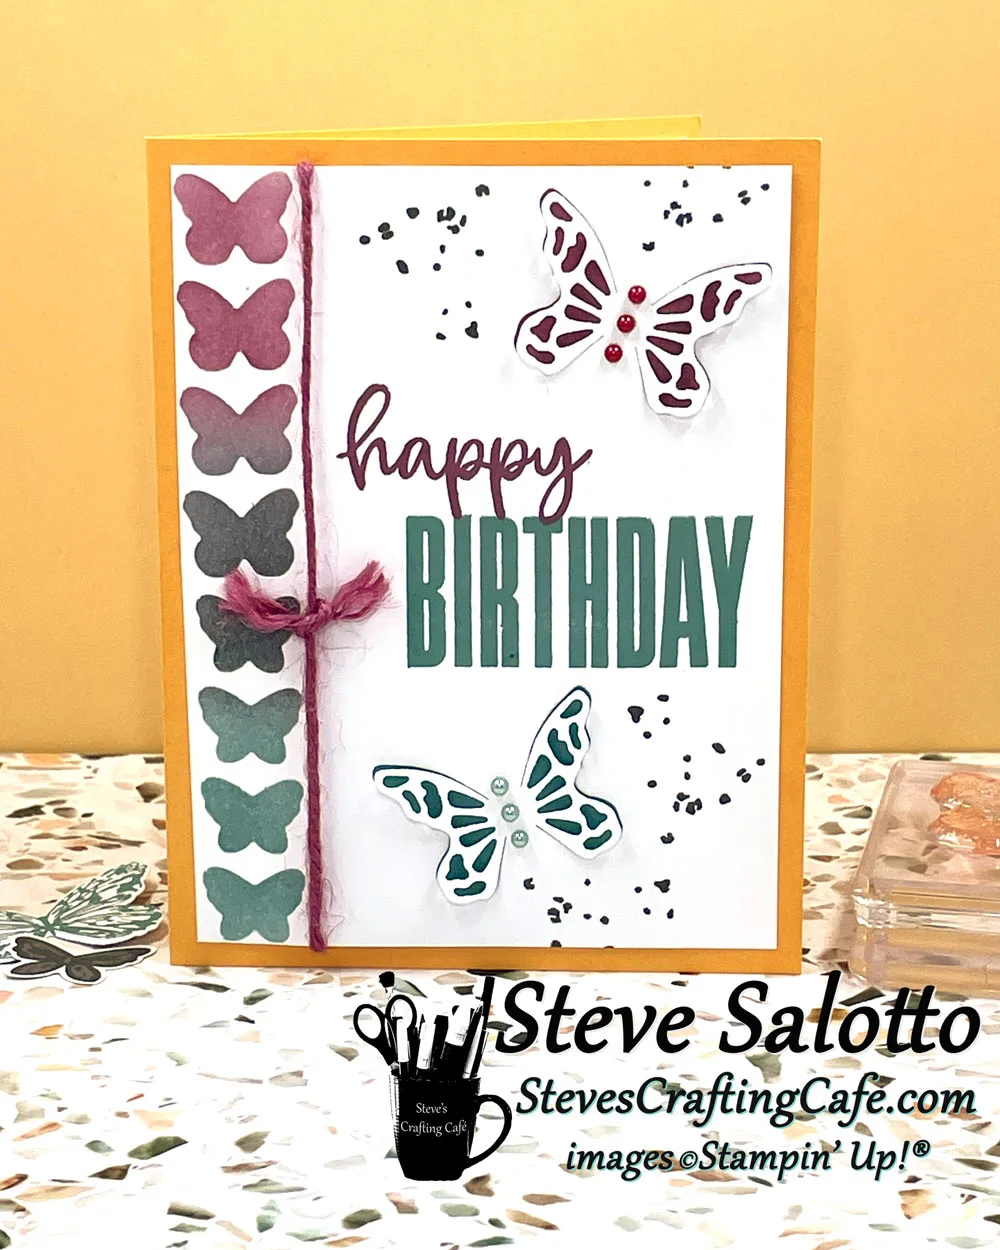
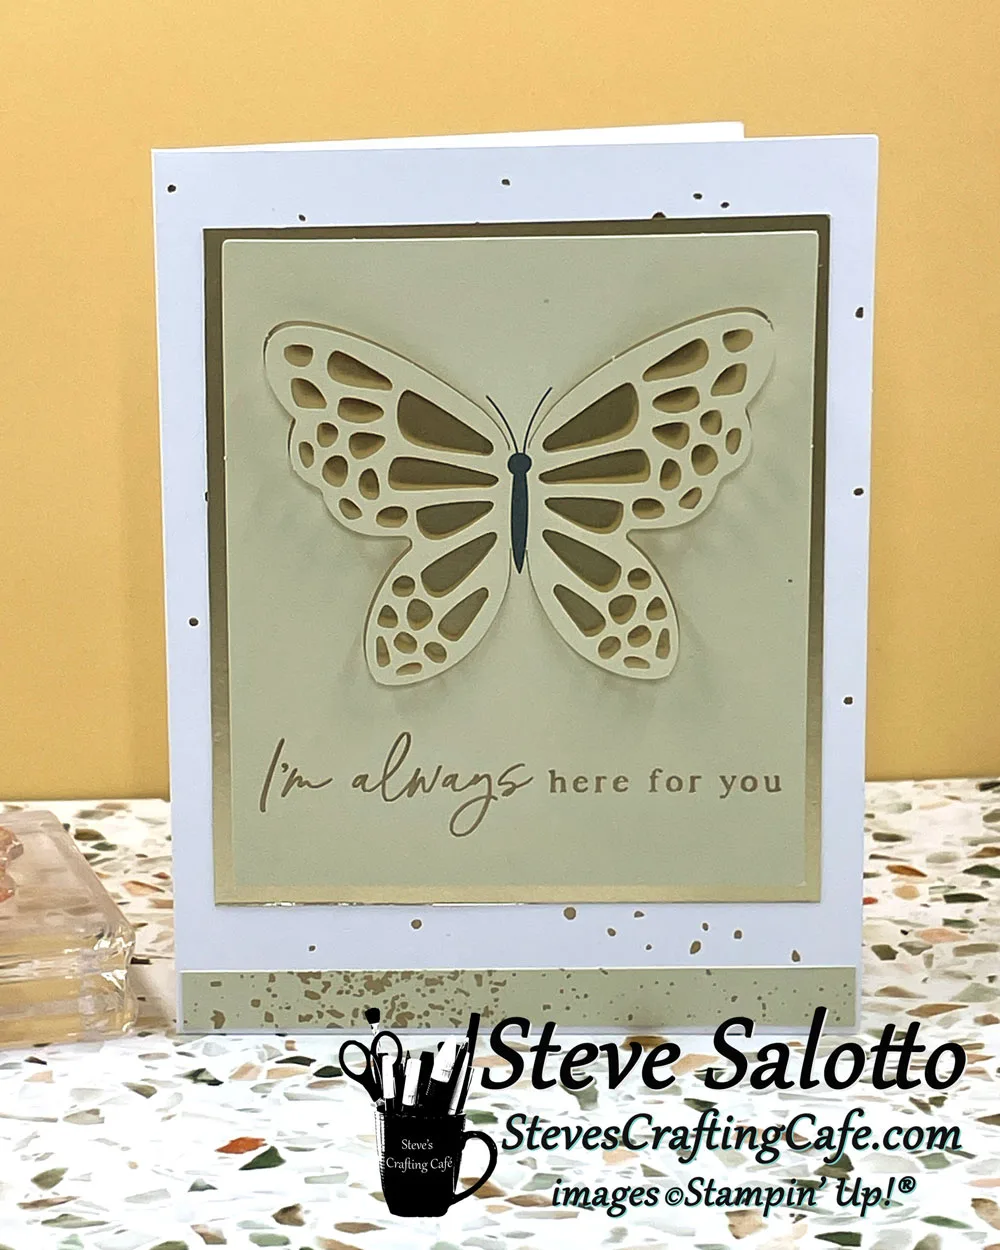
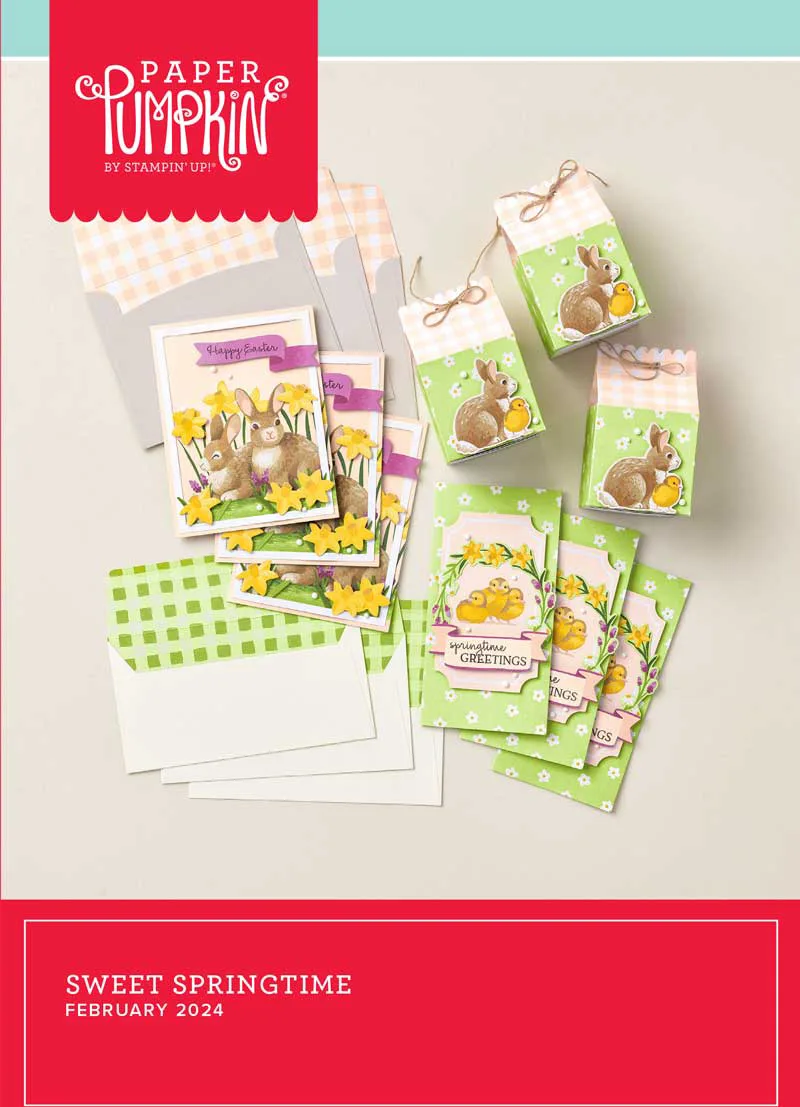
In the meantime, I hope you enjoy my gallery of cards and projects that I’m currently making with the 2024 kits.
All 2024
July - Painted Petals
June - Life is Sweet
May - The Best There Is
Apr - Delicate Wings
Mar - Memorable Meadows
Feb - Sweet Springtime
Jan - Lovely Lavender
July 2024
I didn't do much to this card except cut just the front panel off and mat it to a piece of Calypso Coral card stock and cut a mat around the sentiment to make it stand out more.
I saw this technique used by several other demonstrators. When the back of the card is also cute, fold it over into a z fold so you can see front and back. It worked really well with these cards.
Here is another with the back folded over into a z fold. It's so simple, but so striking.
I took a card front and embossed it with the Exposed Brick 3D embossing folder, then glued it to Calypso Coral card stock. The "Hooray" is from the Every Celebration Dies add on. I cut two, and layered them together to get the "highlight." And I used the Heartfelt Hexagon punch to get the sentiment backing.
Okay, here is my attempt at a masculine card from this kit. It was not easy, ha, ha, considering how the cards are all based around flowers. But I cut the back of a card and glued it to a Night of Navy base, and then did some ink blending on it. I used the "Every Celebration dies" add-on as well as the Heartfelt Hexagon punch, and voila! Here is my finished card. 😊
I am absolutely in love with this color combination that I stumbled upon, Night of Navy and Calypso Coral. So yummy! I decided to go "sans sentiment" since I need some "blank" cards to sell at craft fairs. Plus, I didn't want to make this too busy.
Another card with my new favorite color combination, Night of Navy and Calypso Coral. I embossed the background with the Exposed Brick 3D embossing folder and added ribbon to it. I like it without a sentiment because it's so pretty it could be used for anything.
I cut a card front and embossed it with the Painted Texture 3D embossing folder before mounting it onto Melon Mambo card stock. I cut the banner strips out of the envelope liners.
I colored the flower on this card with Stampin' Blends alcohol markers and the background was made from cutting up the insides of the envelopes.
Kit Card #1
Kit Card #2
Kit Card #3
My first alternate used only kit contents, nothing extra. I cut "congratulations" in half and the bottom of the "n" got messed up. Peach to the rescue!
The only item I added here is the Peach Pie card stock. Everything else is from the kit.
I'm starting a personal challenge where I make at least one "masculine card" from every Paper Pumpkin kit, regardless of how non-masculine the kit may be, ha, ha! So here is my masculine alternate for this kit. I used the "Thanks and Beyond" add on dies and Night of Navy as my base color. "Thanks" was cut twice, with the green inlaid on the blue. The result is quite cool, I think.
This one looks like there's a large tree that we're only seeing a small portion of. I love that. And I really love that I could color the sparkling word with Stampin' Blends alcohol markers.
I tried the "flap" in another direction for this card. It's okay, but I think if I redid it, I'd put the longer sentiment on the inside.
Another alternate I made with last month's Paper Pumpkin kit, "Life is Sweet." I added the "Leaf Collection" background stamp and "Peach Pie Bordered Ribbon" to complement the peach die cuts.
I had this idea when I saw the cherries in this month's Paper Pumpkin kit. "Life is Sweet." I don't really like the final result. (I was so tired last night making it.🥱) But I'm posting it because I still think it's a good idea and maybe someone else can run with it. 😁
Kit Card #1
Kit Card #2
Kit Card #3
Possibly my favorite alternate I made. I used the Mini Alphabet Dies to spell out Dad. And I backed the label with two punched labels in blue and tan.
I wanted an anniversary card that a woman could give her husband and realized I didn't have a "husband" stamp. Thank goodness for the Mini Alphabet dies! (162934)
I used the new "Let's Wander" stamp set for this card. I love that sentiment.
I used the "Spotlight on Nature Dies" (163580) for this card and a sentiment from "Bistro Burger" stamp set. (163648) I stamped "Happy Father's Day" on the inside.
I cut up one of the envelopes for the background of this card. I love the torn edge look. I also used the "Spotlight on Nature Dies." (163580)
I used the add-on "Thanks and Beyond Dies" to punch out a label in Crumb Cake (tan) to use for the sentiment. It fits perfectly in the printed shape on the card front.
I cut one of the labels in half and acted like it was a "vase" for the leaves. I also used the extra stamp to add texture to the sentiment label.
My favorite paper again. This time with a "Congratulations" sentiment.
I stamped off first with the trees before stamping them on the label to get that faded watermark look.
Here are the three cards that were designed for this kit.
Kit Card #1
Kit Card #2
Kit Card #3
Delicate Wings Paper Pumpkin March 2024
This is my first alternate. I stamped the butterflies in Lost Lagoon, Basic Gray, and Moody Mauve. I stamped the sentiment onto a label I had from an older kit, and I added twine under the sentiment strip.
I used the leftover pieces after punching out the butterfly die cuts to create this background with blending brushes. I also blogged about it, "Ink Blending with Leftovers"
This is the other card I made while practcing this technique. I used the leftover pieces after punching out the butterfly die cuts to create this background with blending brushes. See my blog post, "Ink Blending with Leftovers"
I cut the butterfly strip out of the envelope for this card which matches the metallic on the butterflies. I also added a little Moody Mauve Jute Trim behind the sentiment and some Brushed Metallic Dots. 🦋 😊
I stamped the butterflies in Basic Beige ink. Then I used a very small paint brush with the Moody Mauve and Lost Lagoon ink pads to color in some parts of the butterflies. Lastly, I stamped over the butterflies using VersaMark Watermark Ink, and heat embossed them in gold. I finished it off with some Champagne Iridescent Dots.
I used two labels to get that long one in the center. The big butterfly is hiding the seam. And I die cut "thanks" in a few different colors then layered them for a thicker embellishment with a highlight.
The gold butterflies on the paper are so beautiful as are the gold butterfly embellishments. You don't need much more than that for a gorgeous card.
These butterfly pop-outs are so stunning, I left the rest of this card very simple.
I thought it would be fun to make a card with a bunch of butterflies all tied up with a ribbon. 🙂
Just another card letting the beautiful artwork take center stage.
The ink blended butterflies on this card were created using the punch out leftover piece from the kit.
Another card I made with the butterfly pop out, just on a different base.
The three card designs that came with the kit.
Memorable Meadows Paper Pumpkin March 2024
Kit Card 1
Kit Card 2
Kit Card 3
I matted this one on gold foil paper then on an Orchid Oasis card base. I also used those Adhesive-backed Dragonflies & Birds. (Online exclusives) Can you see them? There are two birds above the sentiment and one dragonfly below it. 😁
This one came out cool I think. I embossed the printed card with the crosshatch design from the Basic 3D Embossing Folders. I matted it onto gold and used Orchid Oasis for a base.
I used the "Spotlight on Nature" dies for this card. The mat is Gorgeous Grape and the base Daffodil Delight. 😊
Okay, look how cool the wood tree turned out! I colored it with Stampin' Blends alcohol markers. I love the look of stamping the sentiment directly onto the background. Otherwise, you don't have to do much when you have a card front that beautiful.
I made this card for a friend's birthday. I cut the background and matted it.
I was determined to make a masculine card with this kit, and I think I suceeded with the argyle embossing folder, and cork round embellishments. I stamped 'Happy Father's Day" on the inside.
Memorable Meadows Paper Pumpkin March 2024 Extra Stamp Set
I love cutting printed cards like this, because both the front and back can be used. I mat them on coordinating card stock. I used Gorgeous Grape and Fresh Freesia for the mat and base. I used a sentiment from another kit because I need some Mother's Day cards to sell at a craft fair this weekend.
I made this with the free bonus stamp set that came with March's Paper Pumpkin kit. The background paper is the inside liner from an envelope that came with the kit. I just cut it out and matted it on Orchid Oasis card stock.
Sweet Springtime Paper Pumpkin February 2024
Kit card #1
Kit Card #2
Kit Card #3 (milk carton treat box)
This was me wanting to color the bunny and chick with Stampin' Blends.
I needed some baby cards, and I thought the way the chicks are positioned it almost looks like a nest.
I used the add on dies for this card.
Another baby card. I used masks to get that subtle design on the background.
Lovely Lavender Paper Pumpkin January 2024
Kit Contents, 2 cards and a tag.
My first alternative. I used the add on, "The Love of Spring" dies, to die cut the word "love" twice in two colors, then layered them.
For this card, I spritzed a big tag with purple glitter spray and stamped on it.
This card is very similar to one from the kit, but I embossed a piece of purple cardstock and used it in the window.
I love cutting the kit cards in half when the back is as nice as the front. Then I mat each piece to cardstock. It makes for sturdy cards, plus it doubles your overall count. 🙂
I wanted to use my stamp of "Love" along with the die cut on the same card. I'm very happy with how it turned out. I stamped with Versamark Watermark ink for that subtle shadow.
The base here is so gorgeous I didn't need to add much else.
Yay, I made another tag. I think I did a pretty good job since I don't do tags often. So fun!
Share this:
- Click to share on Facebook (Opens in new window)
- Click to share on X (Opens in new window)
- Click to share on Pinterest (Opens in new window)
- Click to share on Nextdoor (Opens in new window)
- Click to share on Pocket (Opens in new window)
- Click to share on Reddit (Opens in new window)
- Click to share on LinkedIn (Opens in new window)
- Click to print (Opens in new window)
- Click to email a link to a friend (Opens in new window)