Paper Pumpkin Alternates Inspiration
Use Envelopes in your Designs
Making Paper Pumpkin alternates is my favorite part of this monthly crafting kit from Stampin’ Up! It’s fun to use the kit contents to make my own designs. Sometimes I just rearrange the elements for a subtle change. But it’s most enjoyable when I discover a way to use something that wasn’t originally intended for the cards. Like, for example, the envelopes!
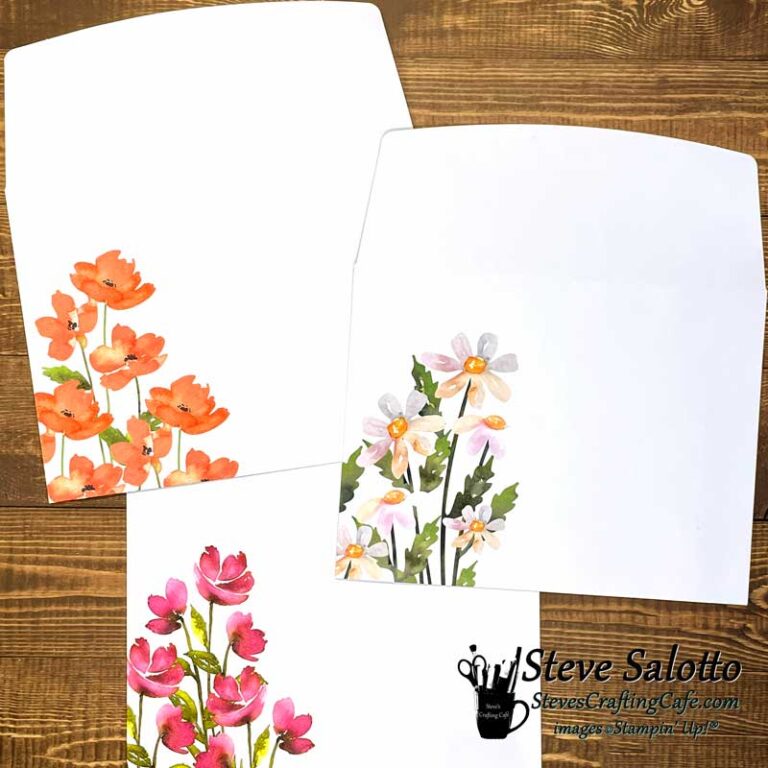
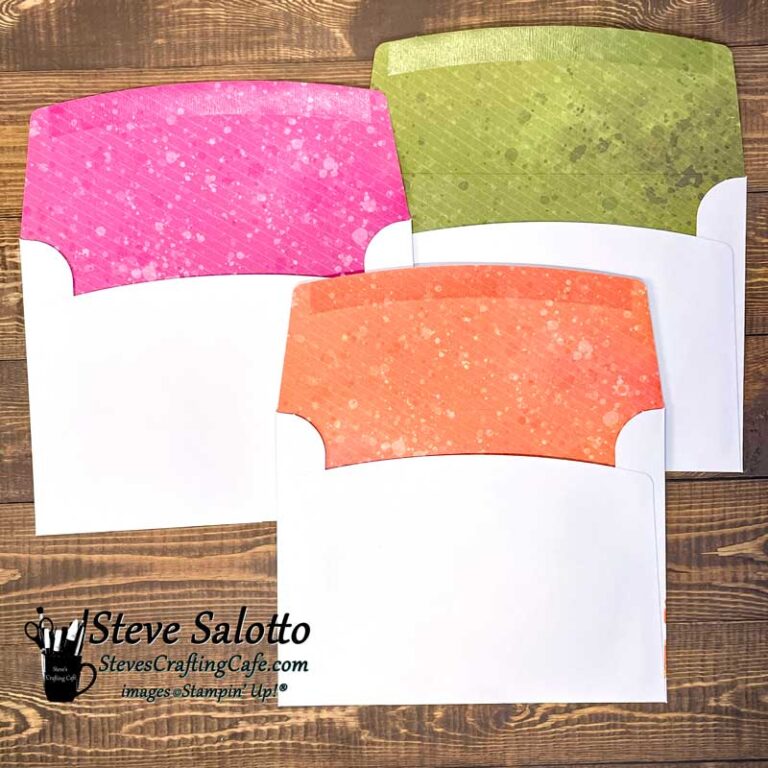
Paper Pumpkin card kits usually come with pretty matching envelopes. So I’ll often substitute a few plain envelopes and cut up those pretty ones to make new cards! For the July 2024 kit, “Painted Petals,” the envelopes contained art work of three different flowers as well as liners in three coordinating colors.
Check out how I “repurposed” the envelopes to create my three Paper Pumpkin alternates below.
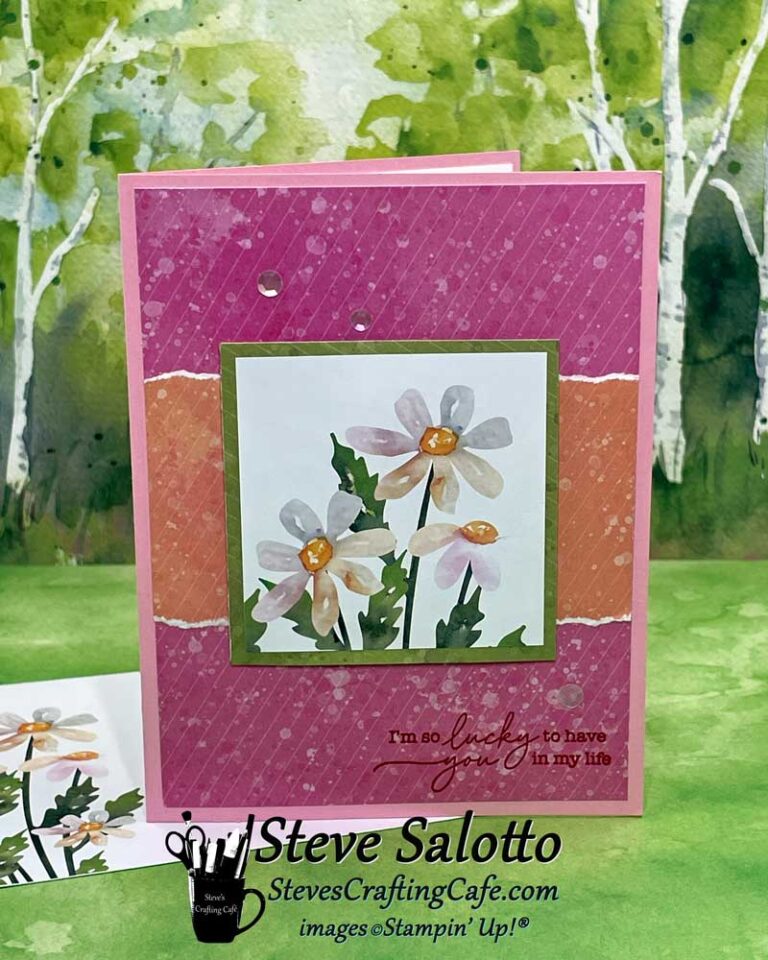
The Liners
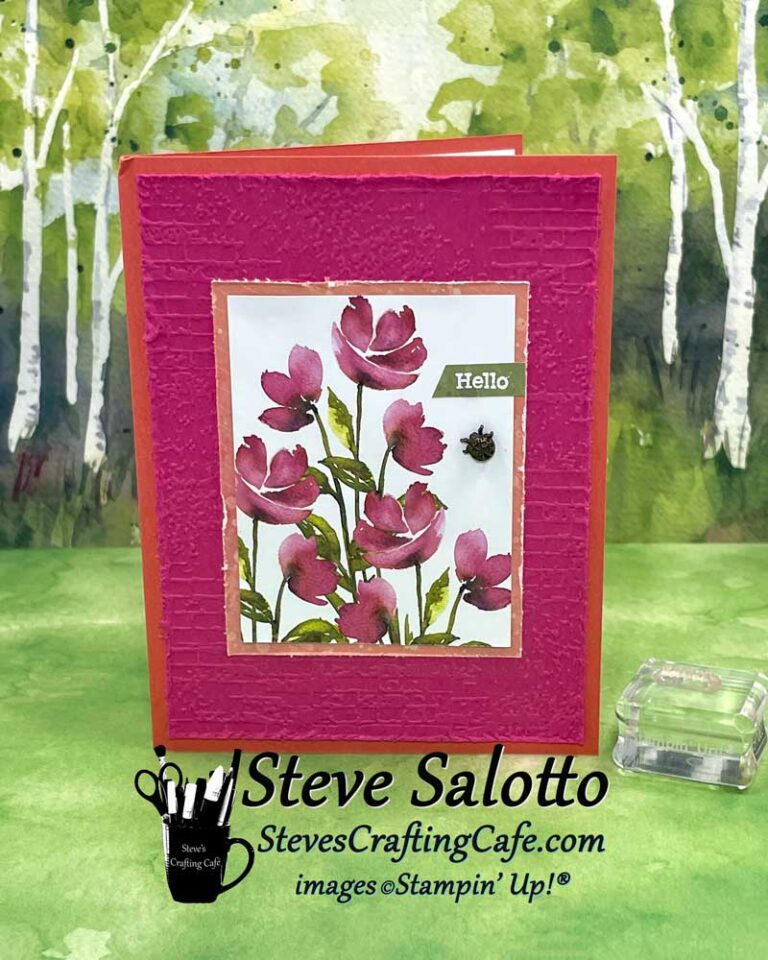
I used all three liners on this card. The pink is the base, the orange strip is to help pull focus to the center, and the green is used as a mat for the flowers. If you notice, I even took care to make sure the stripes of the orange line up with the stripes on the pink so they flow seamlessly together.
Destress the Edges
For this card, I matted the flowers onto a piece of the orange envelope liner. I embossed the pink (Melon Mambo) card stock using the Exposed Brick 3D embossing folder. Then I used the edge of my scissors to distress the edges all the way around on both before gluing them down to the orange (Calypso Coral) card base. I even stamped “hello” on a piece of the green liner.
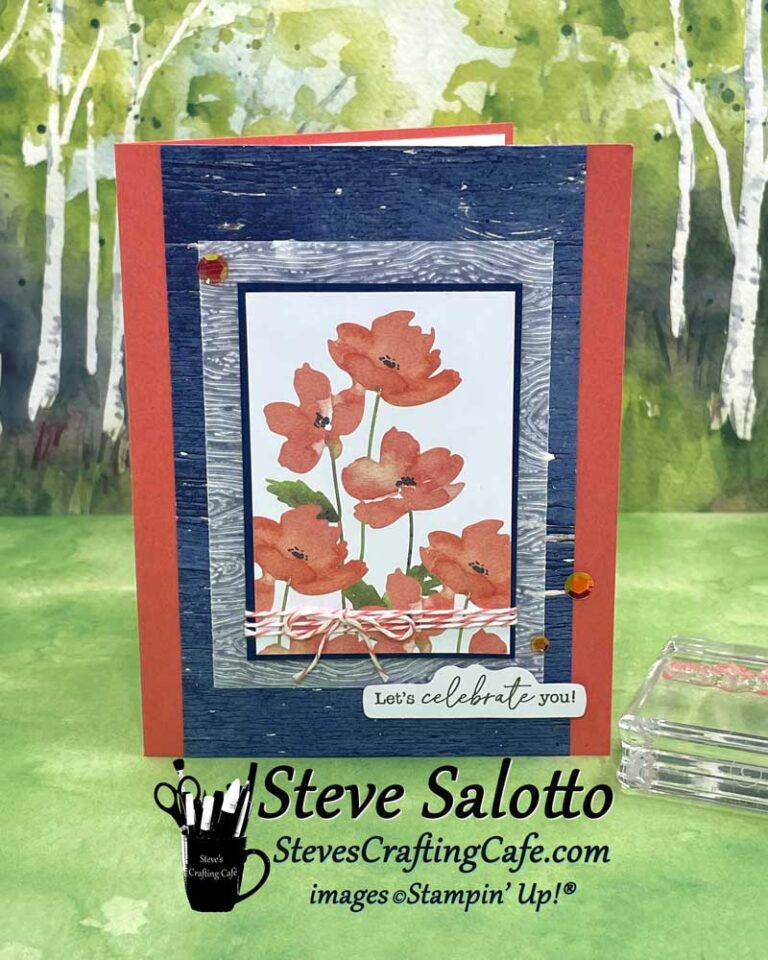
Emboss Vellum
This has become my new favorite color combination, navy blue (Night of Navy) and coral (Calypso Coral). I just love it! For this card, I used a piece of the Country Woods Designer Series Paper. To complement the wood grain of it, I embossed a piece of vellum using the Timber 3D Embossing Folder. I matted the flowers onto a piece of Night of Navy card stock, wrapped it with some Calypso Coral bakers twine from an old Paper Pumpkin kit, then used Dimensionals to attach it to the card front.
What do you think? Do you like the way the envelope art works as the card’s main focal point? I love it. If you’re a Paper Pumpkin subscriber, try it out this month, or the next time you find yourself gushing over the pretty envelopes. You might end up amazing yourself at what you create.
If you’re not a Paper Pumpkin subscriber, you should consider joining. It’s month-to-month with no obligation or commitment. Click here for more information or to sign up for this month’s kit. You won’t regret it!
Keep scrolling for a supply list of the extra items I used on these cards, along with links to my online store. You can also download a free .pdf.
If you don’t have a Stampin’ Up! Demonstrator, I would love to be that for you. You can browse my online store by clicking “Shop Stampin’ Up!” in the menu above. Or you can reach out to me directly via email or text. Both are in the footer below. I love to answer questions, or help inspire a new idea, so don’t be shy, say hi.
Until next time, my friends, find time for those who mean the most to you. But remember to also find time for yourself. And whatever you do, just keep on crafting. -Steve
Share this:
- Share on Facebook (Opens in new window) Facebook
- Share on X (Opens in new window) X
- Share on Pinterest (Opens in new window) Pinterest
- Share on Nextdoor (Opens in new window) Nextdoor
- Share on Pocket (Opens in new window) Pocket
- Share on Reddit (Opens in new window) Reddit
- Share on LinkedIn (Opens in new window) LinkedIn
- Print (Opens in new window) Print
- Email a link to a friend (Opens in new window) Email
Related
Discover more from Steve's Crafting Café
Subscribe to get the latest posts sent to your email.
