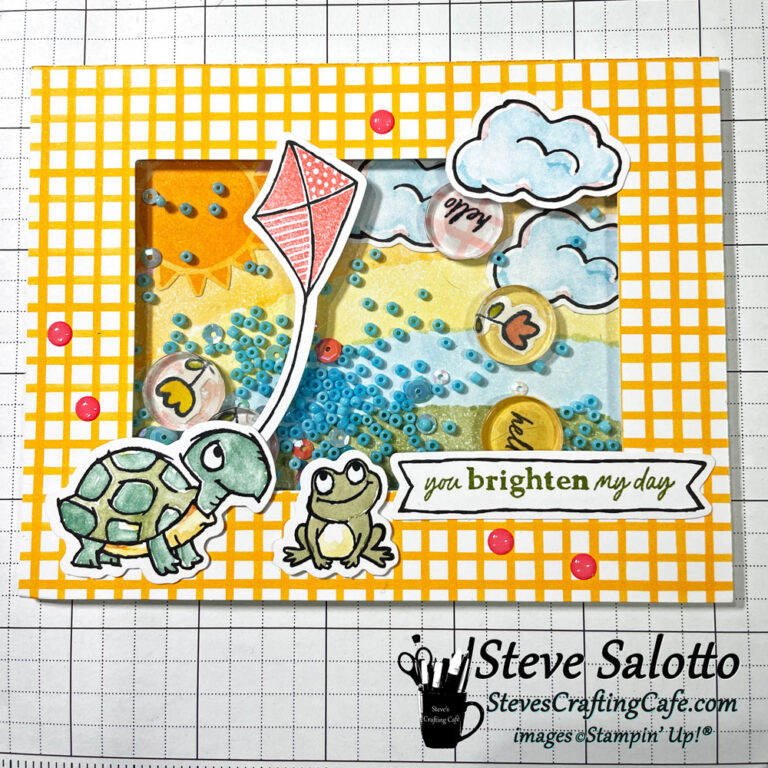
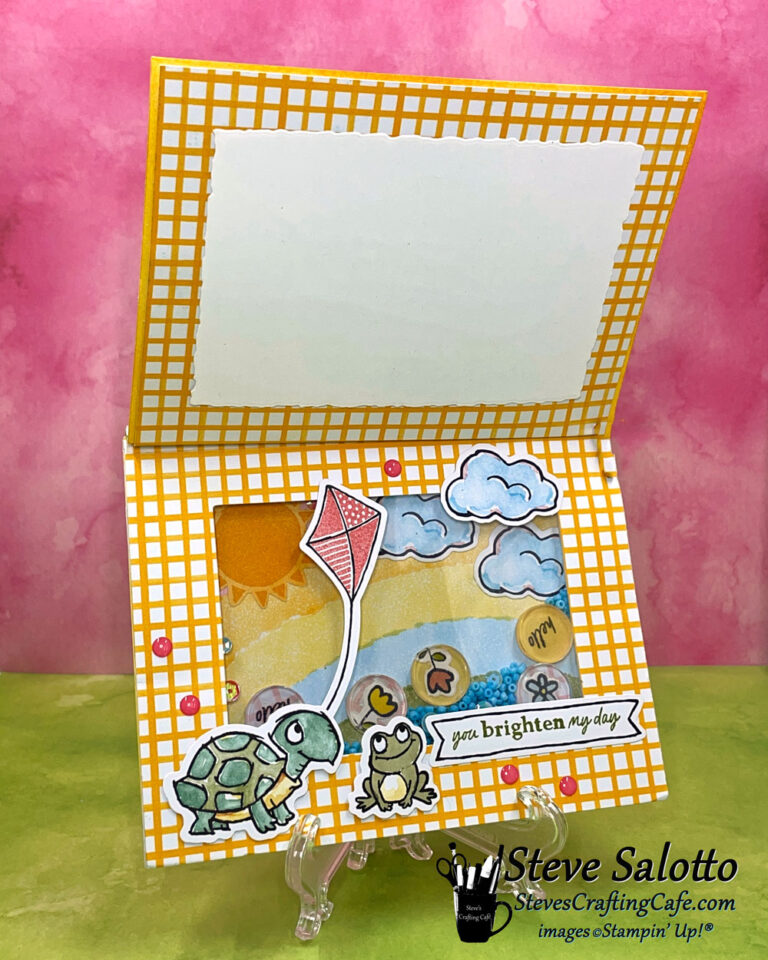
I’m not even sure it counts as a card anymore, to be honest. At more than 1/4 inch thick, I don’t believe it will fit in a standard envelope. It’s more of a tabletop display, I’d say. That’s it! A Flip Top Tabletop Shaker Card. Ha, ha! I’m sure it has a name, but I could not find it. So that’s what I’m calling it from now on.
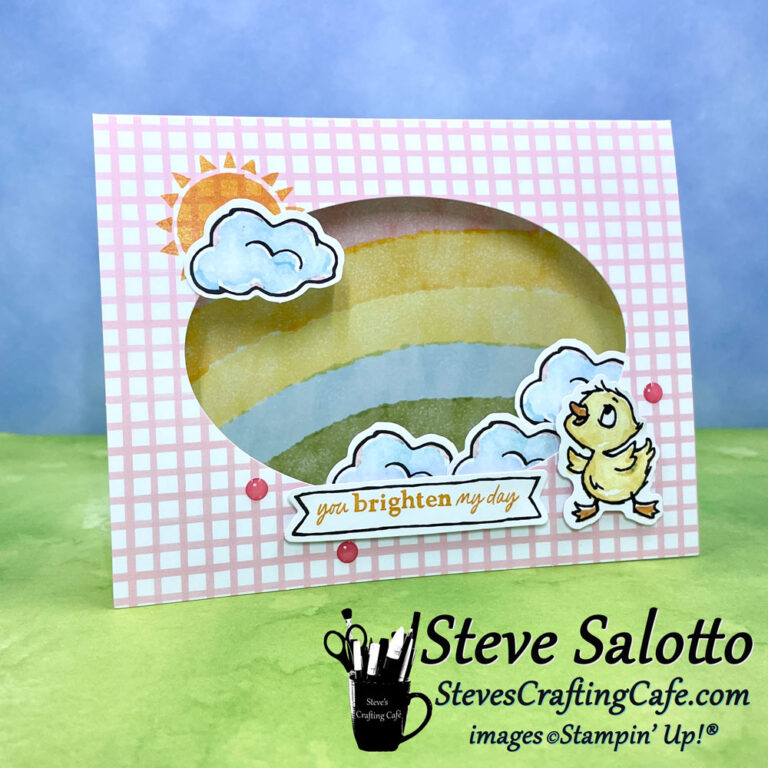
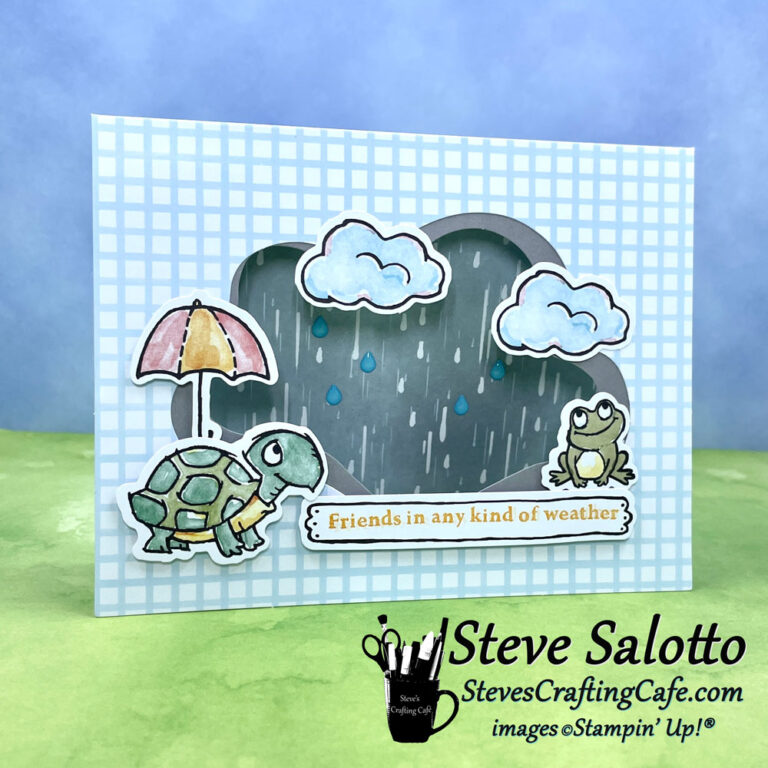
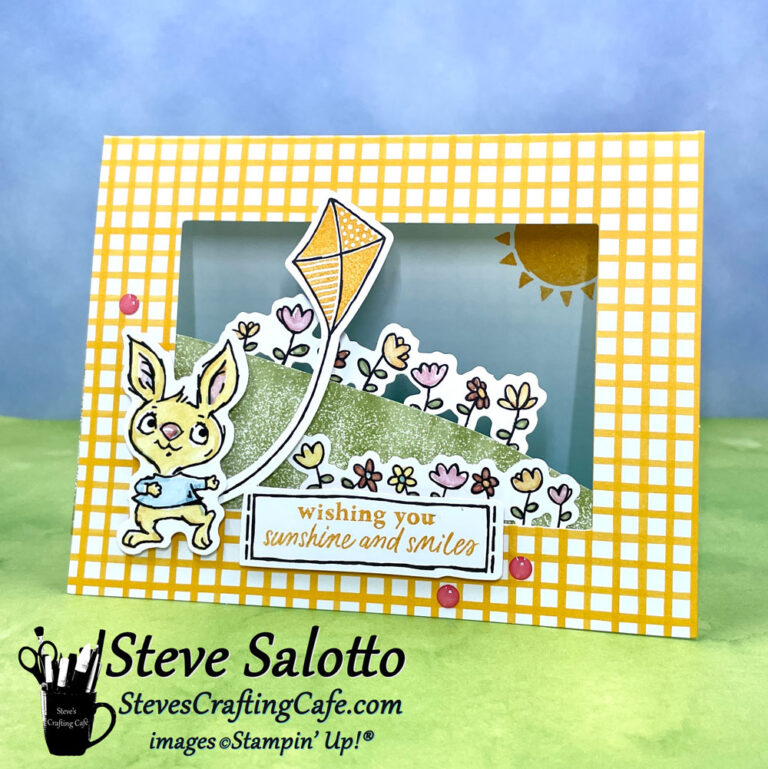
The cards in Paper Pumpkin’s February 2023 kit, “Sunshine & Smiles,” all have window cutouts. Here are the three cards that we made with the kit.
Look at them! They are just screaming to be turned into shaker cards. I used the rectangle one since it would be the easiest to place the foam strips on.
Now is probably a good time to tell you I’ve only made 3 or 4 shaker cards. Ever. So my skills in this area are less than… skillful, let’s say.
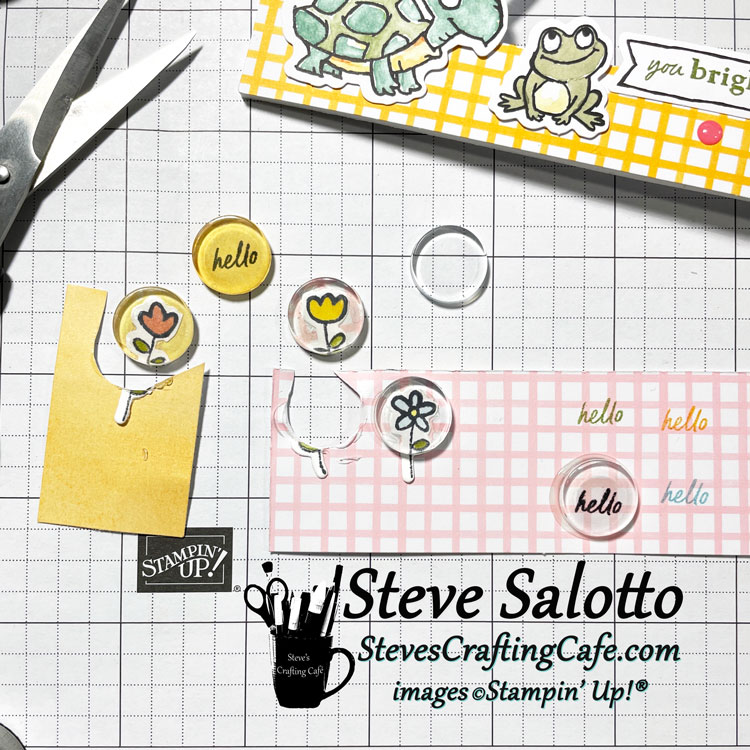
Anyway, I wanted something fun to move around inside and I had recently found in my craft stash some clear acrylic discs. So I stamped “hello” from the kit’s stamp set onto patterned paper, and added flower die cuts. Then I covered one side of an acrylic disc with Stampin’ Up!’s Fine Tip Glue Pen and placed them over the words/images.
The glue dries completely clear, and I made sure they were fully dry before adding them to the shaker window. I let them sit overnight but a couple hours is probably more than enough time. Then I just cut the discs from the paper, and voila! I made my own embellishments. I love how they turned out. You can see them very well in the video at the end of this post.
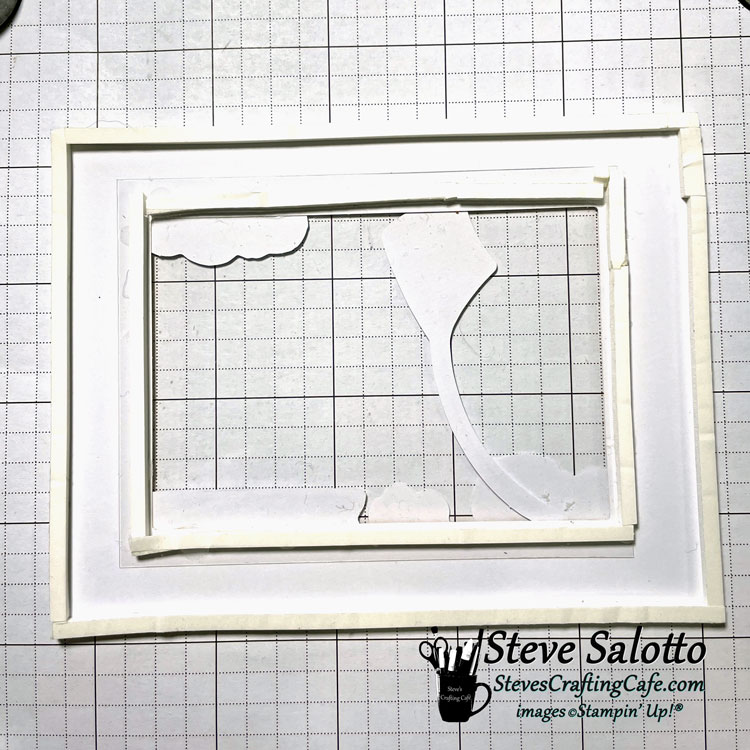
Next, I used Foam Adhesive Strips and a piece of clear Window Sheet to create the shaker window.
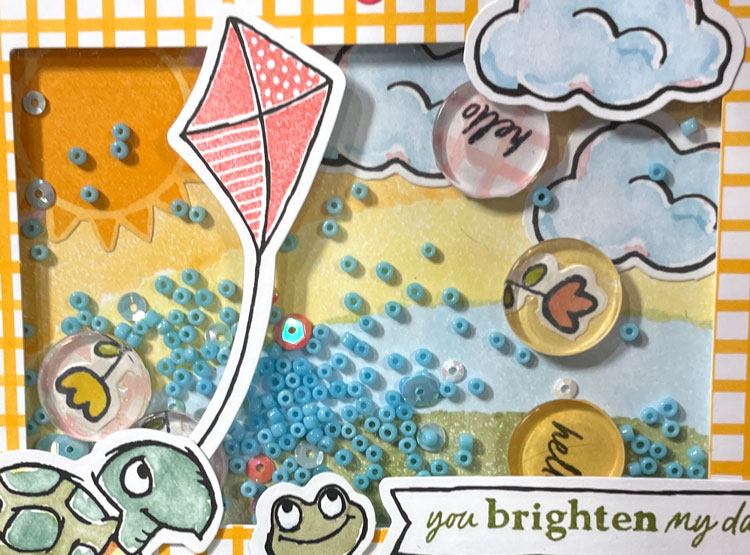
I decorated the background using the kit’s rainbow paper, cloud die cuts, and sun stamp. Then I put the acrylic discs into the window, along with beads and some sequins, peeled the tape from the foam strips, and put it all together. The way the beads roll around so freely, and the sound they make, it’s awesome.
I decorated on top of the window, adding the turtle, frog, kite, and cloud. The sentiment is from the kit. Pop on a few enamel dots and it was finished! This was going to be the front panel of the card.
Except, it felt heavy (I’m guessing the acrylic discs are the reason why) and I feared it would weigh down the front of the card. So, I decided instead to make it the inside of the card and put a flap over it to form the front. It would wrap around the top and attach in the back. Easy.
Well, I reinforced the flap a little too much and some of the adhesive didn’t stick right away, so it ended up being a little awkwardly misshapen. But a strip of washi tape helped, and for a first try, I’m pretty happy with it.
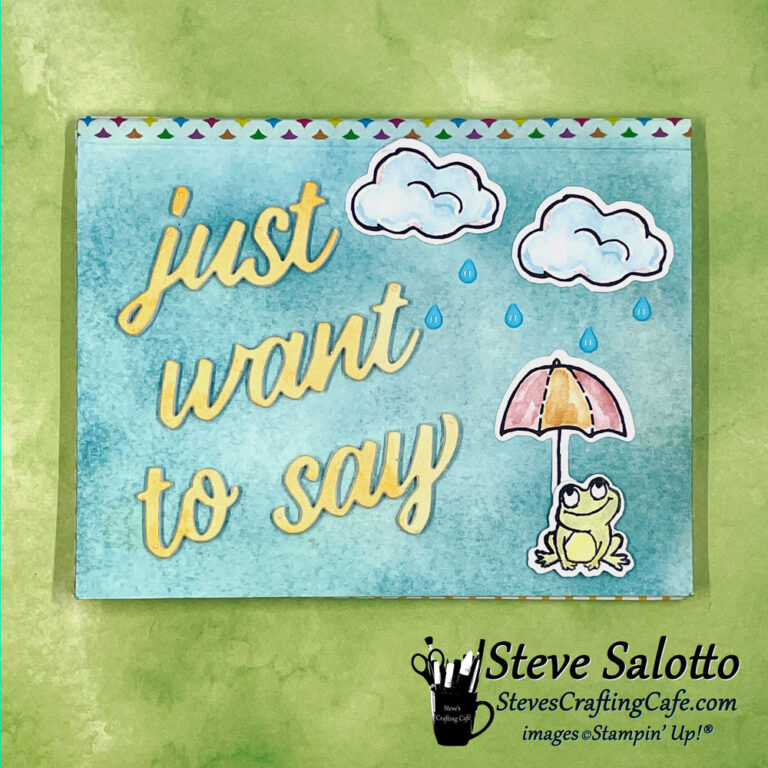
To decorate the flap, I started with Balmy Blue card stock and added Smoky Slate ink using a Blending Brush. I included some of the kit’s embellishments (frog, clouds, umbrella) and die cut the words using the Love You More Than dies. It goes perfectly with the inside sentiment. I even die cut a white/blue piece of card stock from the kit using the Layering Diorama Dies and attached it to the inside top flap. So, there’s a place to write a message and sign the card.
Check out the 17 second video below to see the card in action.
Pretty cool, huh? I really enjoyed making it. I really enjoy making the Paper Pumpkin kit every month to be honest. Making “alternate” designs, or “alternatives,” is my favorite part.
If you’d like to try Paper Pumpkin, and you don’t have a Stampin’ Up! Demonstrator, I’d love to be that for you. You can read more about Paper Pumpkin and order the current month’s kit by clicking the button below.
Check out all the cards I made with this kit in my new Paper Pumpkin Gallery. It will be updated monthly as each new kit is released. Access it via the menu at the top of this page, under “Paper Pumpkin” or click here.
Thank you for reading and I hope you enjoyed this. You can “like” the page and/or leave a comment. I would appreciate either. Until next time, everyone, have a safe and happy week and keep on crafting! -Steve
Share this:
- Share on Facebook (Opens in new window) Facebook
- Share on X (Opens in new window) X
- Share on Pinterest (Opens in new window) Pinterest
- Share on Nextdoor (Opens in new window) Nextdoor
- Share on Pocket (Opens in new window) Pocket
- Share on Reddit (Opens in new window) Reddit
- Share on LinkedIn (Opens in new window) LinkedIn
- Print (Opens in new window) Print
- Email a link to a friend (Opens in new window) Email
Related
Discover more from Steve's Crafting Café
Subscribe to get the latest posts sent to your email.
