Enjoy those leftovers
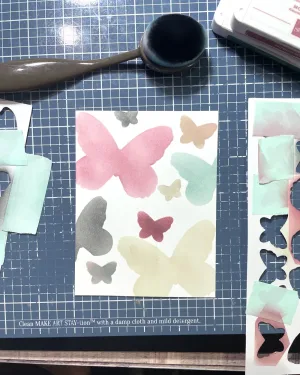
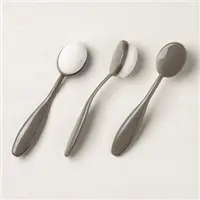
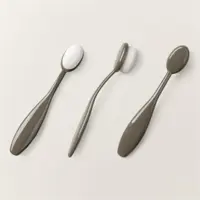
This is such a fun technique and a clever way to make use of those leftover pieces when you pop out die cuts. The butterfly sheets from the April 2024 Paper Pumpkin kit, “Delicate Wings” are excellent examples of what to look for because the shape is instantly recognizable and there are different sizes. All you need is an ink pad (or two or three) and a blending brush (or two or three), and you’re good to go.
The first card
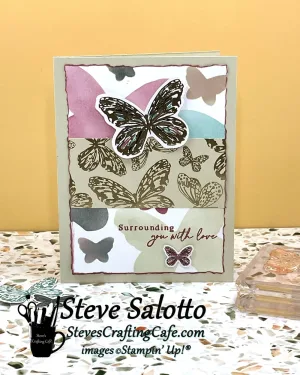
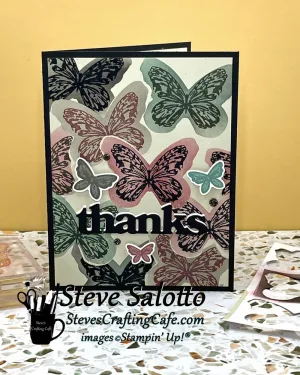
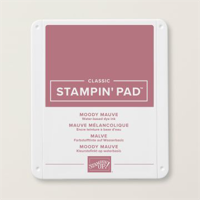
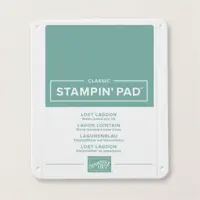
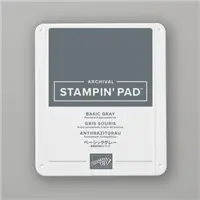
For the first card I blended the ink through different size butterfly cutouts until my base was evenly filled. I used Stampin’ Up! Inks Moody Mauve, Lost Lagoon, Basic Gray, and Basic Beige ink pads.
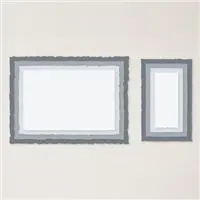
After that, I die cut it using the Deckled Rectangles dies and inked the edges with Moody Mauve. I cut up one of the designer envelopes that came with the kit for the strip across the center, and stamped the sentiment directly on the base. A few butterfly die cuts and that’s it.
Finishing the card
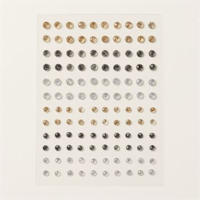
After that, I used the “thanks” die from the Paper Pumpkin “Thanks and Beyond Dies” add-on for April. I cut the word twice, once in black and one in white. I glued the black on top and offset it slightly so that the white showed through as a highlight. I added a few die cut butterflies from the kit, covered them in Wink of Stella (they gotta glimmer!) and finished it off with three Adhesive-Backed Sparkle Gems.
Look for patterns
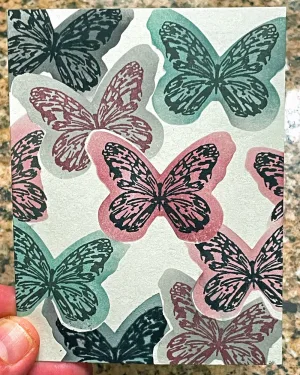
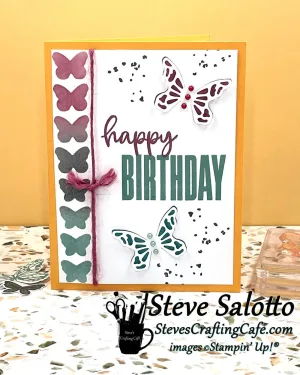
I made one more card with this technique when I was left with a perfect column of butterfly cutouts. There was no way to resist that, ha, ha. I started with Moody Mauve at the top, blended into Basic Gray and then Lost Lagoon at the bottom. The butterfly die cuts were also made with the add-on dies and the sentiment is from the Biggest Wish stamp set.
So, keep an eye out the next time you’re using die cuts and check if the leftovers will make for good ink blending. You’ll enjoy it, trust me.
I’ve included a supply list below for what I used, along with links to my online store. (You can also download/print it.) If you don’t have a Stampin’ Up! demonstrator, I would love to be yours. You can place an order online by clicking “Shop Stampin’ Up!” in the menu, or reach out to me via email or text. My information is available in the footer below.
Until next time, my friends, take care of yourselves, take care of others, and don’t forget to keep on crafting! -S
Share this:
- Share on Facebook (Opens in new window) Facebook
- Share on X (Opens in new window) X
- Share on Pinterest (Opens in new window) Pinterest
- Share on Nextdoor (Opens in new window) Nextdoor
- Share on Pocket (Opens in new window) Pocket
- Share on Reddit (Opens in new window) Reddit
- Share on LinkedIn (Opens in new window) LinkedIn
- Print (Opens in new window) Print
- Email a link to a friend (Opens in new window) Email
Related
Discover more from Steve's Crafting Café
Subscribe to get the latest posts sent to your email.
