The versatility of outline stamps
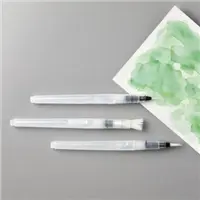
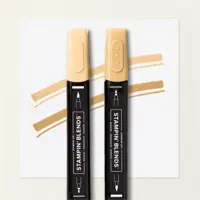
I’m using outline stamps a lot these days since I’ve started coloring more often, mainly with Stampin’ Blends alcohol markers, watercolor pencils, and water brushes. I love the versatility of these stamps because I can make them look totally different depending on how I “fill them in.”
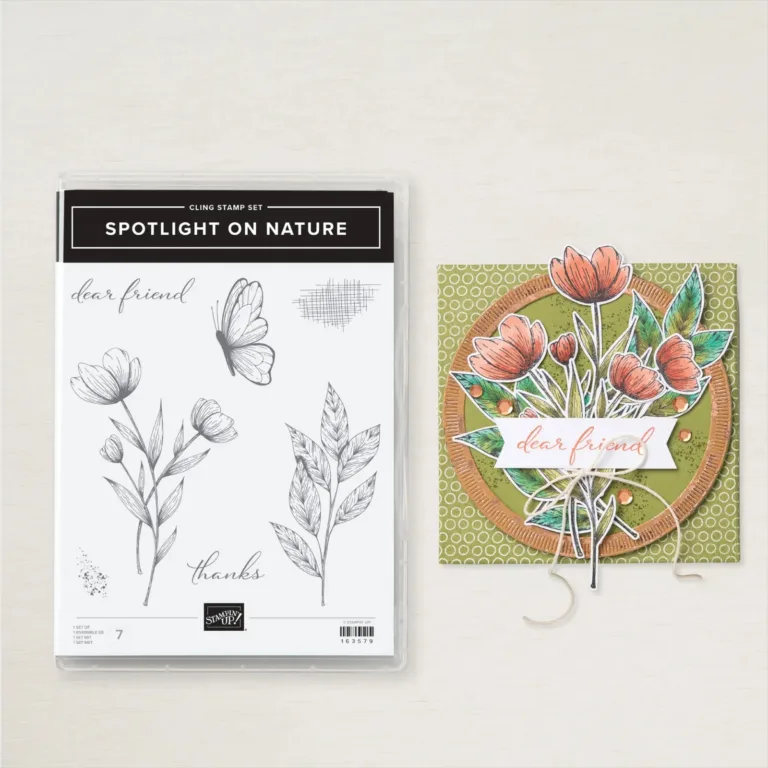
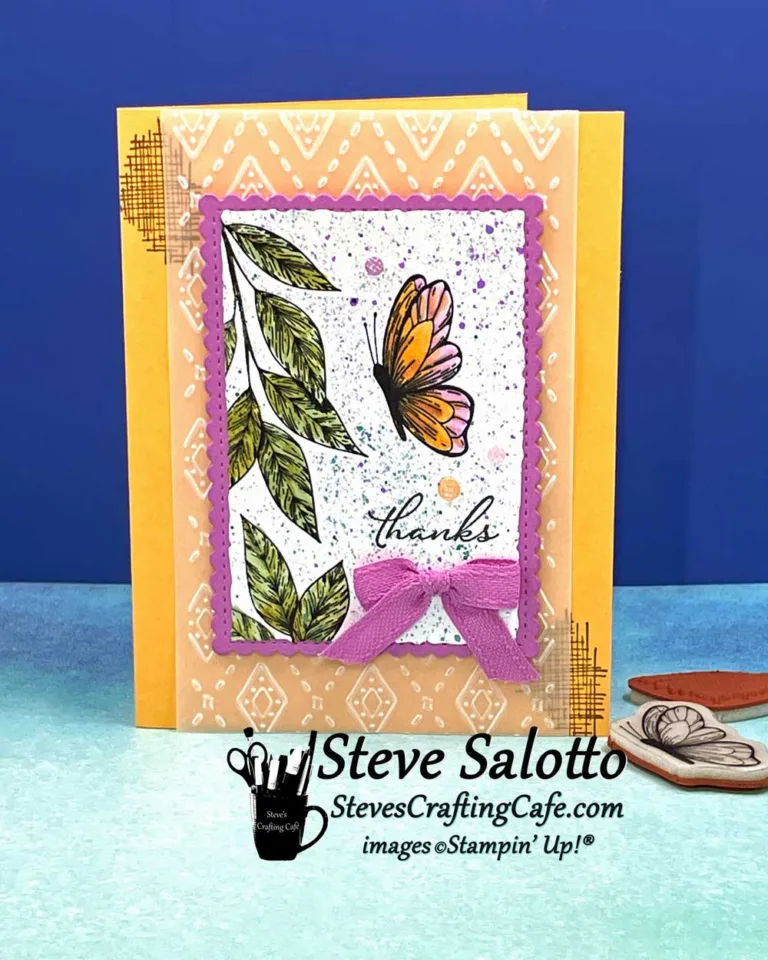
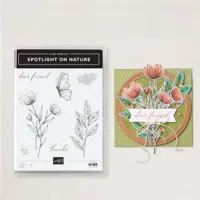
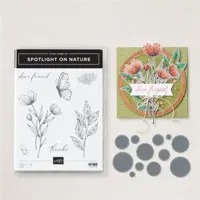
But I didn’t think much about the lines. I try to heat emboss them with clear powder before coloring to keep them sharp, but it’s a hassle sometimes getting out the powder, and anti-static pouch, and heat gun, and the powder goes everywhere, and you have to clean it up afterward… ugh! Champagne problems at their worst! So, remembering this little technique has made me very happy. It requires you to have a stamping platform, such as a Misti. I used the now retired Stamparatus from Stampin’ Up! and the Spotlight on Nature stamp set. (full supply list at bottom of post)
When I say freeze, don't move!
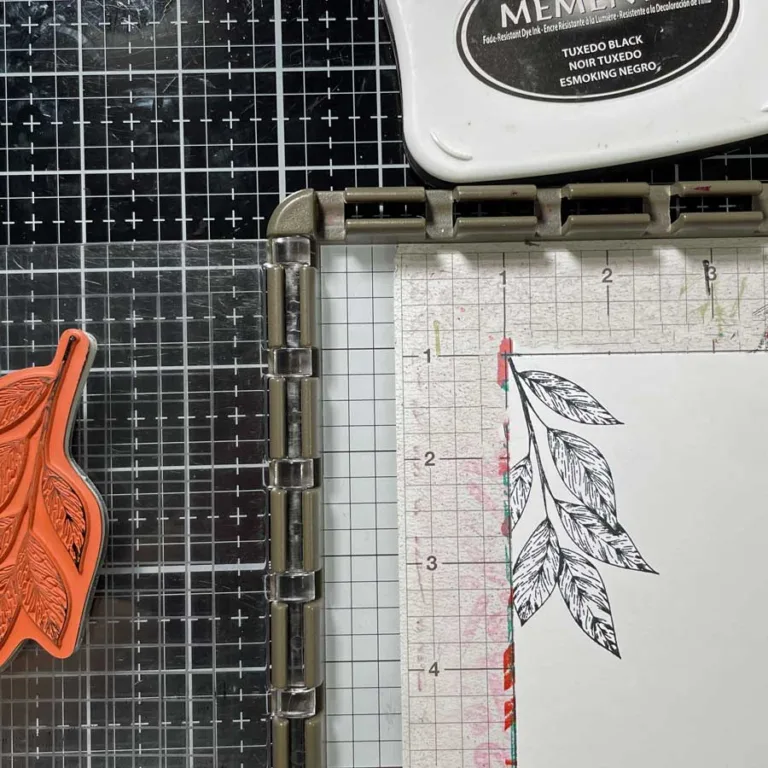
Set your card stock up on your platform and stamp the outline image. Black is most common, but try dark gray for a softer look, or a color like dark green for leaves. (You can use a lighter color too for a “no lines” look, but that’s for another post.) Now, here is the key point… Freeze. Do not move either the stamp or the image after that first step. They must stay in place until you stamp again. (This is why you need a platform.)
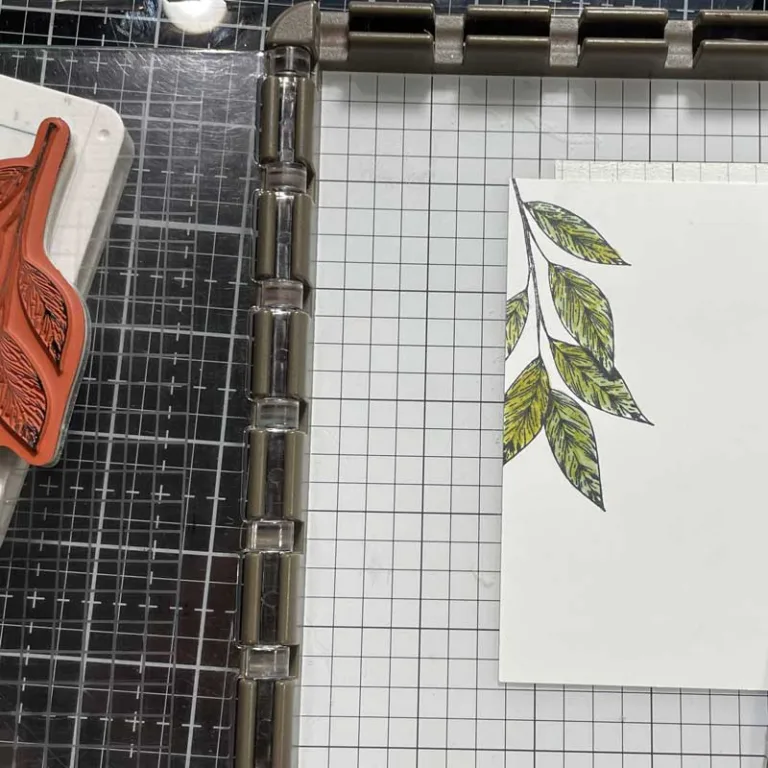
Ink and repeat...
When you are finished coloring, just ink up those leaves again and stamp right over the image. Since you didn’t move anything (right?) you will stamp over the original lines, darkening them, and removing the appearance of any “muddiness” that occurs sometimes when coloring.
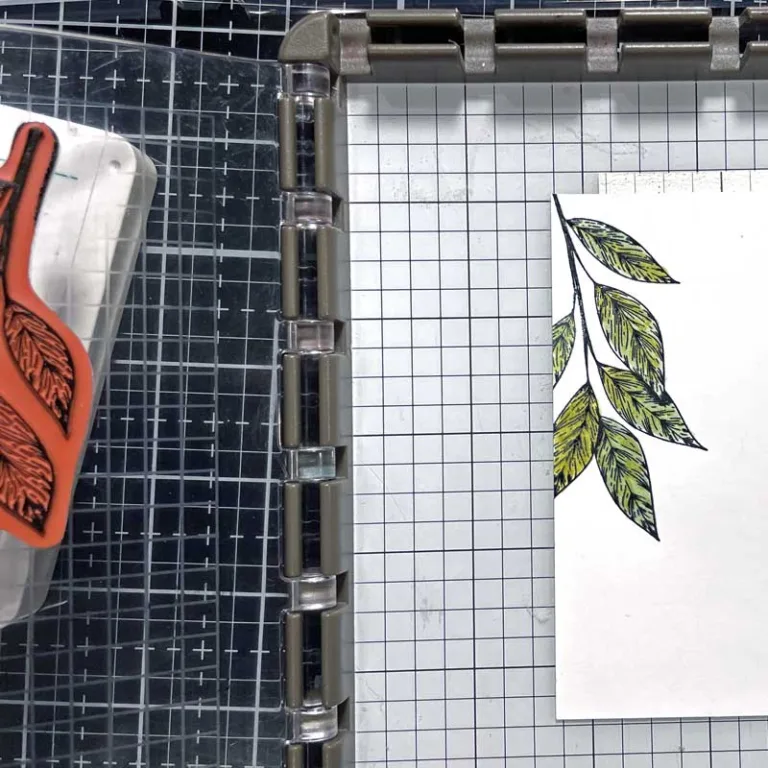
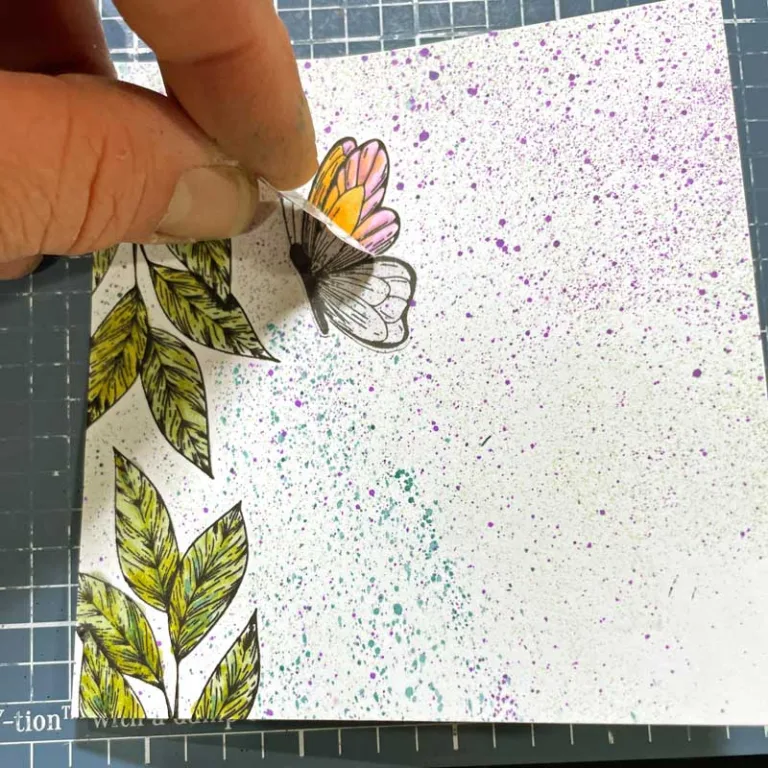
Very technique-y
For the rest of the card, I used a variety of techniques; masking, ink splattering, vellum embossing… Sure, it’s a lot but I’ve never been one of those people who believes less is more. I mean, more is more, duh. Everyone knows that. 🙂
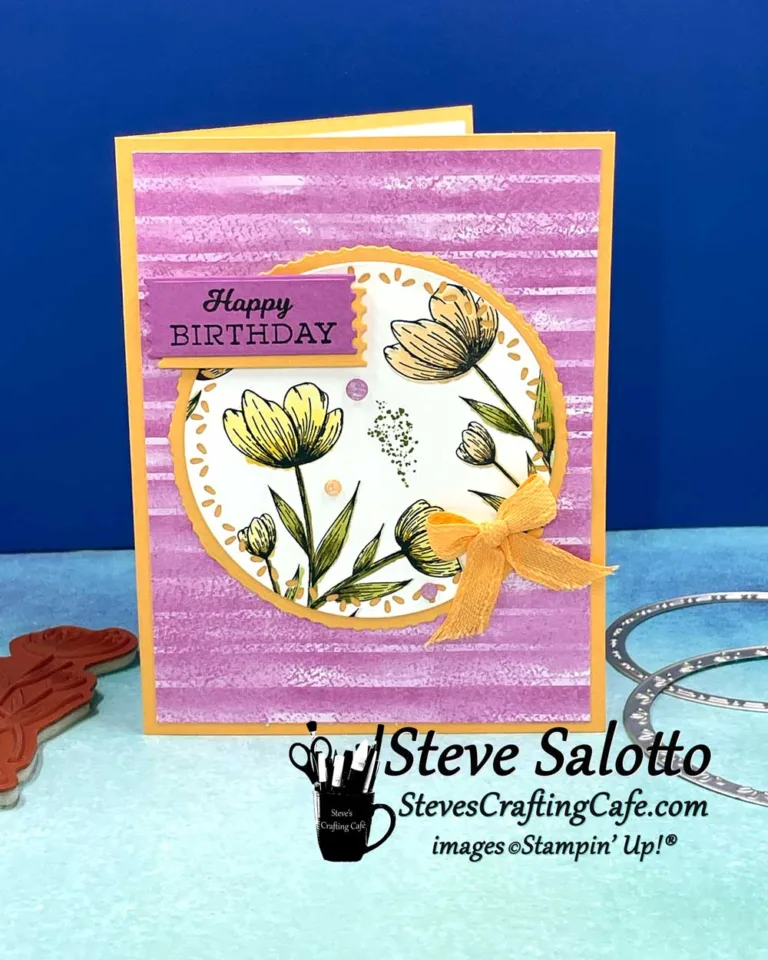
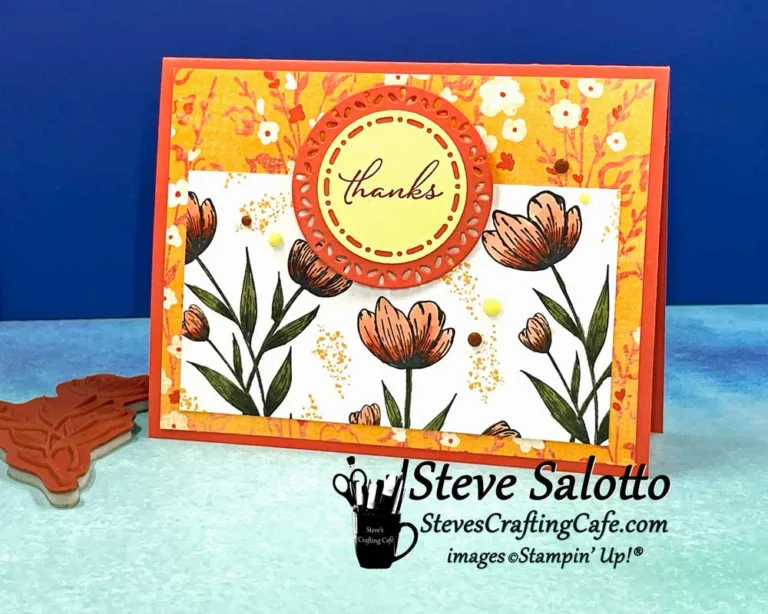
These next two cards really show the difference I think between doing the outline stamping once or twice.
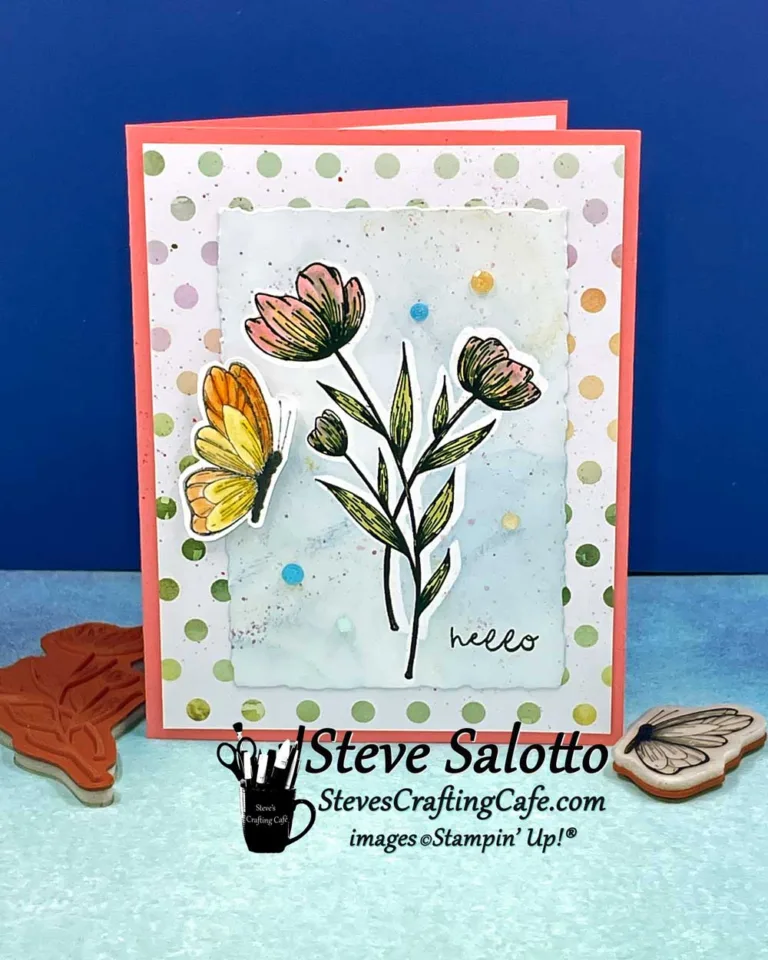
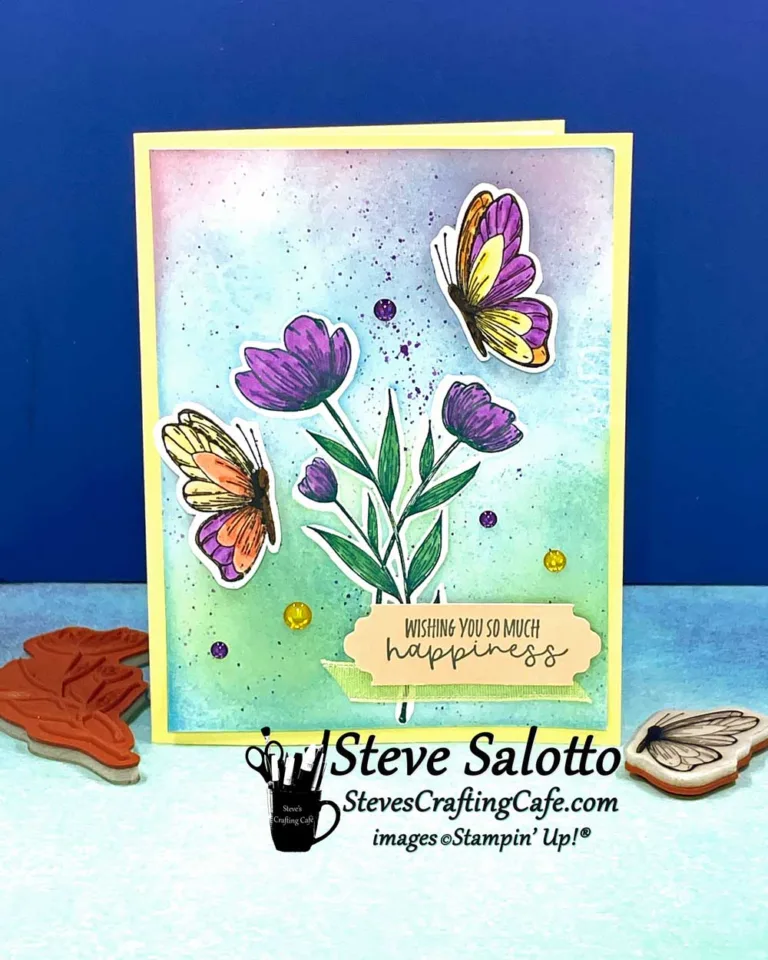
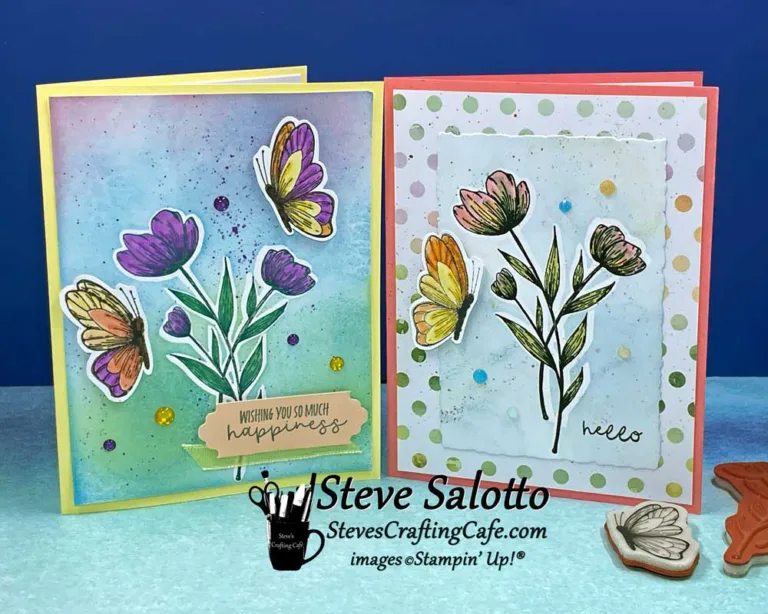
Thoughts?
Have you tried this technique? Or have you been doing it this way for a while? I’d love to know what you think. Leave a comment below.
Keep scrolling for a complete supply list with pictures and links of what items I used to create these cards. You can also download a free .pdf.
If you don’t have a Stampin’ Up! Demonstrator I’d be happy to take care of anything you need. You can browse my online store by clicking “Shop Stampin’ Up!” in the menu above. Or you can reach out to me directly via email or text. Both are in the footer below. I love to answer questions, or help inspire a new idea, so don’t be shy, say hi.
Until next time, my friends, stay positive, stay healthy, and keep on crafting. -S
Items below are linked to my online Stampin’ Up! store. Just click and you will be taken there. Print the list by clicking on “Supply List” at the bottom.
Share this:
- Share on Facebook (Opens in new window) Facebook
- Share on X (Opens in new window) X
- Share on Pinterest (Opens in new window) Pinterest
- Share on Nextdoor (Opens in new window) Nextdoor
- Share on Pocket (Opens in new window) Pocket
- Share on Reddit (Opens in new window) Reddit
- Share on LinkedIn (Opens in new window) LinkedIn
- Print (Opens in new window) Print
- Email a link to a friend (Opens in new window) Email
Related
Discover more from Steve's Crafting Café
Subscribe to get the latest posts sent to your email.
