Who wants to get a little messy? This technique has been around forever but it still produces some really cool effects. And with the Wintry 3D Embossing Folders from Stampin’ Up!, the results were striking.
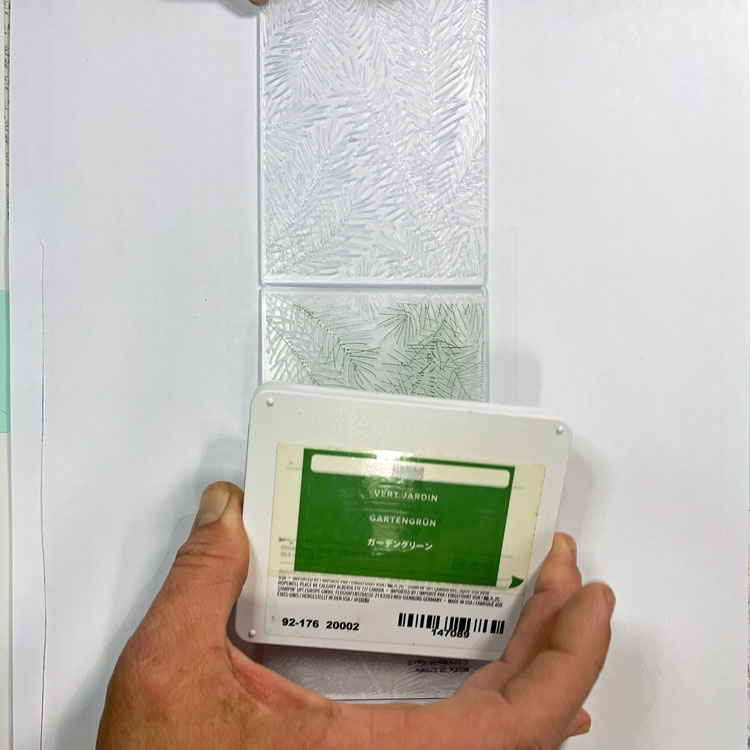
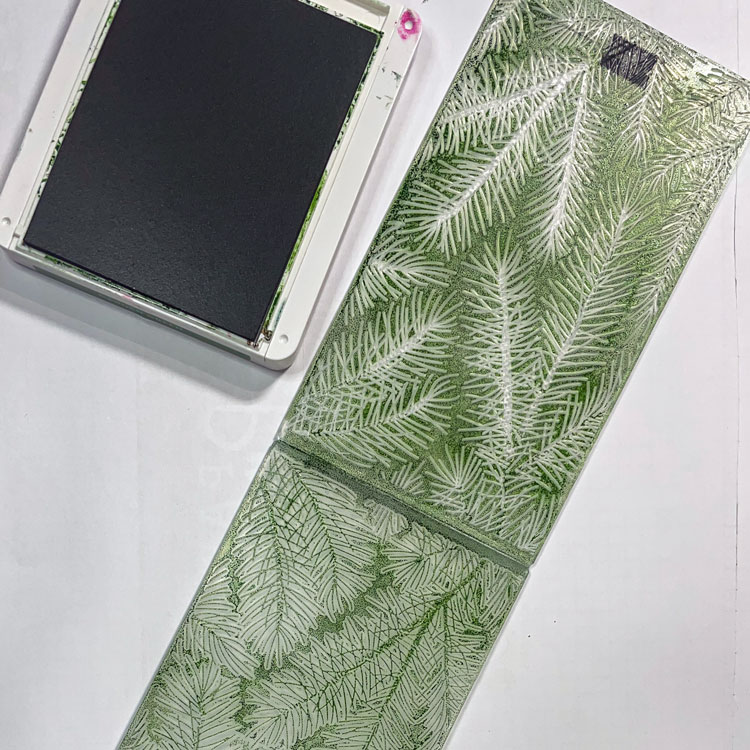
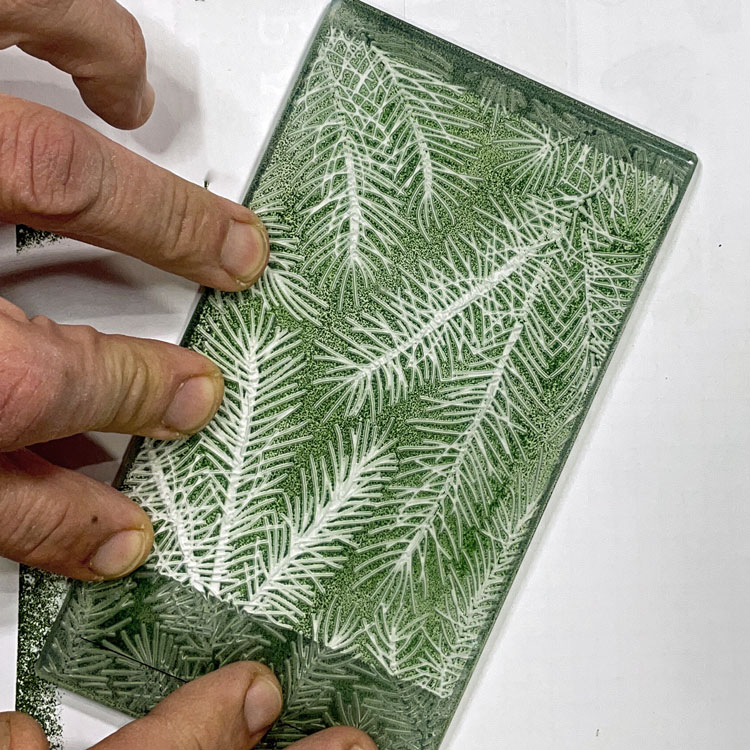
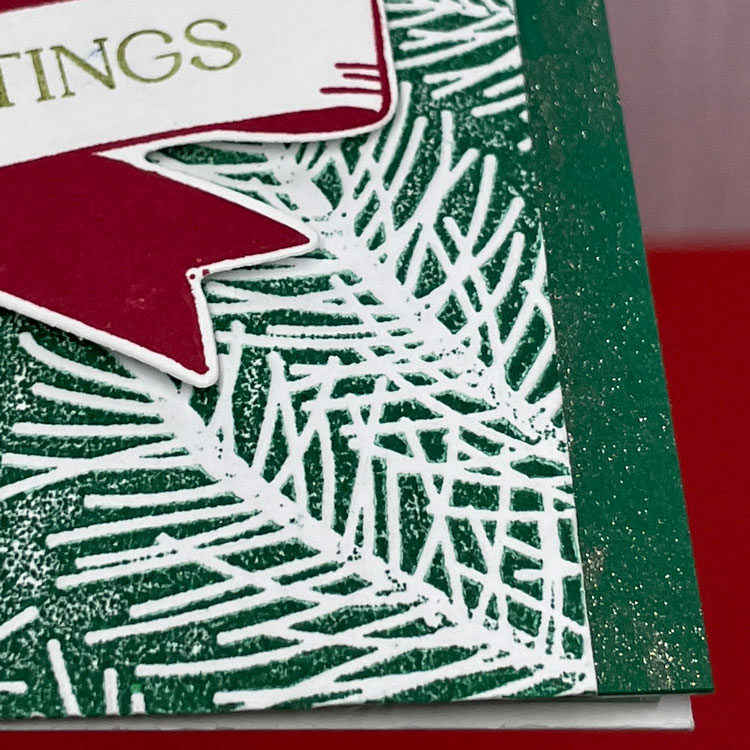
There are two embossing folders in this set, one with snowflakes and one with pine tree branches. I started with the pines and applied Garden Green ink to both sides of the inside of the folder. This is the messy part. (But not really, if you’re careful.) Simply take your ink pad and tap, tap, tap until you’ve covered both sides of the folder. Take care to avoid lines made by the stamp pad, and don’t press too hard or one side will come out muddy.
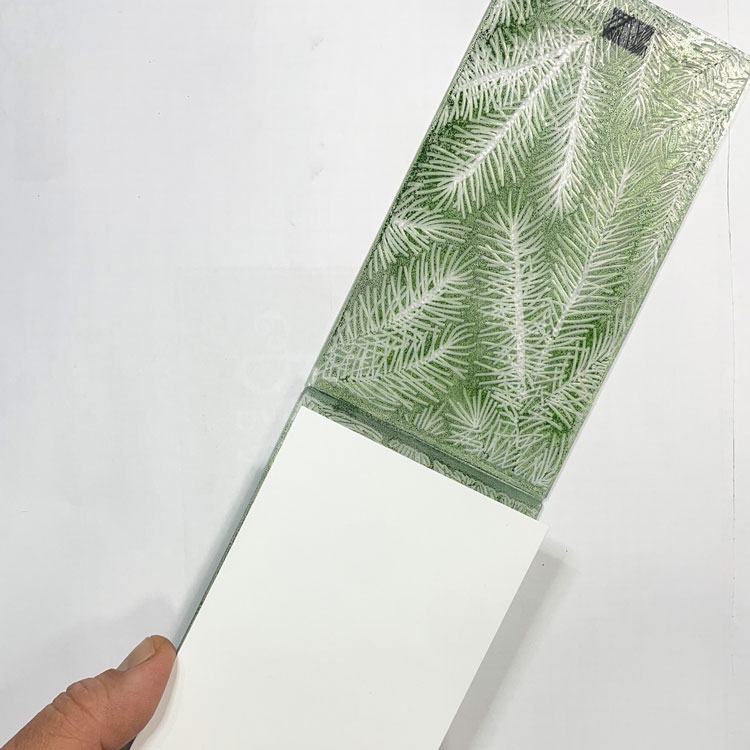
I always use scrap card stock when I’m doing this for the first time with a new folder. You never know quite what you’re going to get, so don’t waste your good card stock until you’ve tested it first. Place the card stock into the folder and close it. Be careful! From this point on, hold the folder closed tightly and don’t open it or allow the card stock to move at all. You’re working with wet ink and it smears easily.
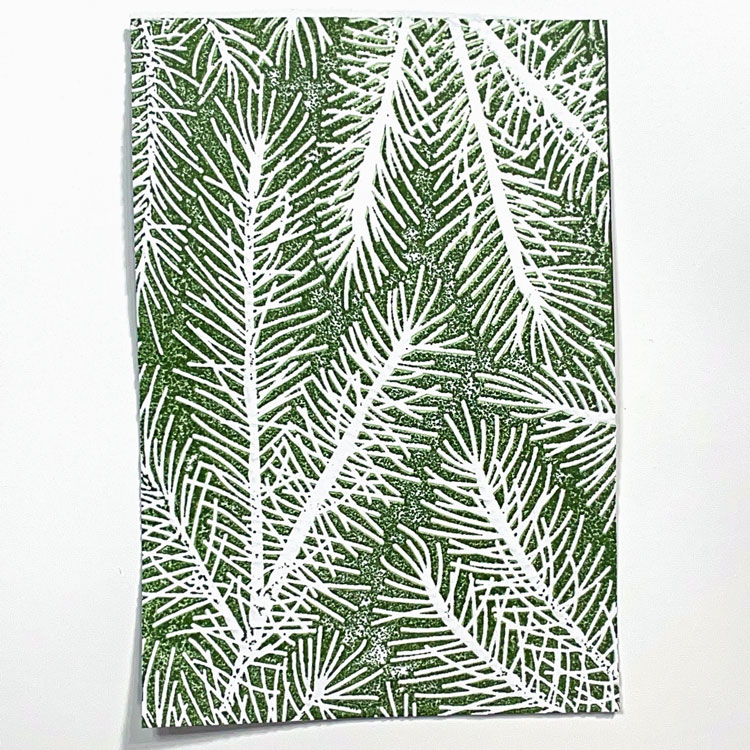
Put the folder through your embossing machine like normal. Again, take care when it comes out the other end. Make sure it doesn’t “pop” open or fly across the room like they sometimes do. (I swear, if I hadn’t ducked once it would’ve taken off my skull! It can be a dangerous hobby, so take care out there, ladies and gentlemen.) Open the folder carefully and remove the card stock. Now take a moment to “ooh” and “aah” over the results.
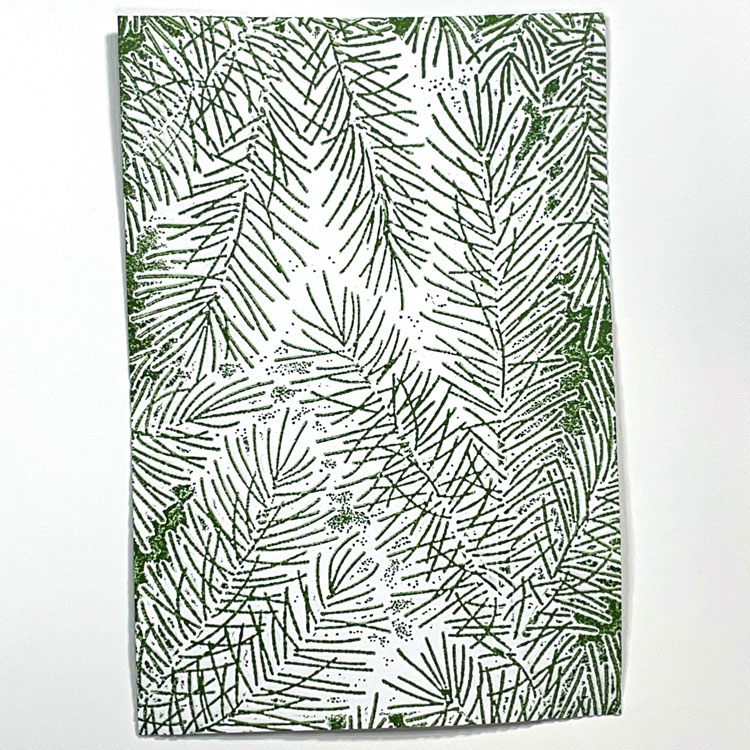
Look at both sides because they will be different, as if one is a negative image of the other, especially if you’re using a 3D folder. You can also see where you need to adjust the amount of ink if needed. For example, the image on the right above had a little too much ink on that side of the folder which resulted in some extra green between the pine needles. Although, I kind of like that “grunge” look so it just depends on what your style is.
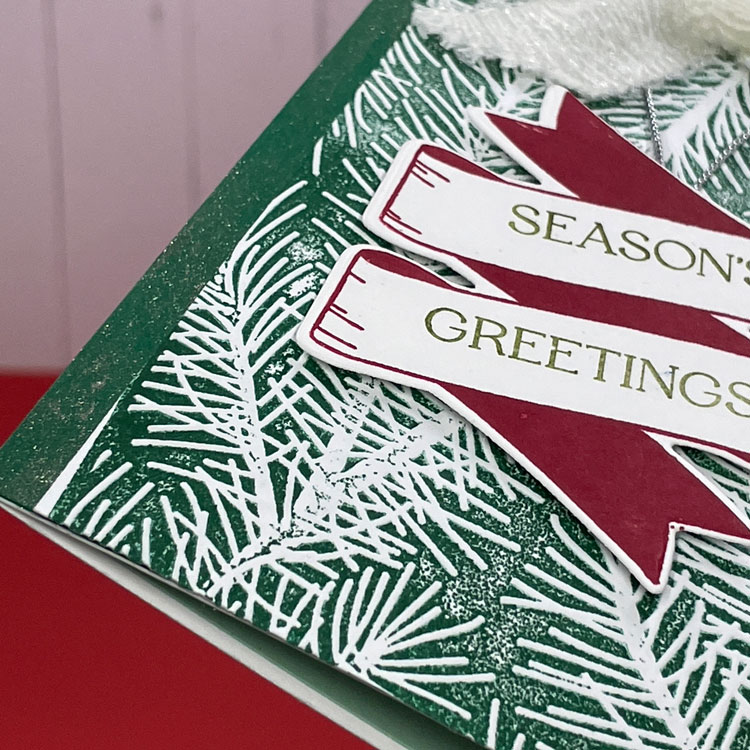
The rest of the card is pretty standard. I kept it simple so as to keep the focus on the background. I added a banner and sentiment from the Christmas Banners stamp set and a bow made with the White 3/4″ Frayed Ribbon.
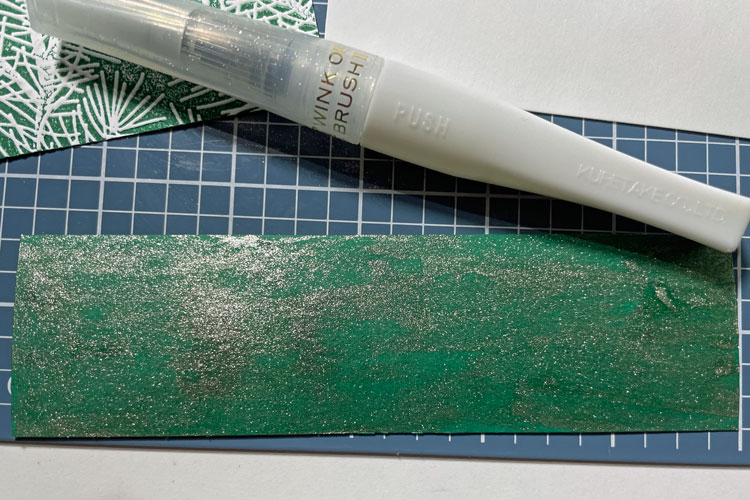
The other little cool item on the card is the pair of sparkly strips down the sides. Plain card stock was pulling focus because it looked so darn dull. Therefore, I just took my Wink of Stella Clear Glitter Brush and applied it to strips of Garden Green card stock and let it dry. (Which it does very quickly.) I love this look and you can do it with any color card stock for extraordinary results. It’s so easy!
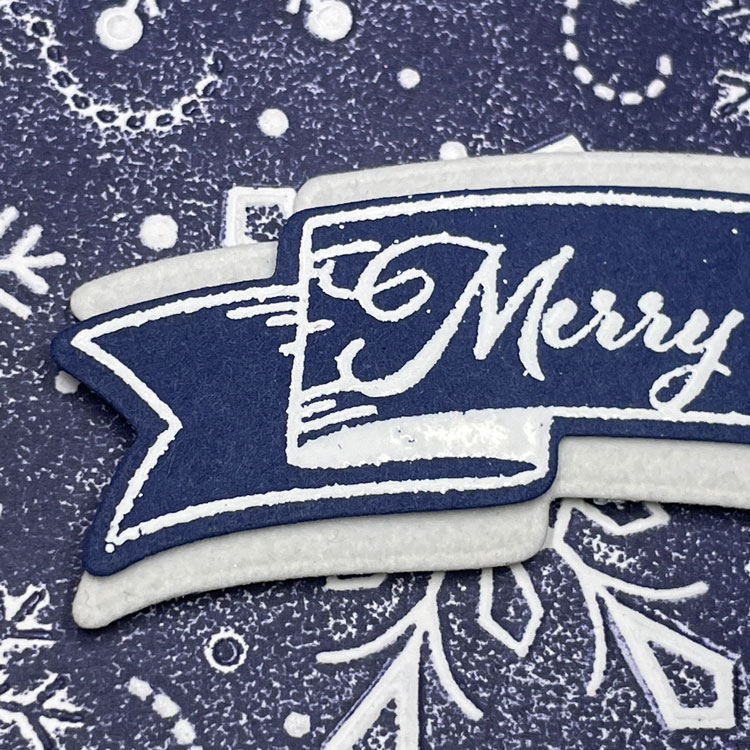
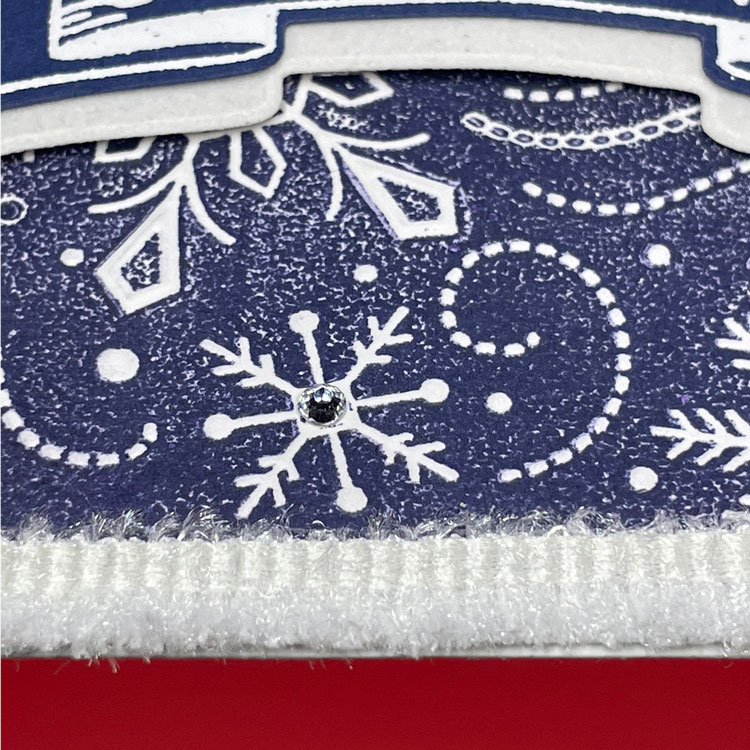
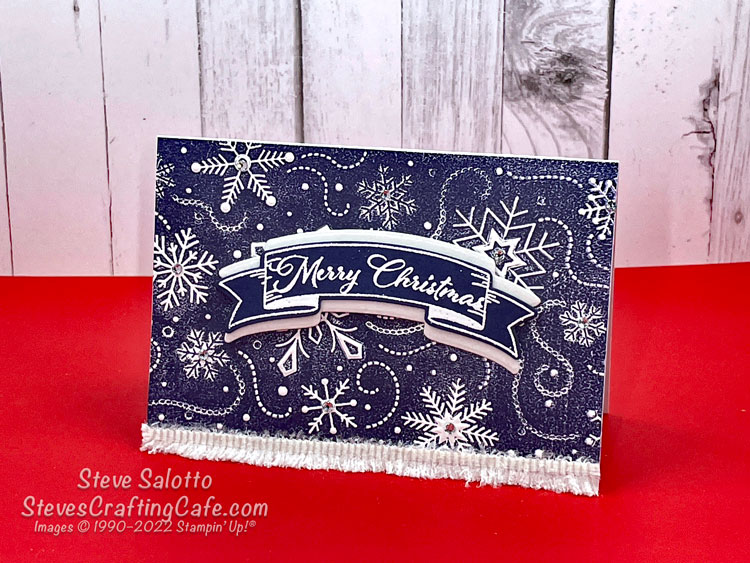
I used the other embossing folder from the Wintry 3D set with the new in-color Starry Sky to make the snowflake card. I used another banner and sentiment from the Christmas Banners set with White Embossing Powder, and cut a shadow for it from the Snowy White Velvet Sheets. I used the White Frayed Ribbon again for the bottom of the card… and actually frayed it! I finished it off with some Rhinestone Basic Jewels and voila!
Well, what do you think? Do you like this technique? Have you tried it, or will you try it? Leave a comment for me. I’d love to hear. You can also see another example of this in my post titled Spinning a Wicked Web with 3D Embossing Folders.
Thank you for reading and I hope you were inspired in some way. All products that I used and are currently available have links right in the name. Just click on the bold/underlined words. Some of the items were just retired yesterday since the Christmas season is over, so if there’s no link that’s why.
Until next time, my artistic friends, I hope you have a blessed and wonderful start to your 2023! Smile more, laugh more… and keep on crafting. -Steve
Share this:
- Share on Facebook (Opens in new window) Facebook
- Share on X (Opens in new window) X
- Share on Pinterest (Opens in new window) Pinterest
- Share on Nextdoor (Opens in new window) Nextdoor
- Share on Pocket (Opens in new window) Pocket
- Share on Reddit (Opens in new window) Reddit
- Share on LinkedIn (Opens in new window) LinkedIn
- Print (Opens in new window) Print
- Email a link to a friend (Opens in new window) Email
Related
Discover more from Steve's Crafting Café
Subscribe to get the latest posts sent to your email.
