I used to hate coloring stamped images, so I would search for any alternative that would look just as nice. Although I love to color now (thanks largely to Stampin’ Blends alcohol markers) I still use this fun and easy technique because it produces results that are stunning.
The technique I’m referring to is a basic type of paper piecing. First, stamp the image in its desired location, whether that’s directly on a card, for example, or a separate piece of card stock. Second, stamp the image on one or more patterned papers. Then, cut out the pieces you need and glue them directly over your primary image. Easy-peasy.
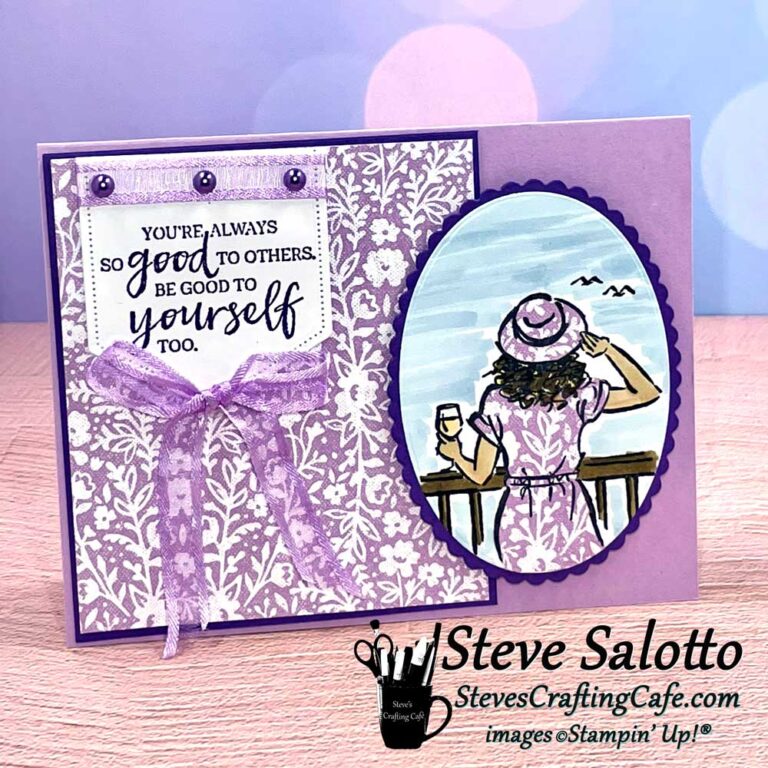
Would you like some examples? Okay, let’s start with this card, made with the In the Moment stamp set and Awash in Beauty Designer Series Paper.
Do you see how her dress and hat match the patterned paper on the left? First, I stamped the woman on white card stock which I eventually die cut into the oval. Second, I stamped the woman again, this time on a piece of the patterned paper. I cut out the dress and hat and glued them over the original image. I colored in the rest with Stampin’ Blends and that’s it. Cool, right?
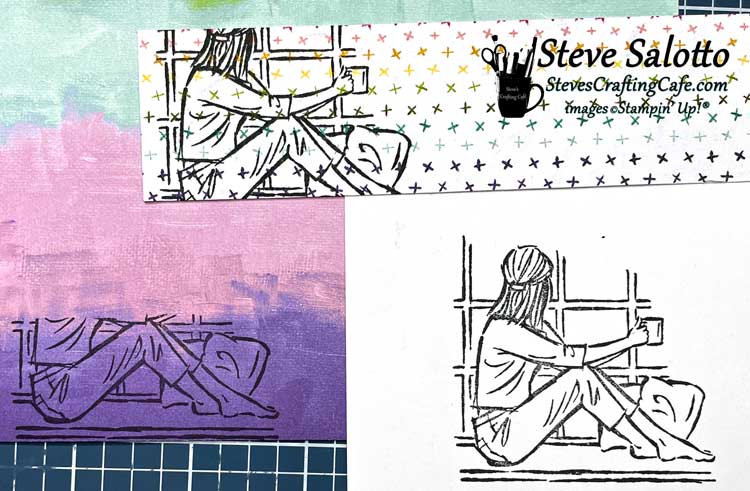
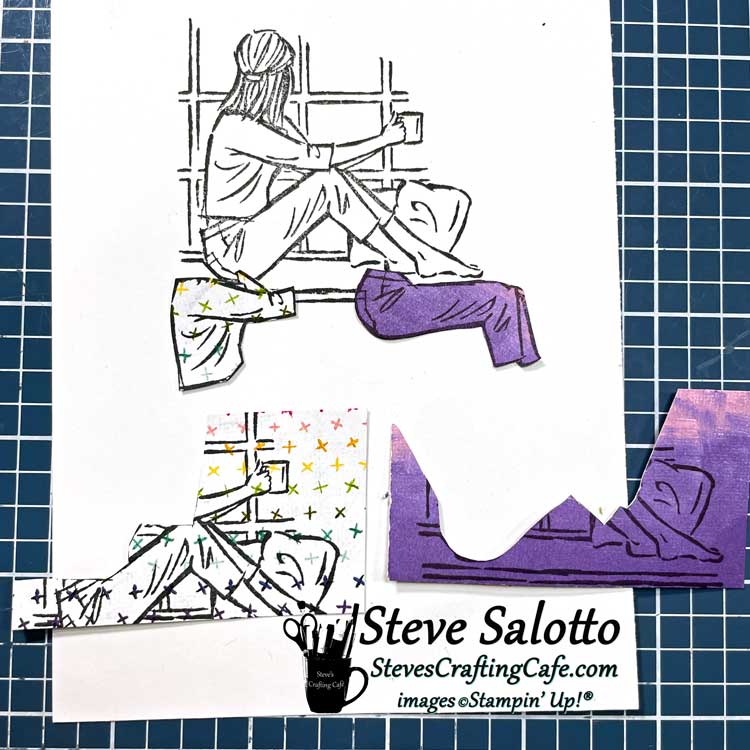
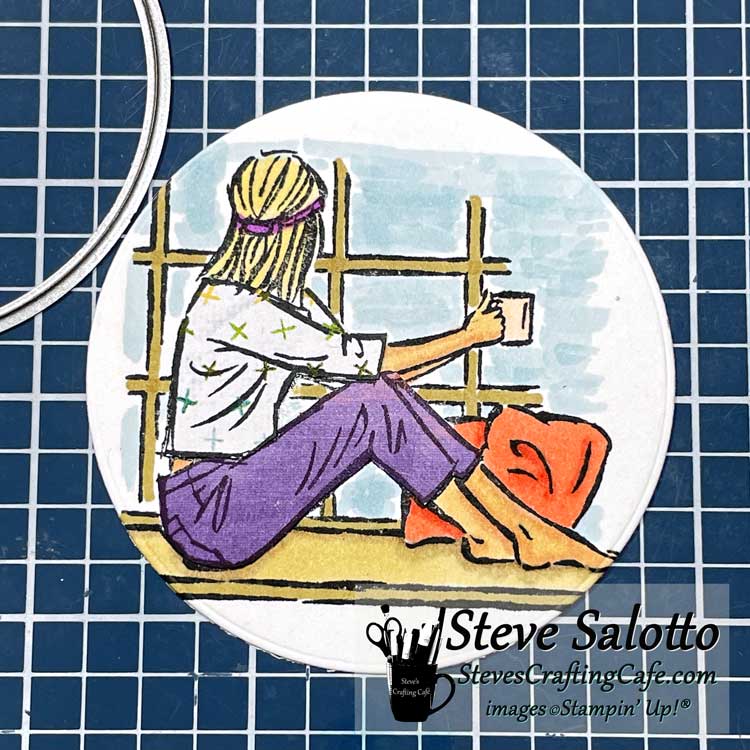
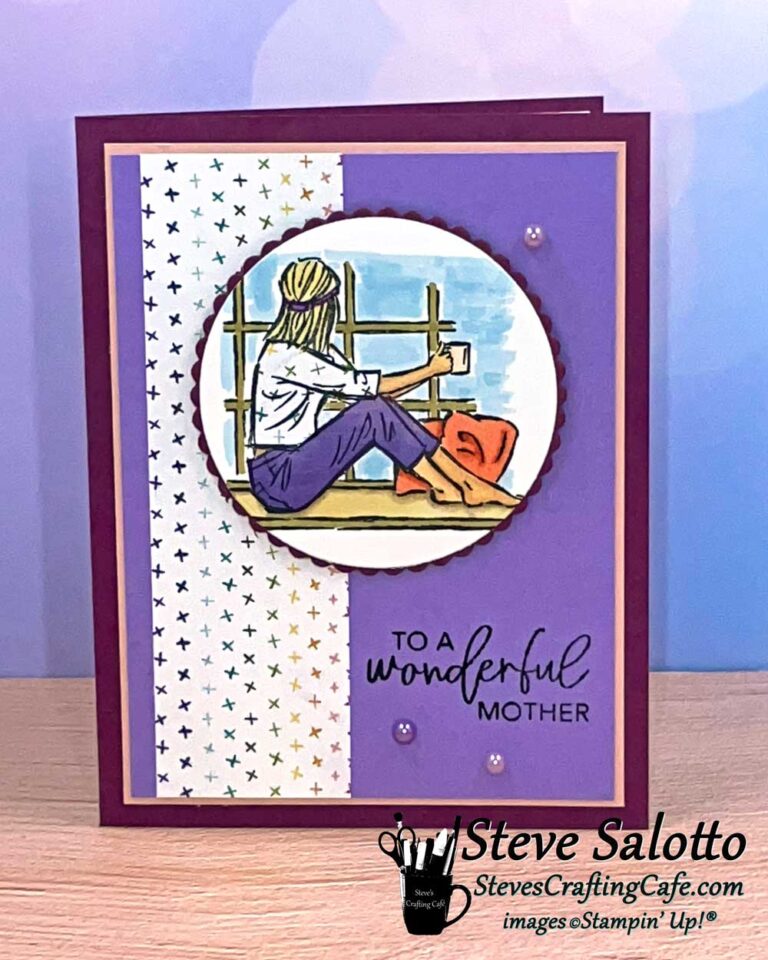
Here’s another card showing the steps. I used another image from the In the Moment stamp set with the Hues of Happiness Designer Series Paper. First, I stamped it on white card stock, then on two pieces of patterned paper that I picked out to use for the blouse and pants.
I cut the two pieces I wanted out of the patterned papers and glued them right over the same stamped sections on the card stock. I colored the rest of the image in with my beloved Stampin’ Blends (Balmy Blue, Calypso Coral, Crumb Cake, Daffodil Delight, Petal Pink, Soft Suede, and the Medium Natural Tones Stampin’ Blends.) After coloring, I die cut the image into a circle.
Below is the finished card. To get the most impact out of this technique, you should also use the same patterned paper as a decorative element on the card. It ties everything together and draws attention to the paper piecing used.
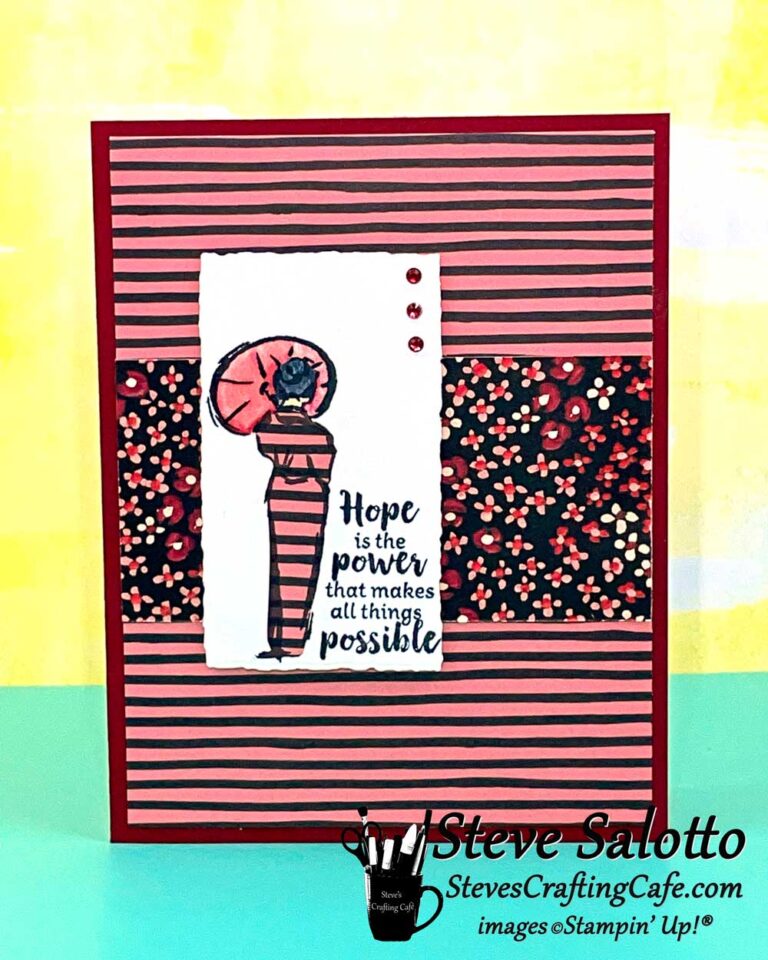
Here is another card I made using two past Sale-a-Bration items, the Power of Hope stamp set and the Fields & Flowers Designer Series Paper.
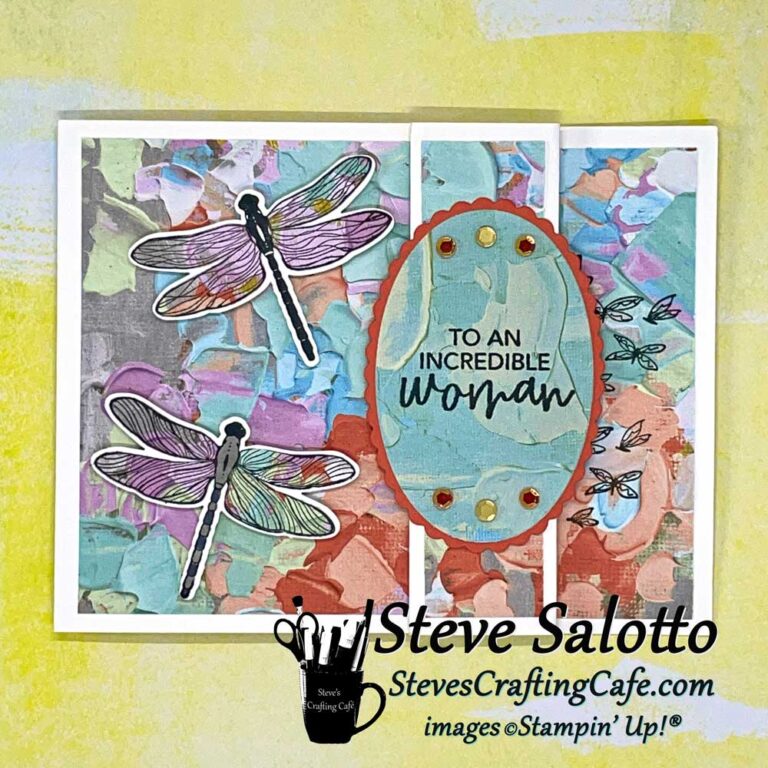
This technique is not limited to just clothing, either, although I’ve had the most success using it that way. On this final card, I used the piecing method on the dragonfly wings, matching the paper below them, the spectacular Fancy Flora DSP. It is more subtle, to the point people might not realize the technique was even used. But no one can miss how perfectly those dragonflies match the rest of the card.
So, what do you think? Have you used this technique? Is it something you’d like to try? Leave me a comment. I’d love to hear from you. Especially if you’re trying it for the first time. Remember, if you know how to use scissors and glue, you’re set. Use it the next time you don’t feel like coloring an image. I think you’ll be happy with the results.
That’s it for this one. Until next time, my friends. Take care of yourselves and keep on crafting. –Steve
Share this:
- Share on Facebook (Opens in new window) Facebook
- Share on X (Opens in new window) X
- Share on Pinterest (Opens in new window) Pinterest
- Share on Nextdoor (Opens in new window) Nextdoor
- Share on Pocket (Opens in new window) Pocket
- Share on Reddit (Opens in new window) Reddit
- Share on LinkedIn (Opens in new window) LinkedIn
- Print (Opens in new window) Print
- Email a link to a friend (Opens in new window) Email
Related
Discover more from Steve's Crafting Café
Subscribe to get the latest posts sent to your email.
